Understanding your project
Once your project is created you will be directed to your new project’s page. If you need to find your way back to this page you can get to it by going to Projects > My First Project on the top bar.
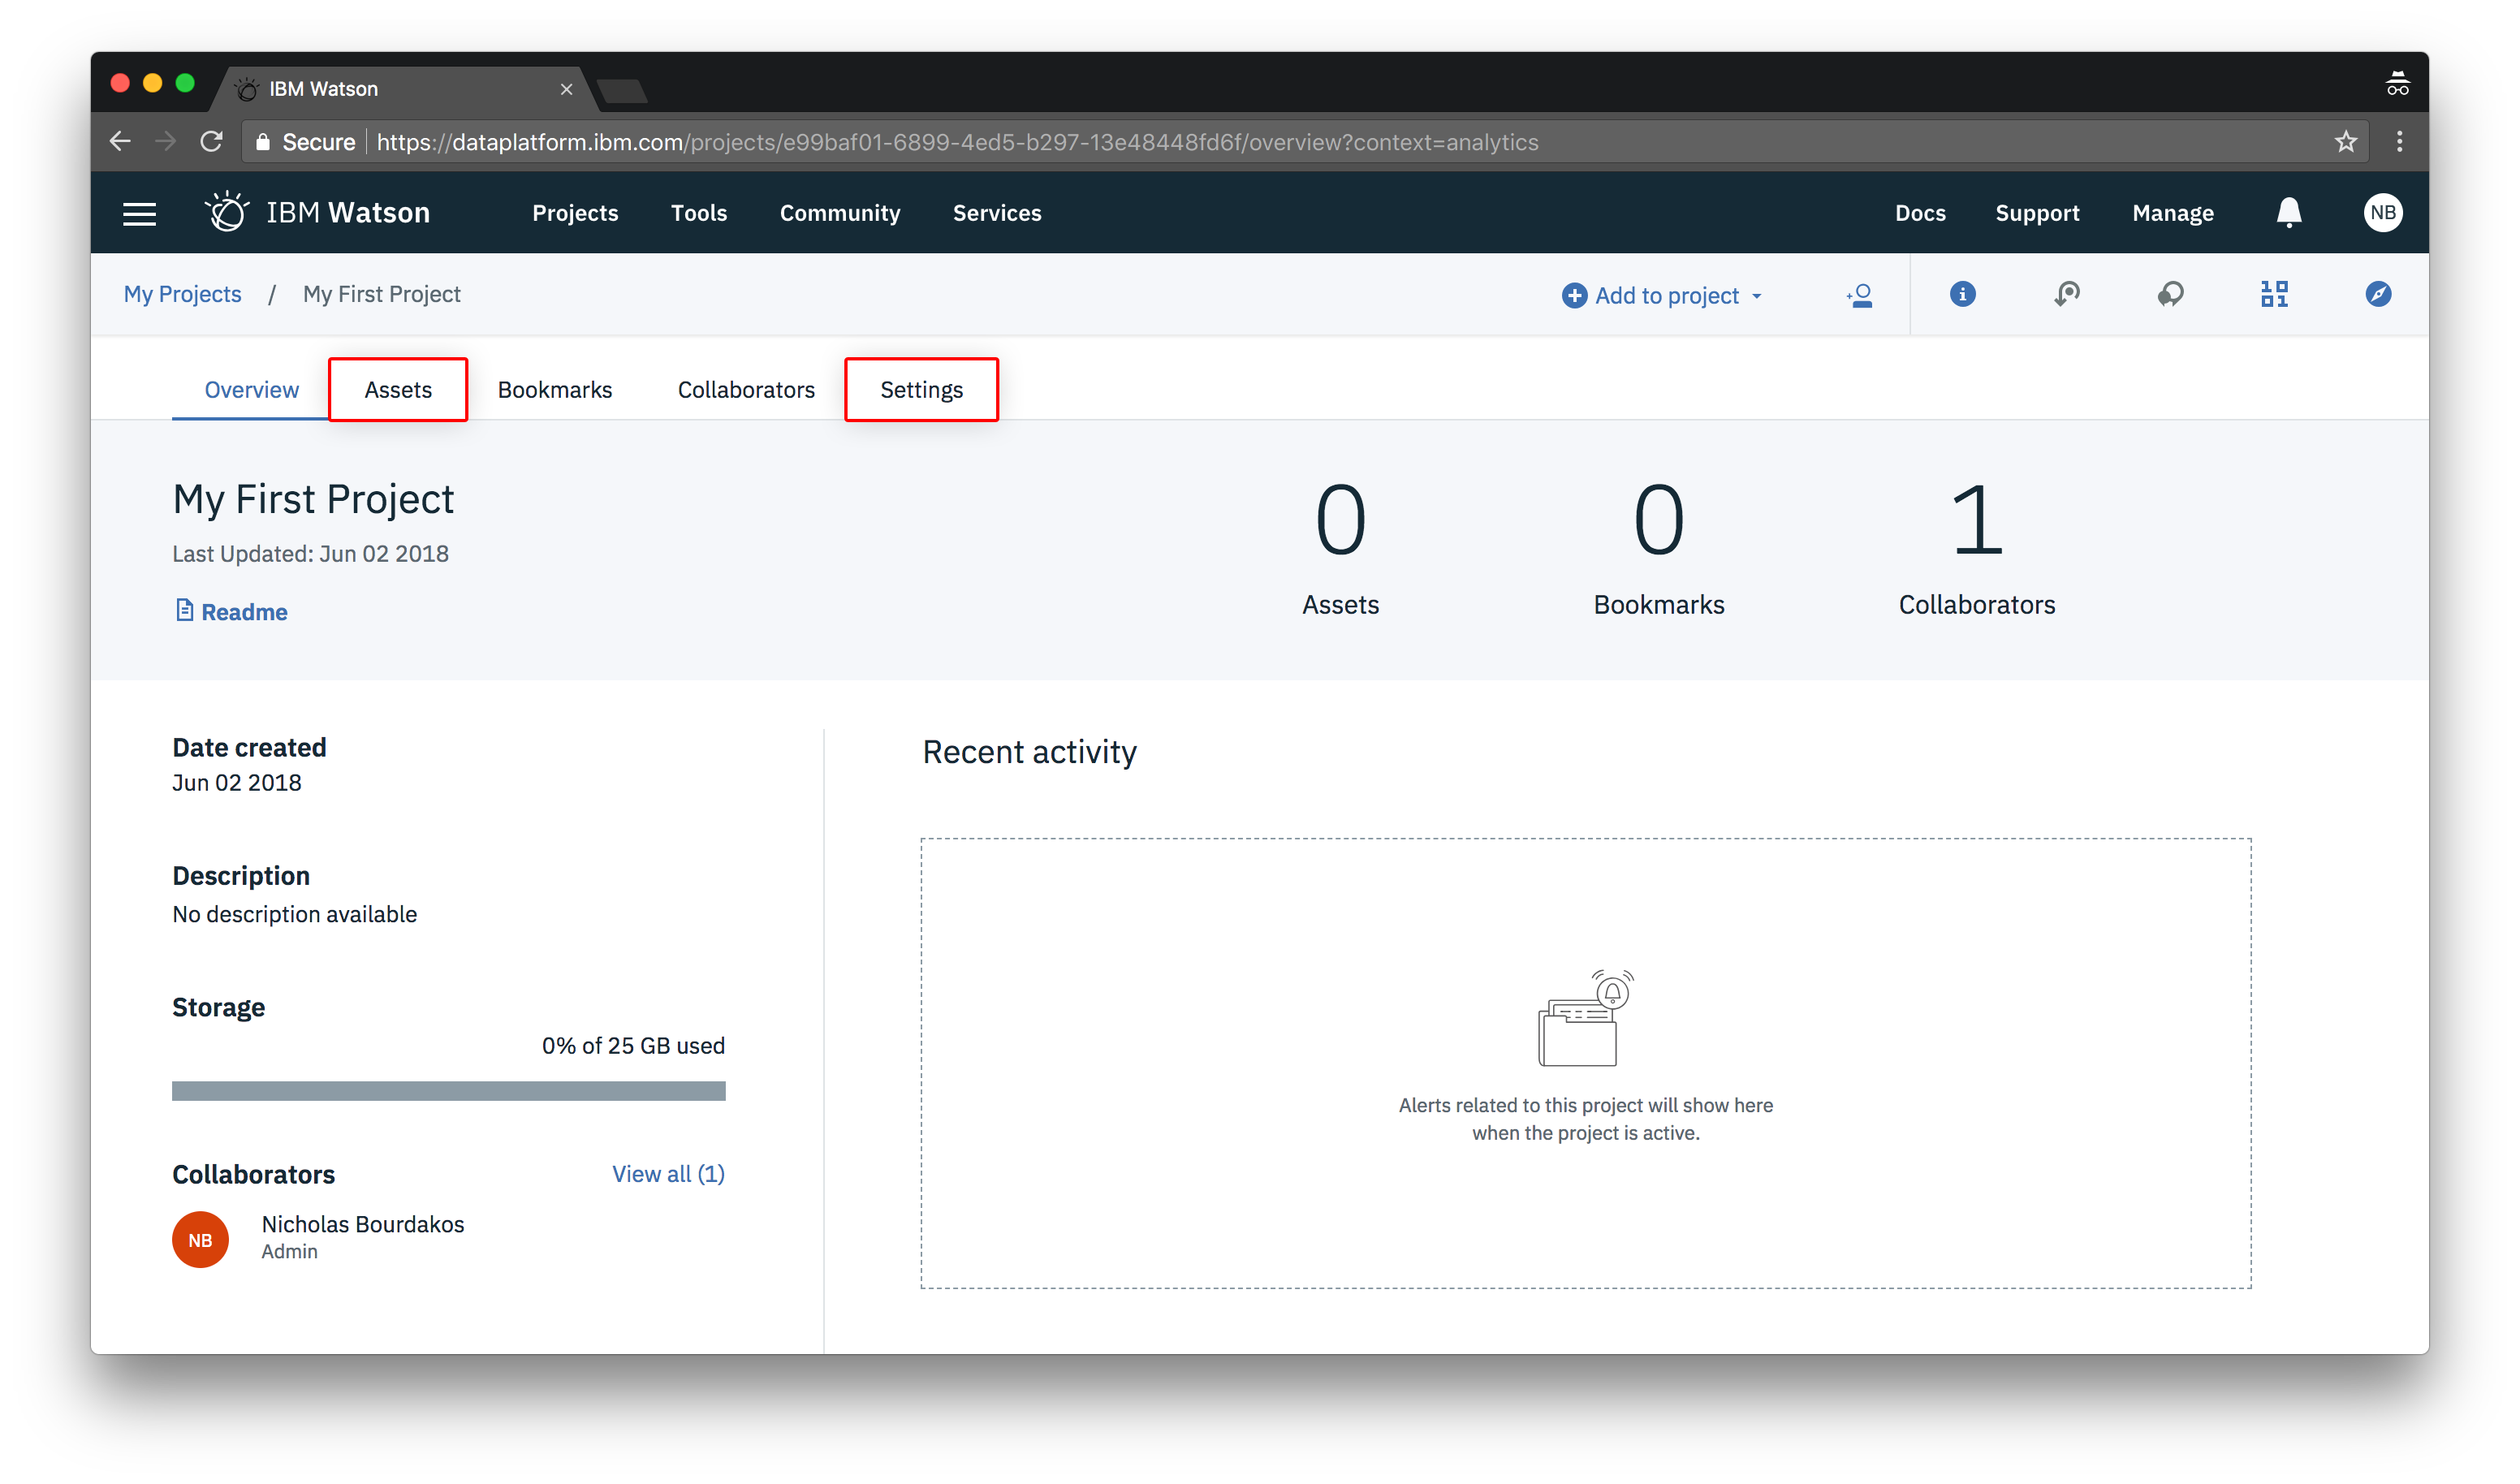
The most important tabs are Assets and Settings.
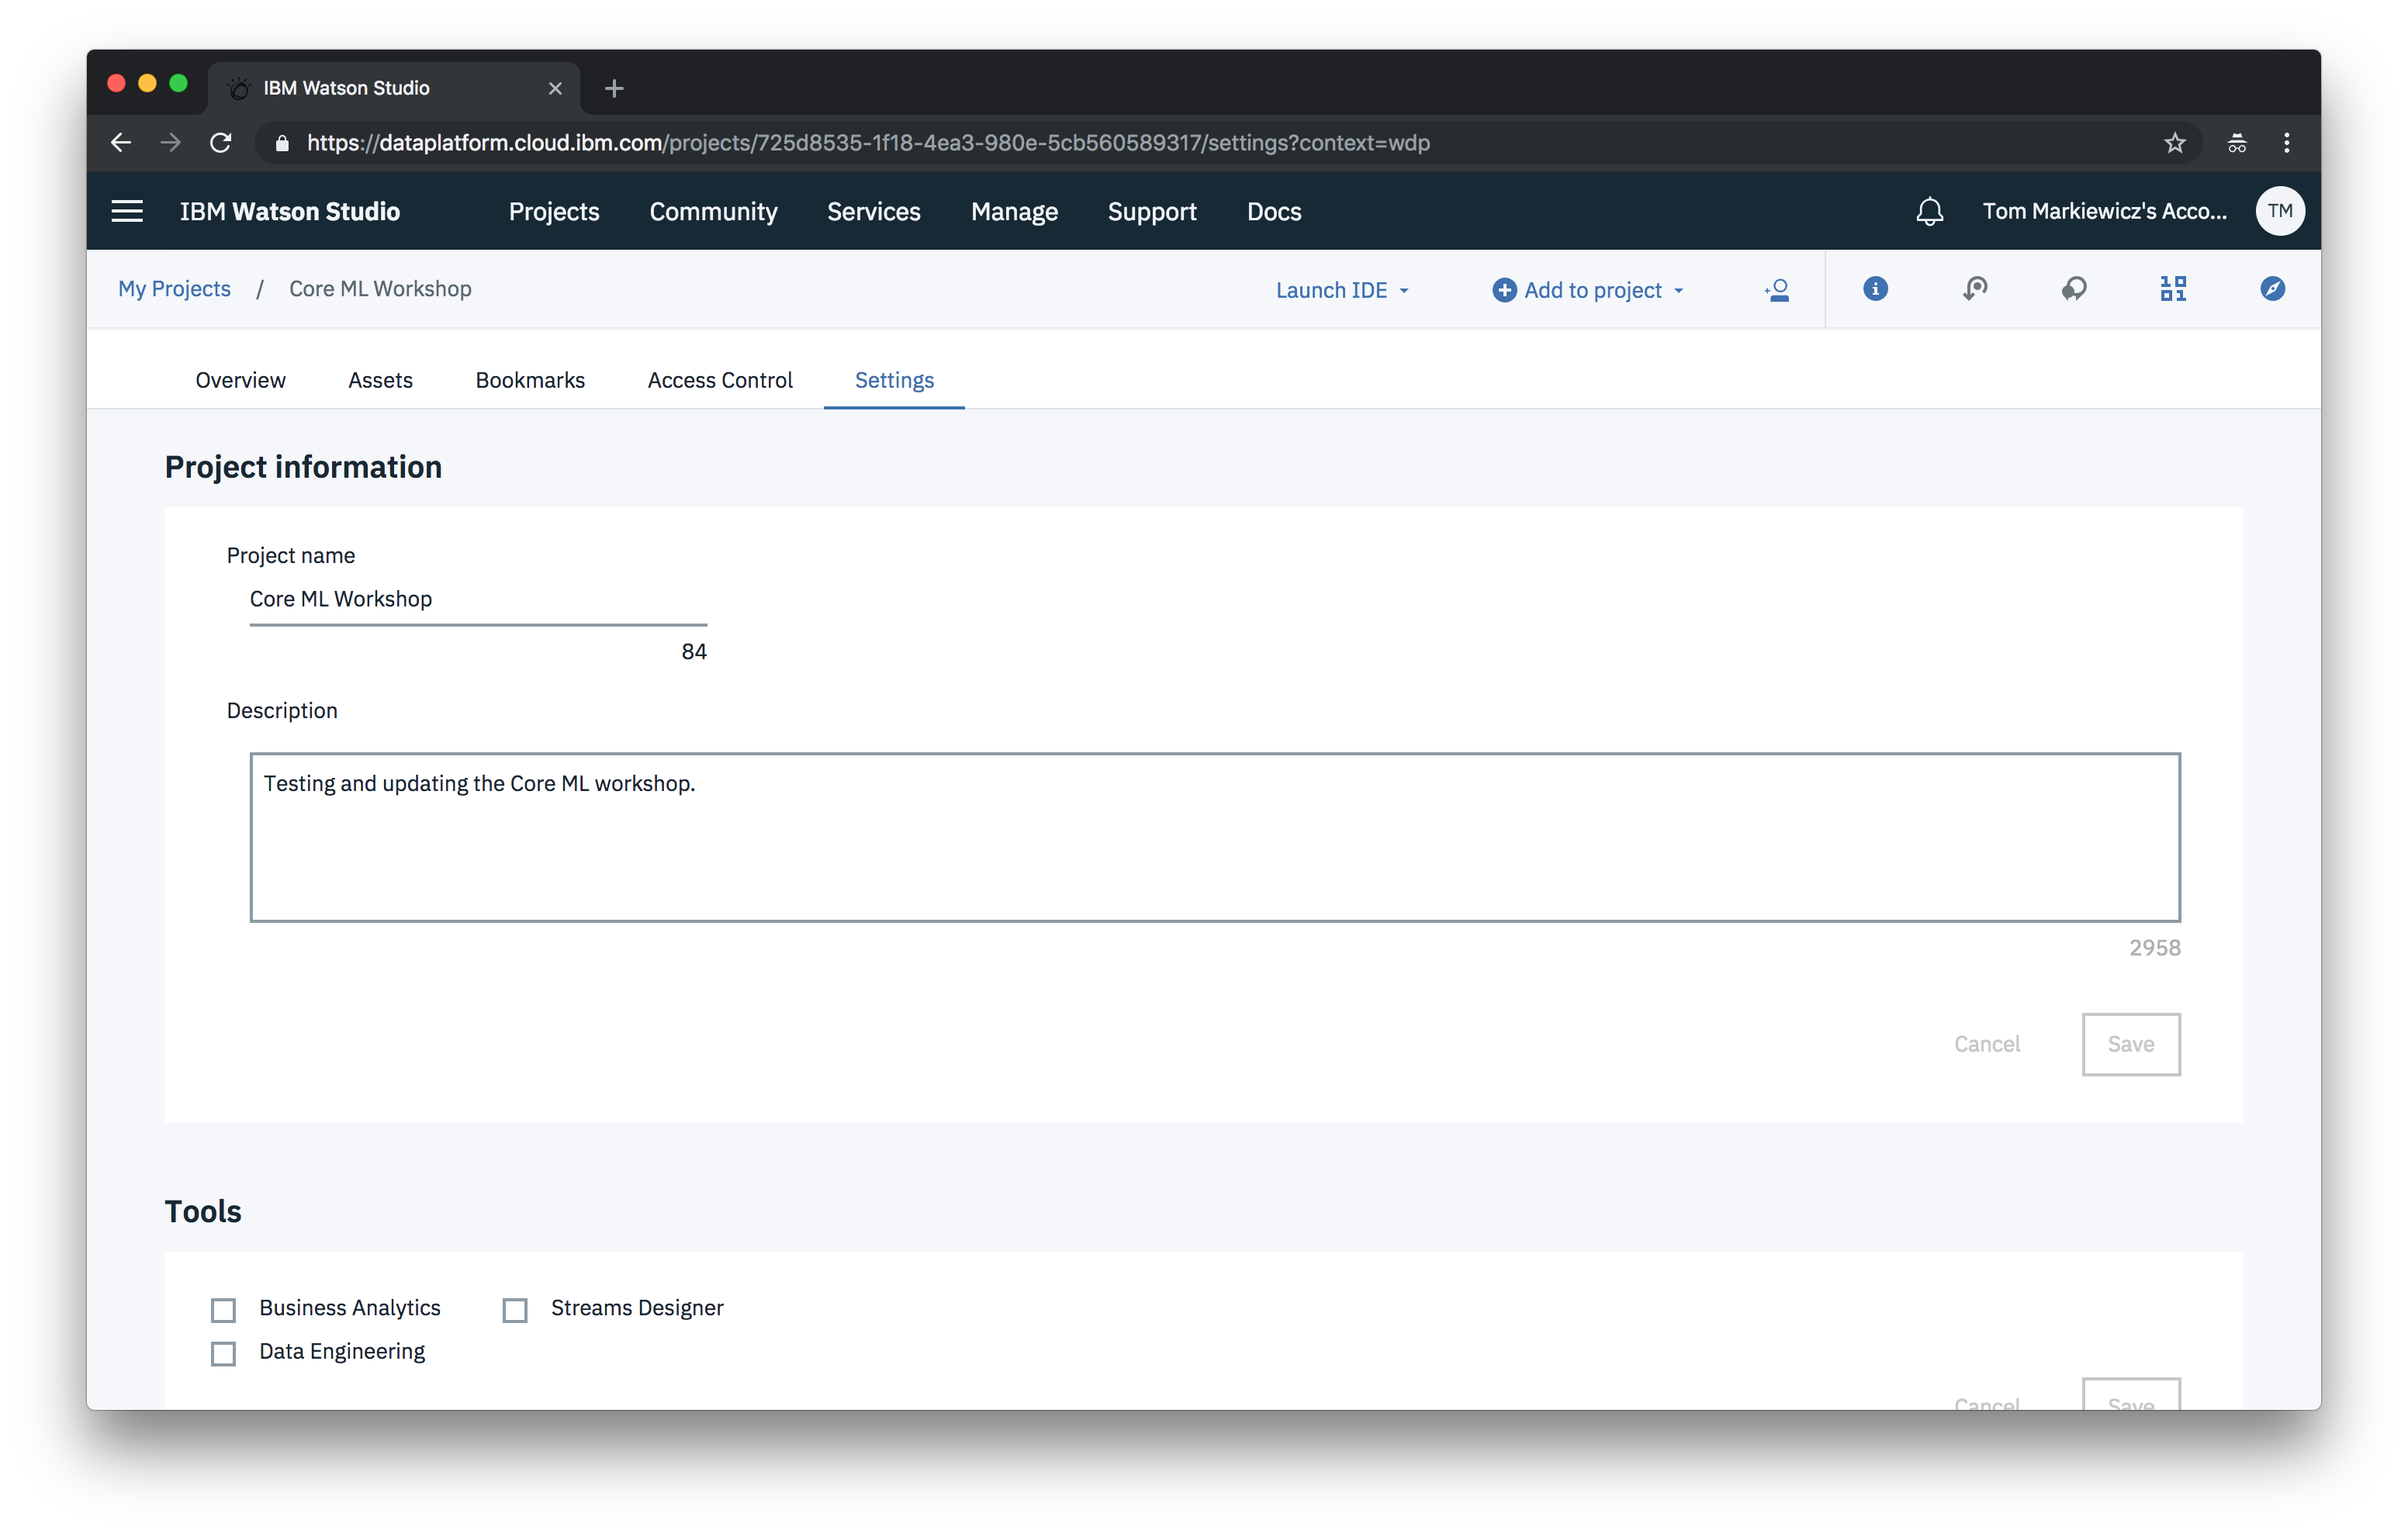
Settings
The settings page is where we finish setting up our project. We can also change things like the name of our project and the description.
However, the important thing we need to do here now is attach a new Visual Recognition service to our project.
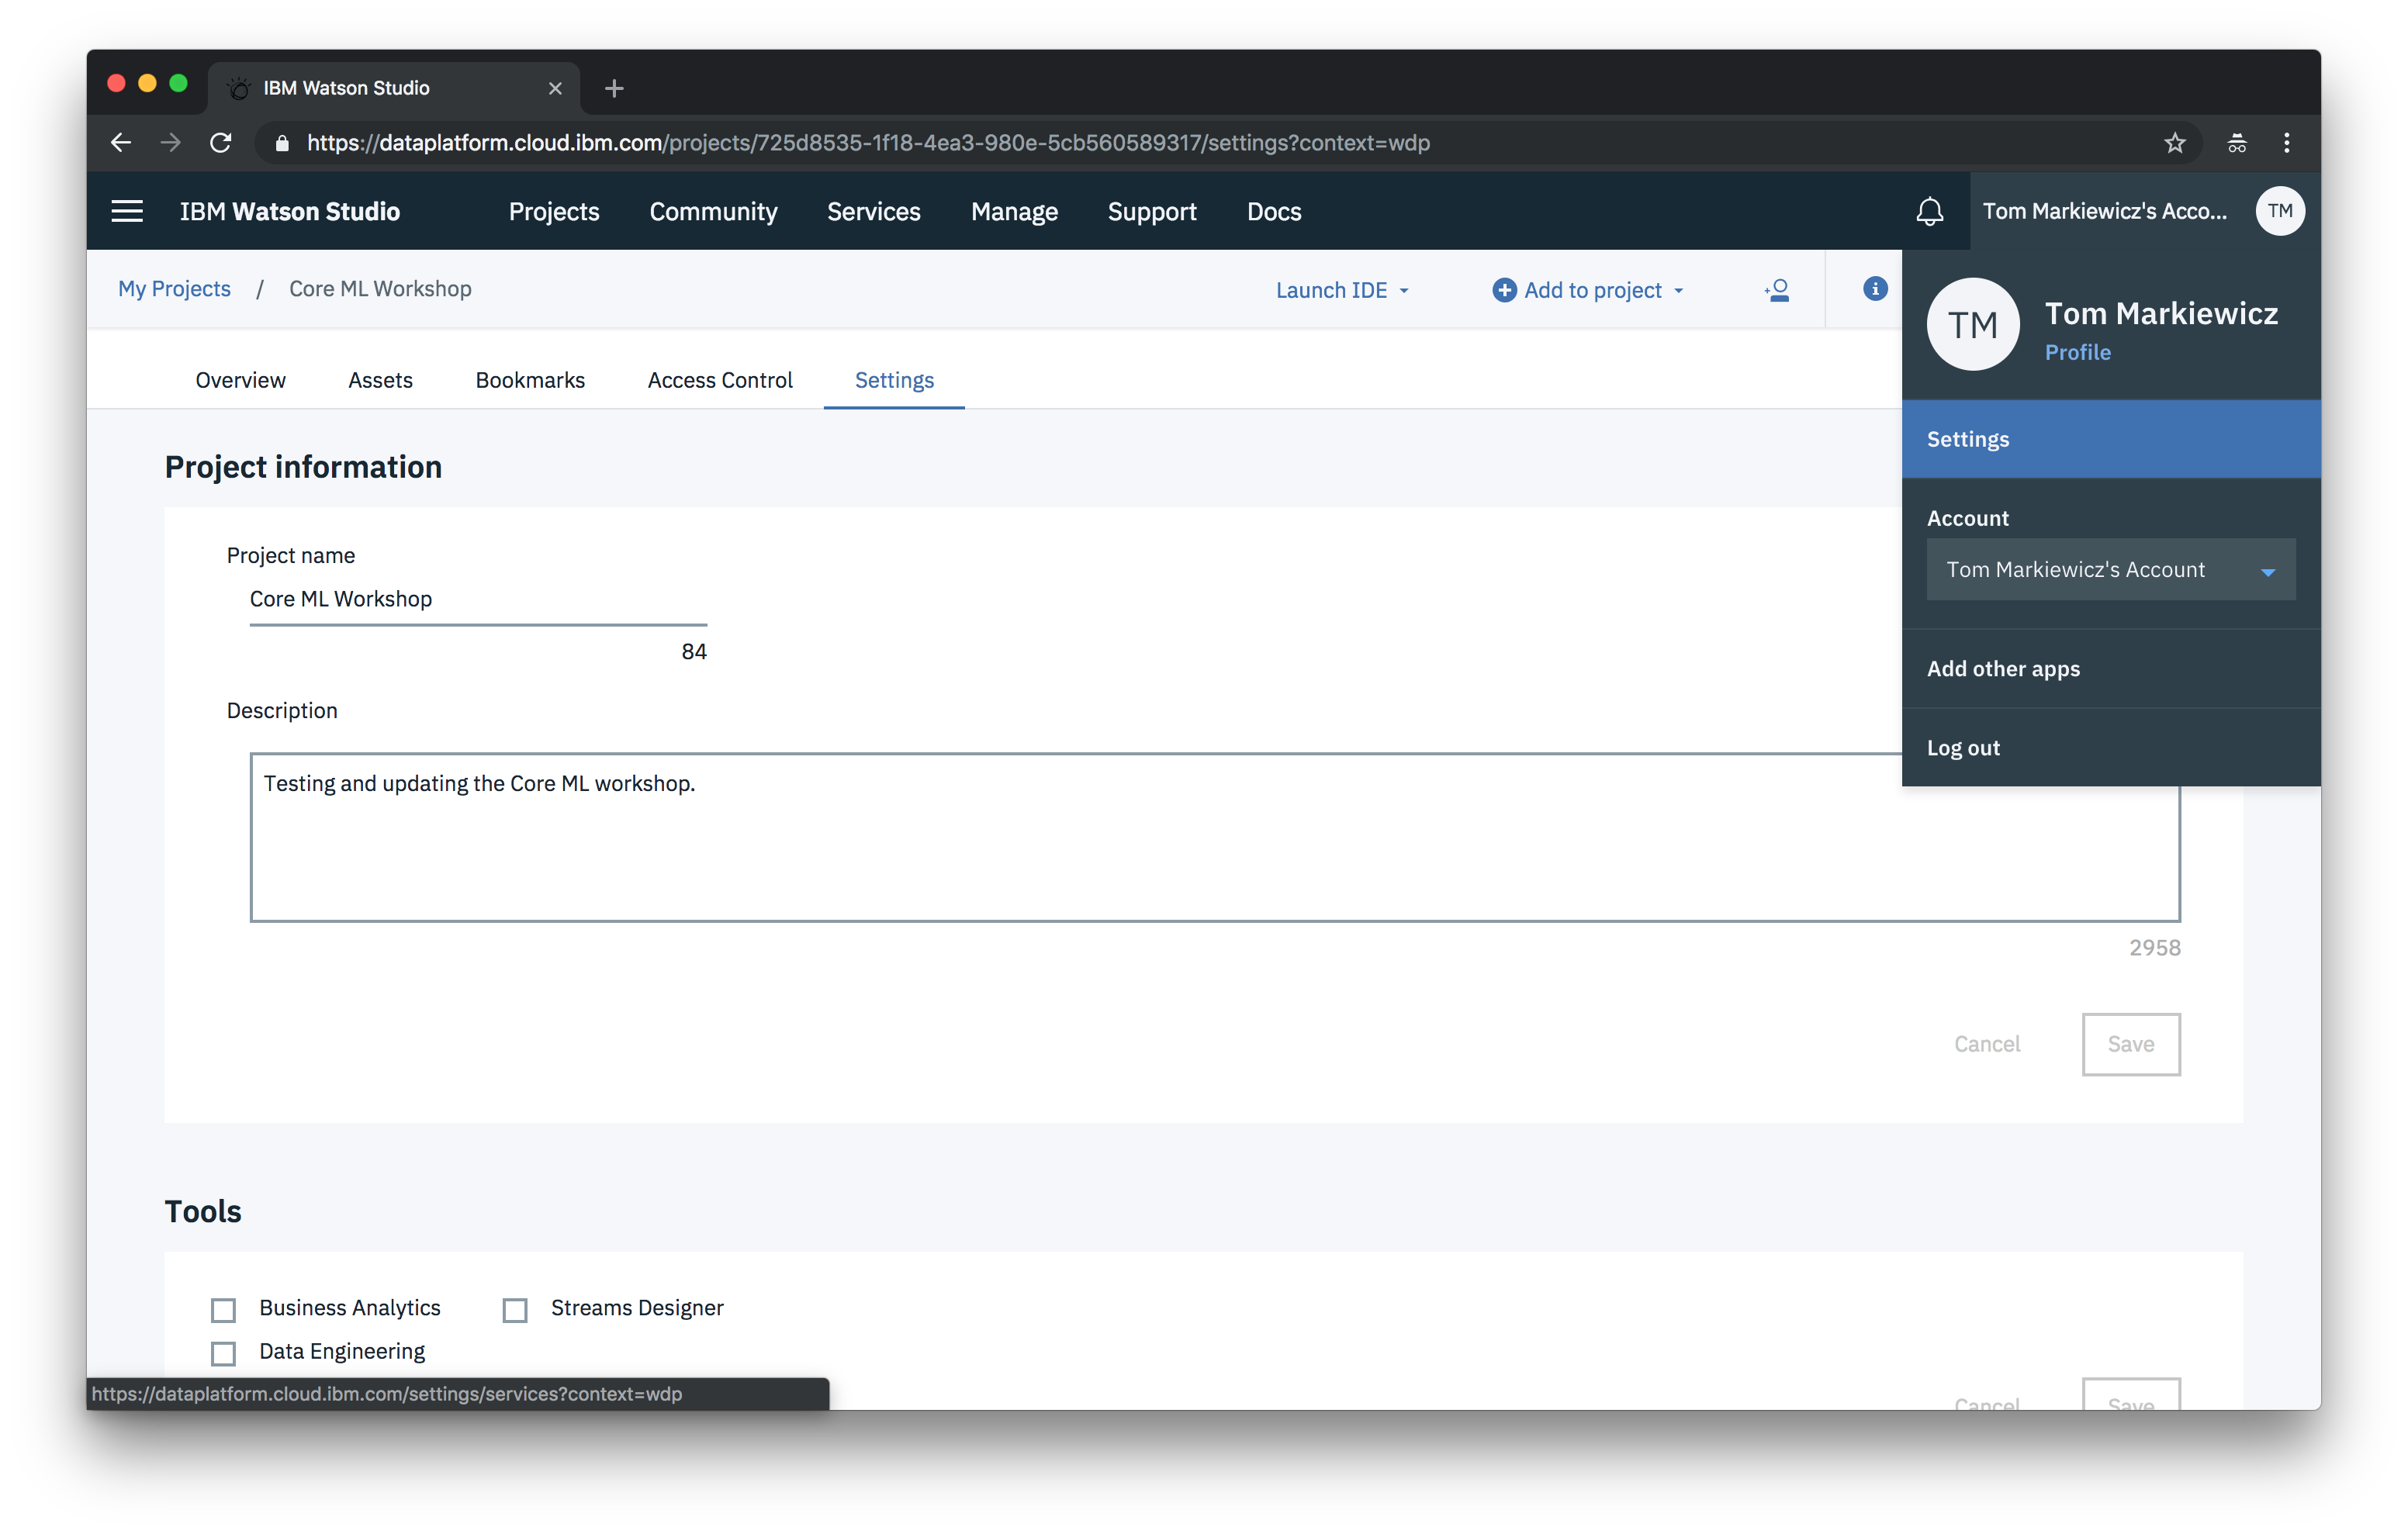
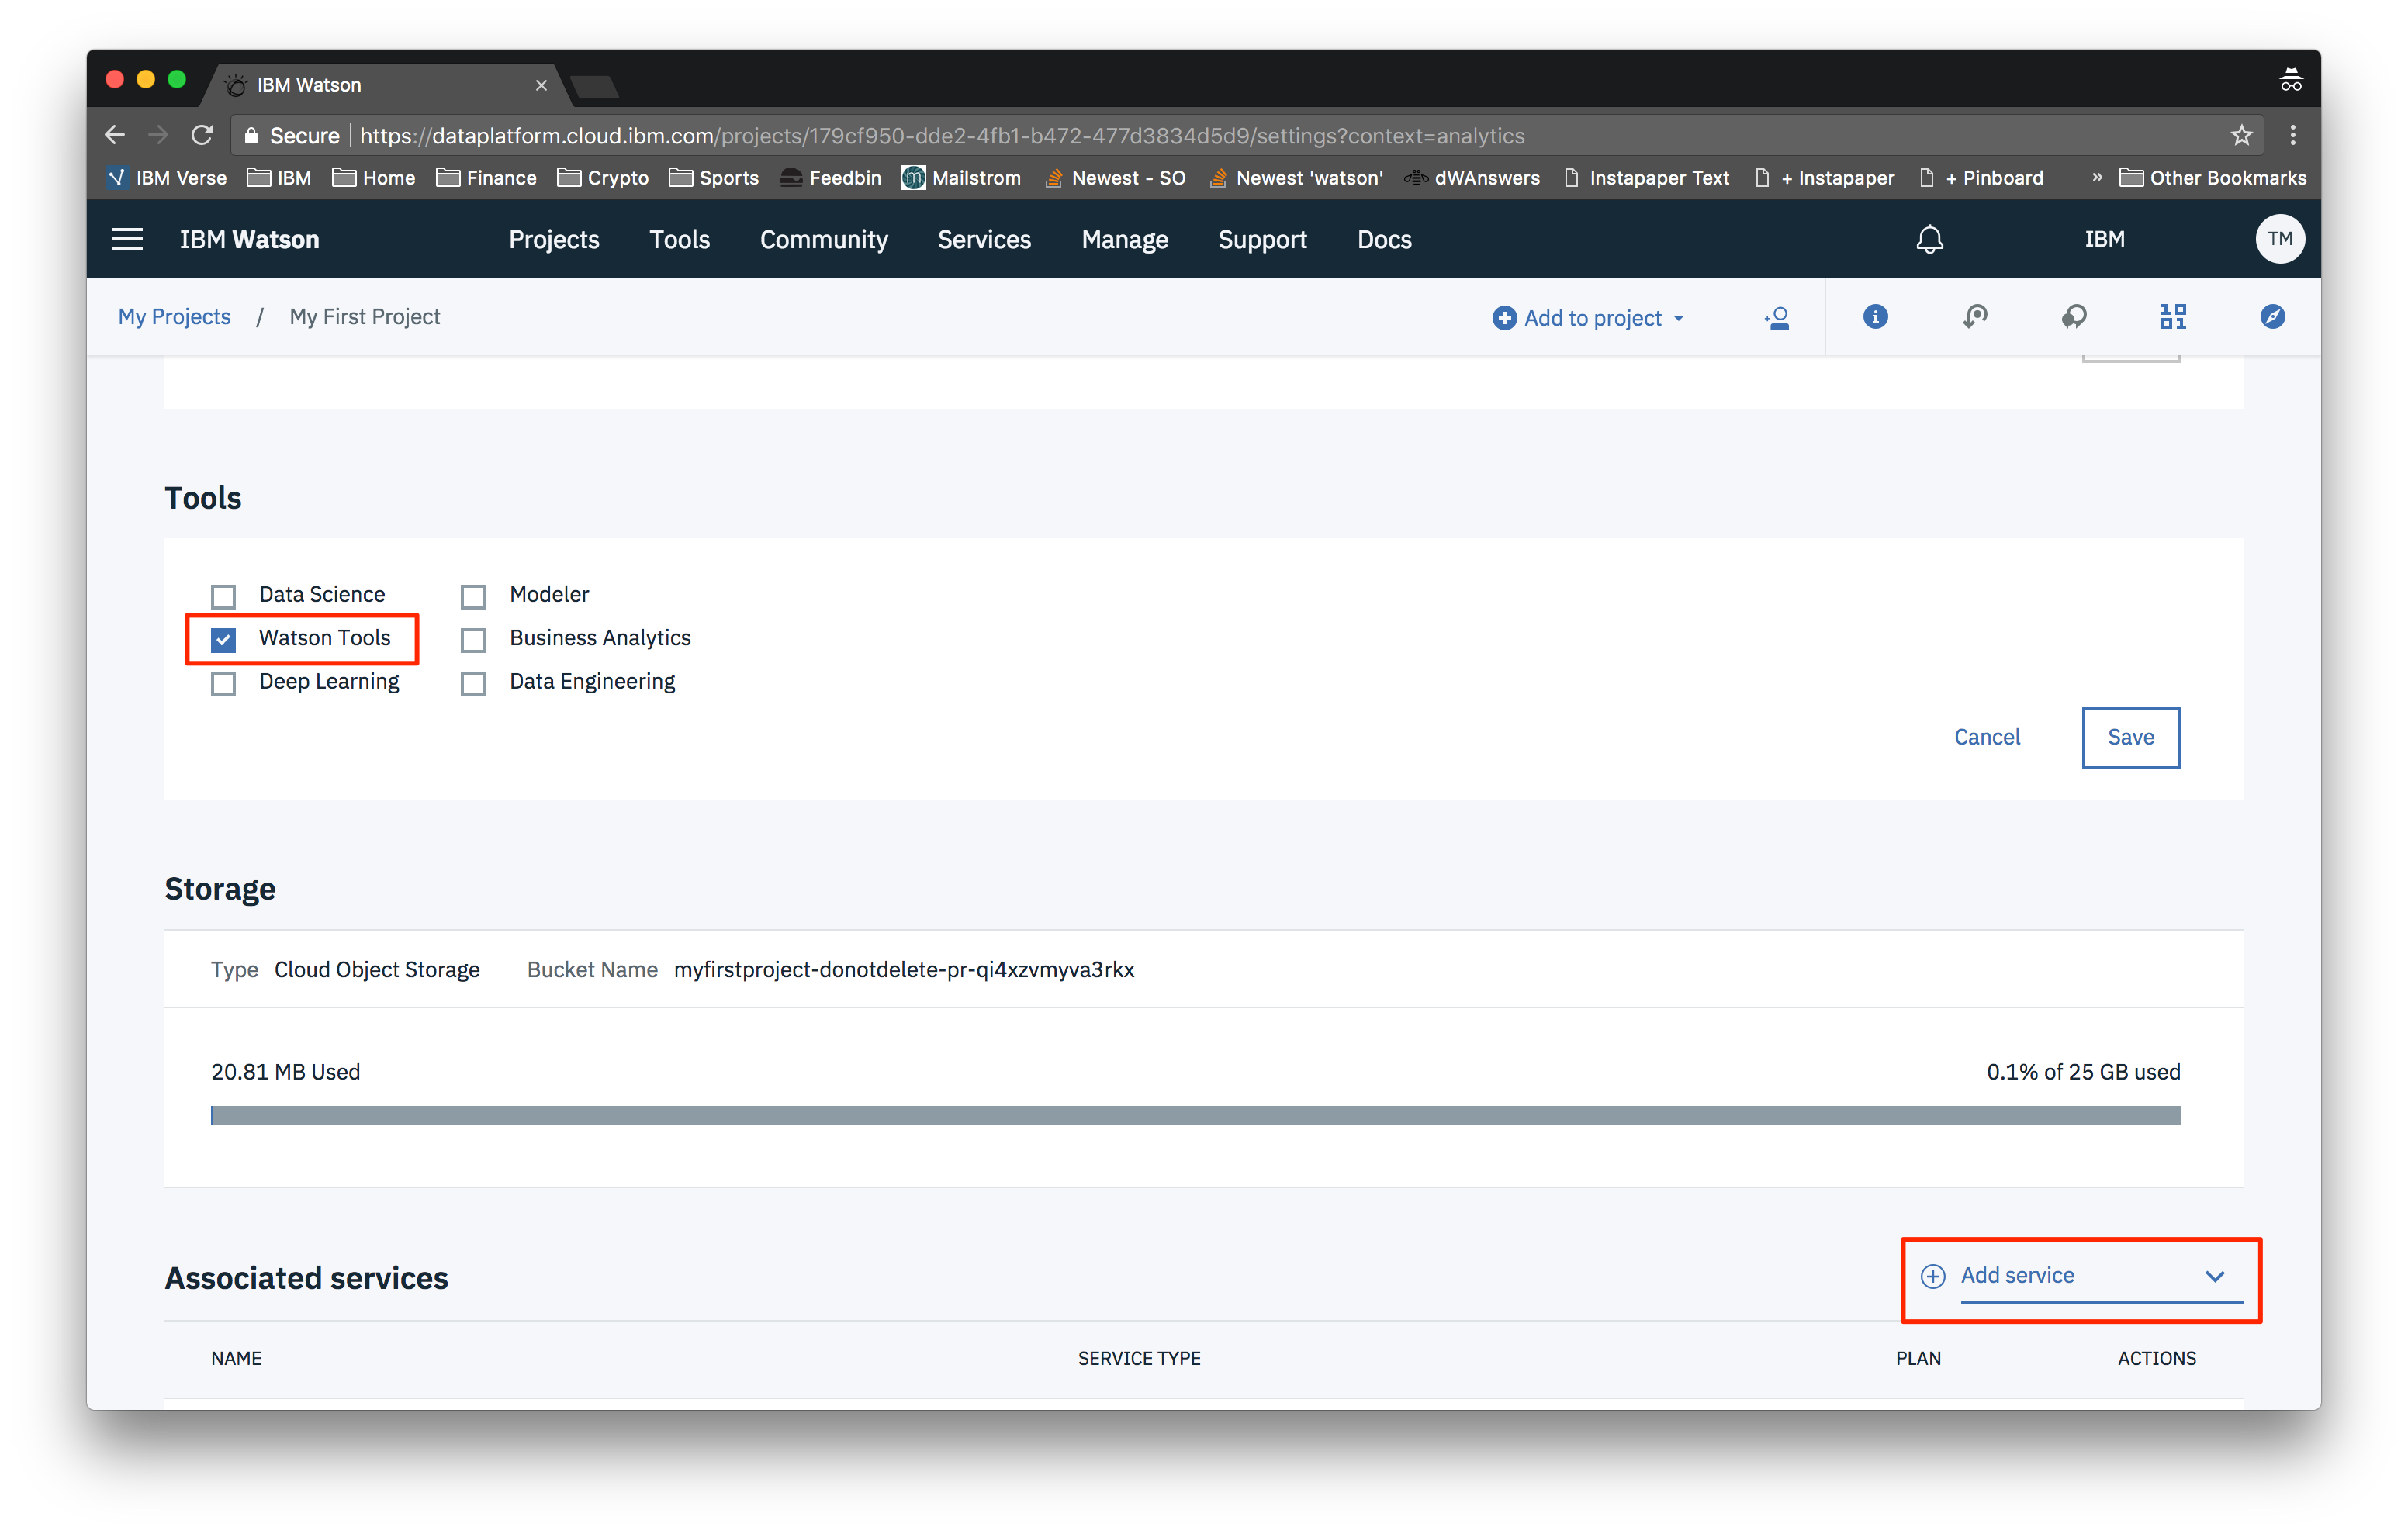
Click on the Settings tab.
First, ensure that Watson Tools is checked under Tools. This will unlock special abilities for our project, like creating a new Visual Recognition model. Once checked, make sure you save the change.
If you do not see an option for Watson Tools, you will need to perform the following steps.
In the upper right hand corner of the page, click on the link for Your Name’s Account
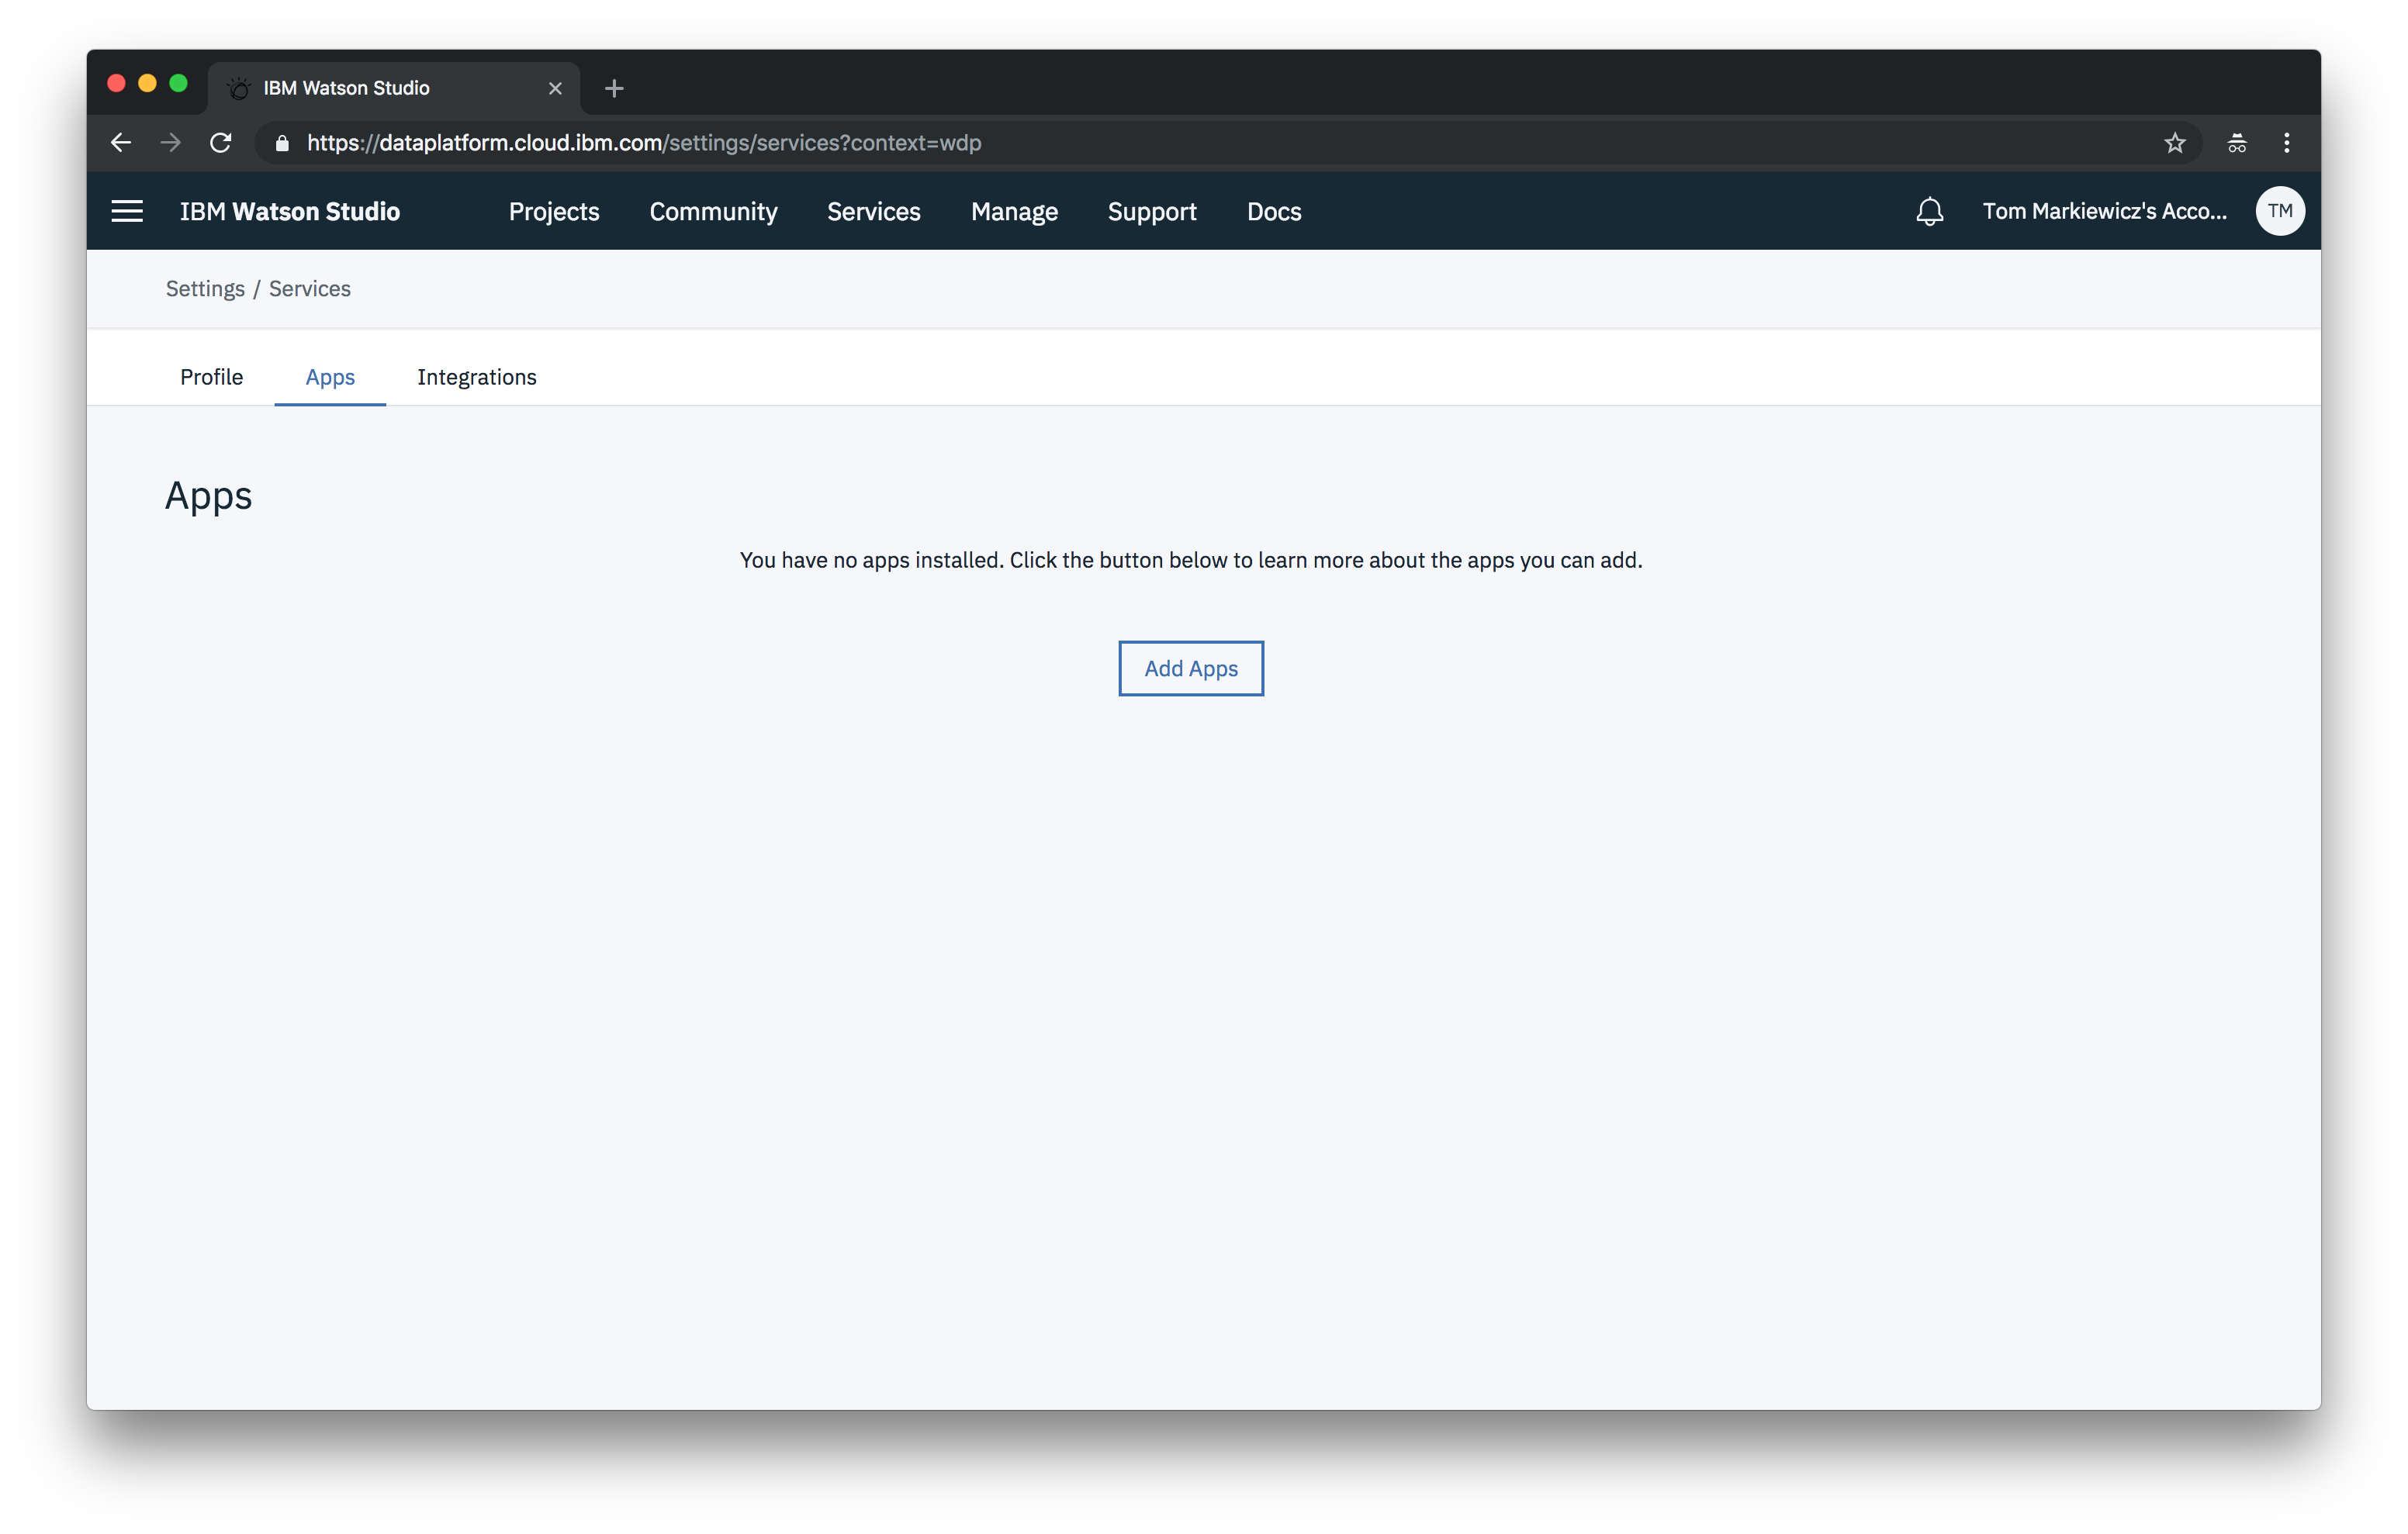
Next, click the link for Settings. This will take you a page displaying a link to Add Apps. Click this link.
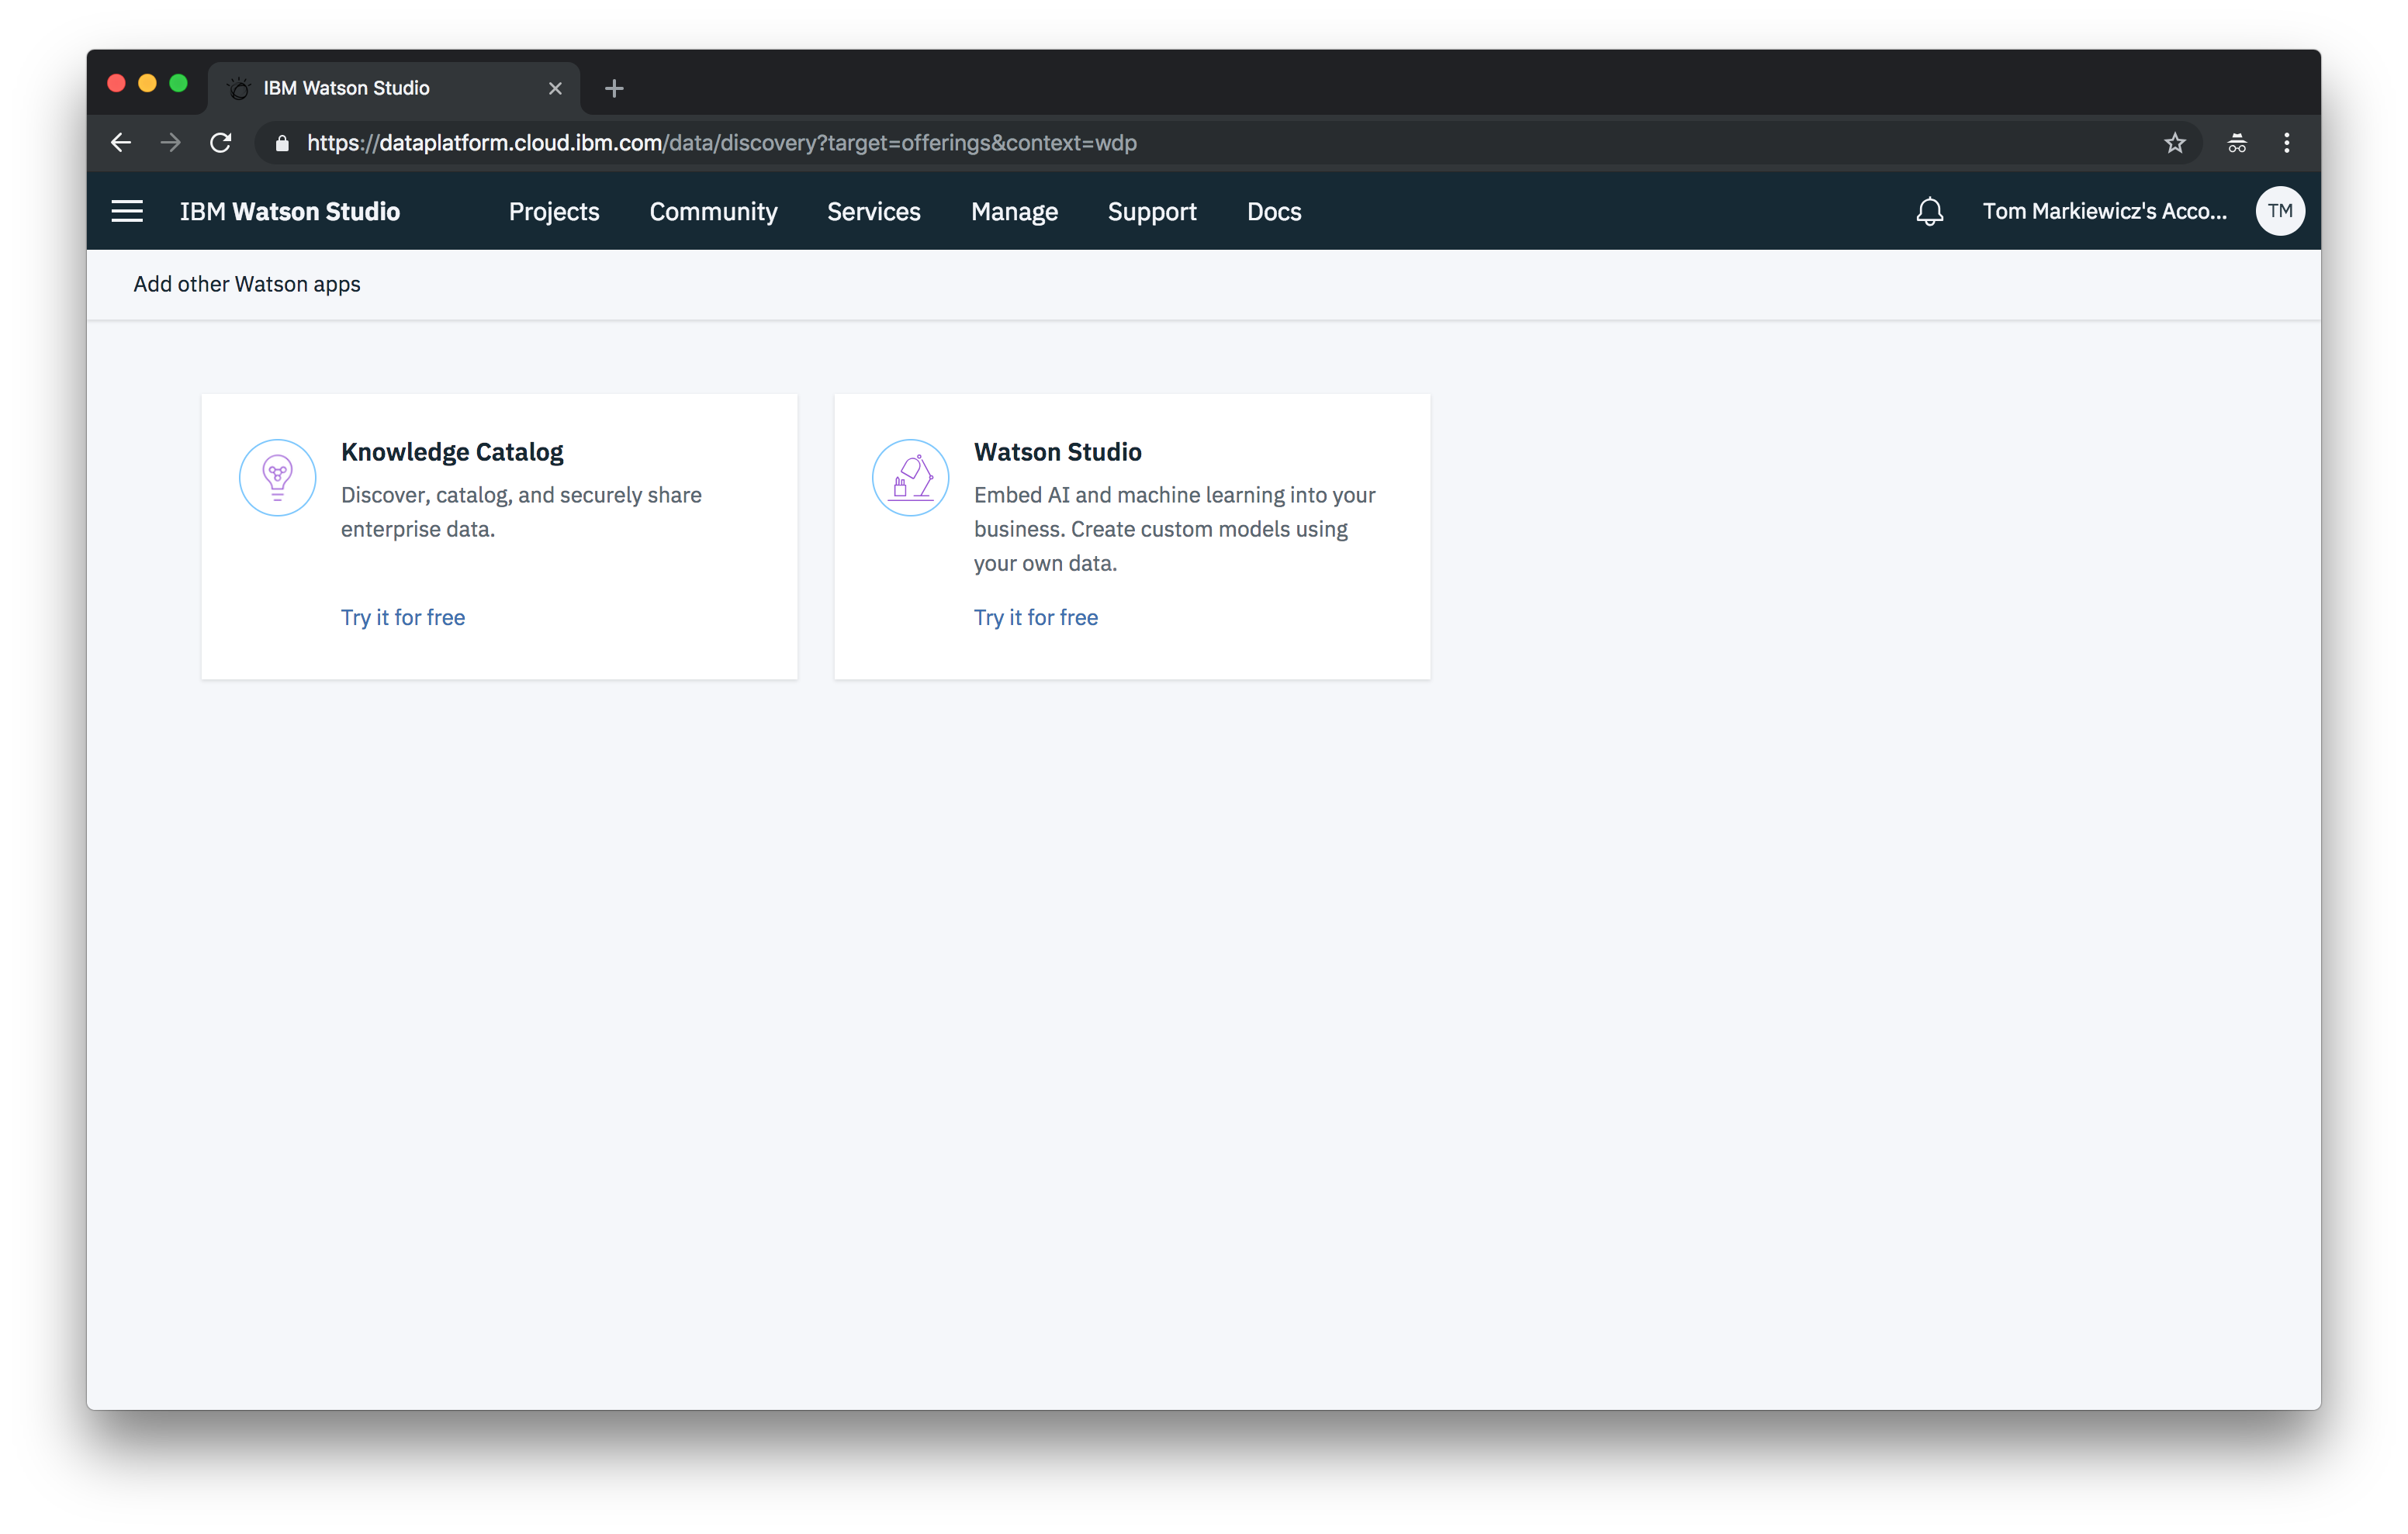
Select Watson Studio by clicking the Try it for free link.
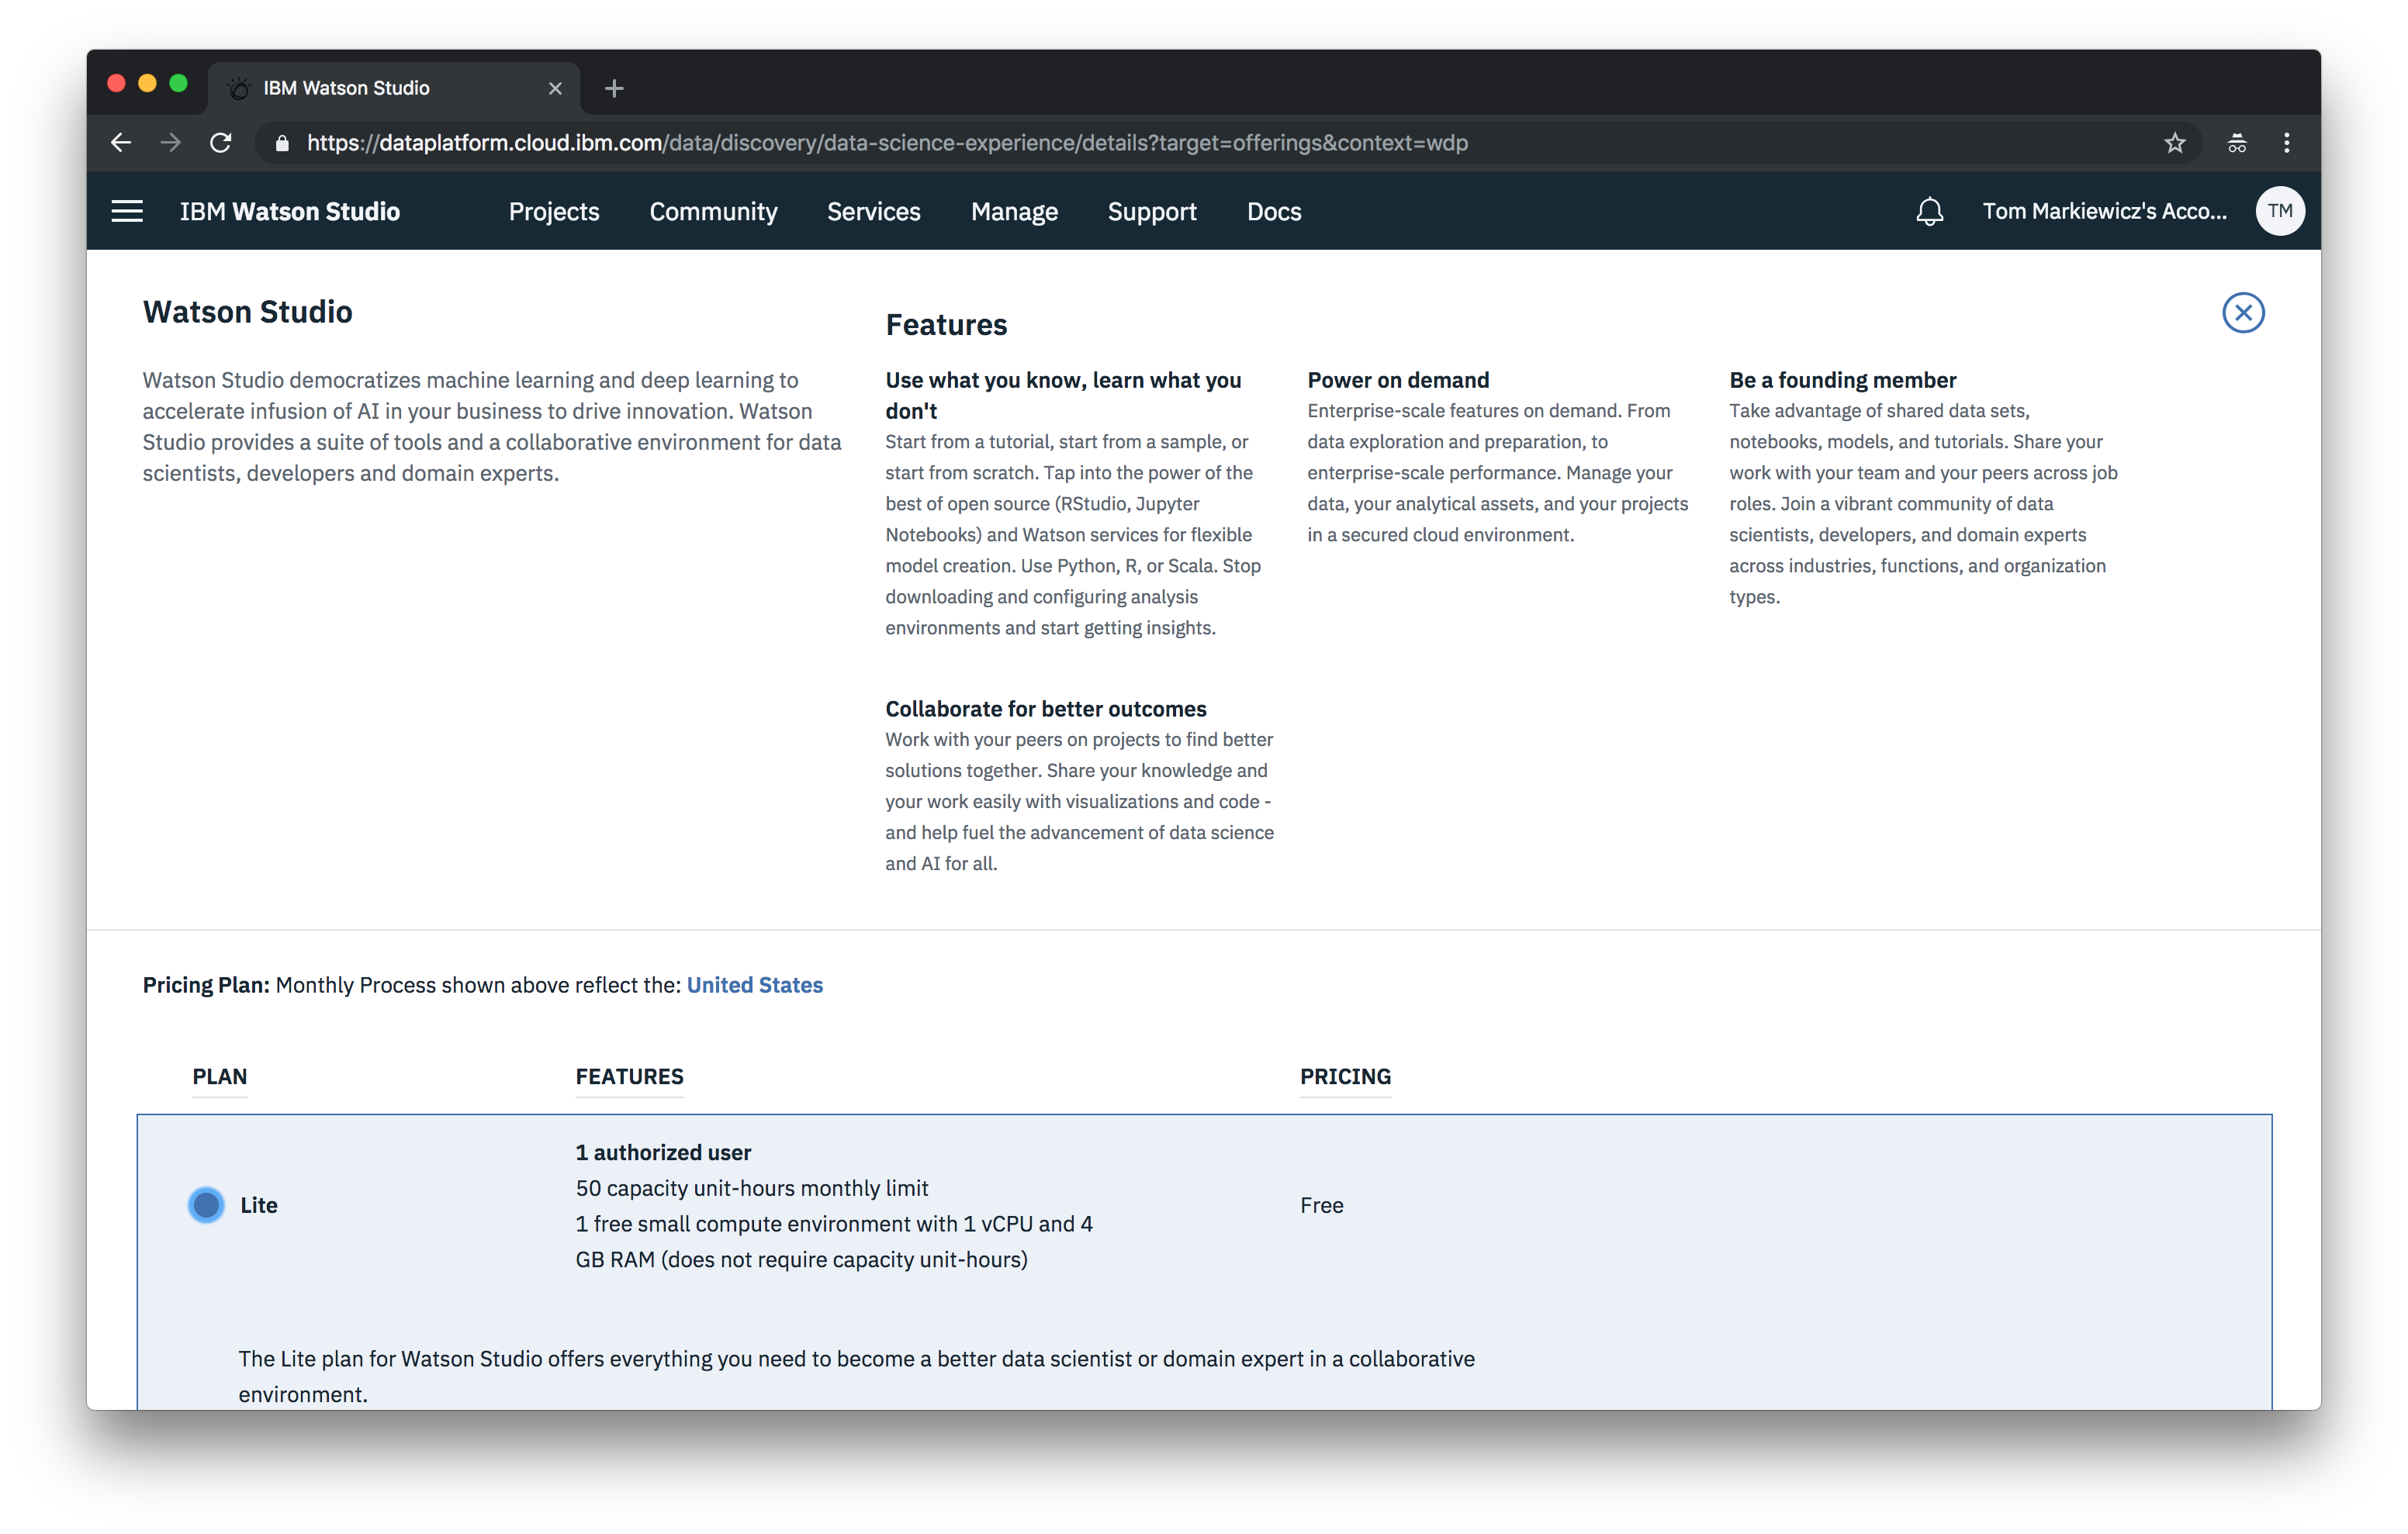
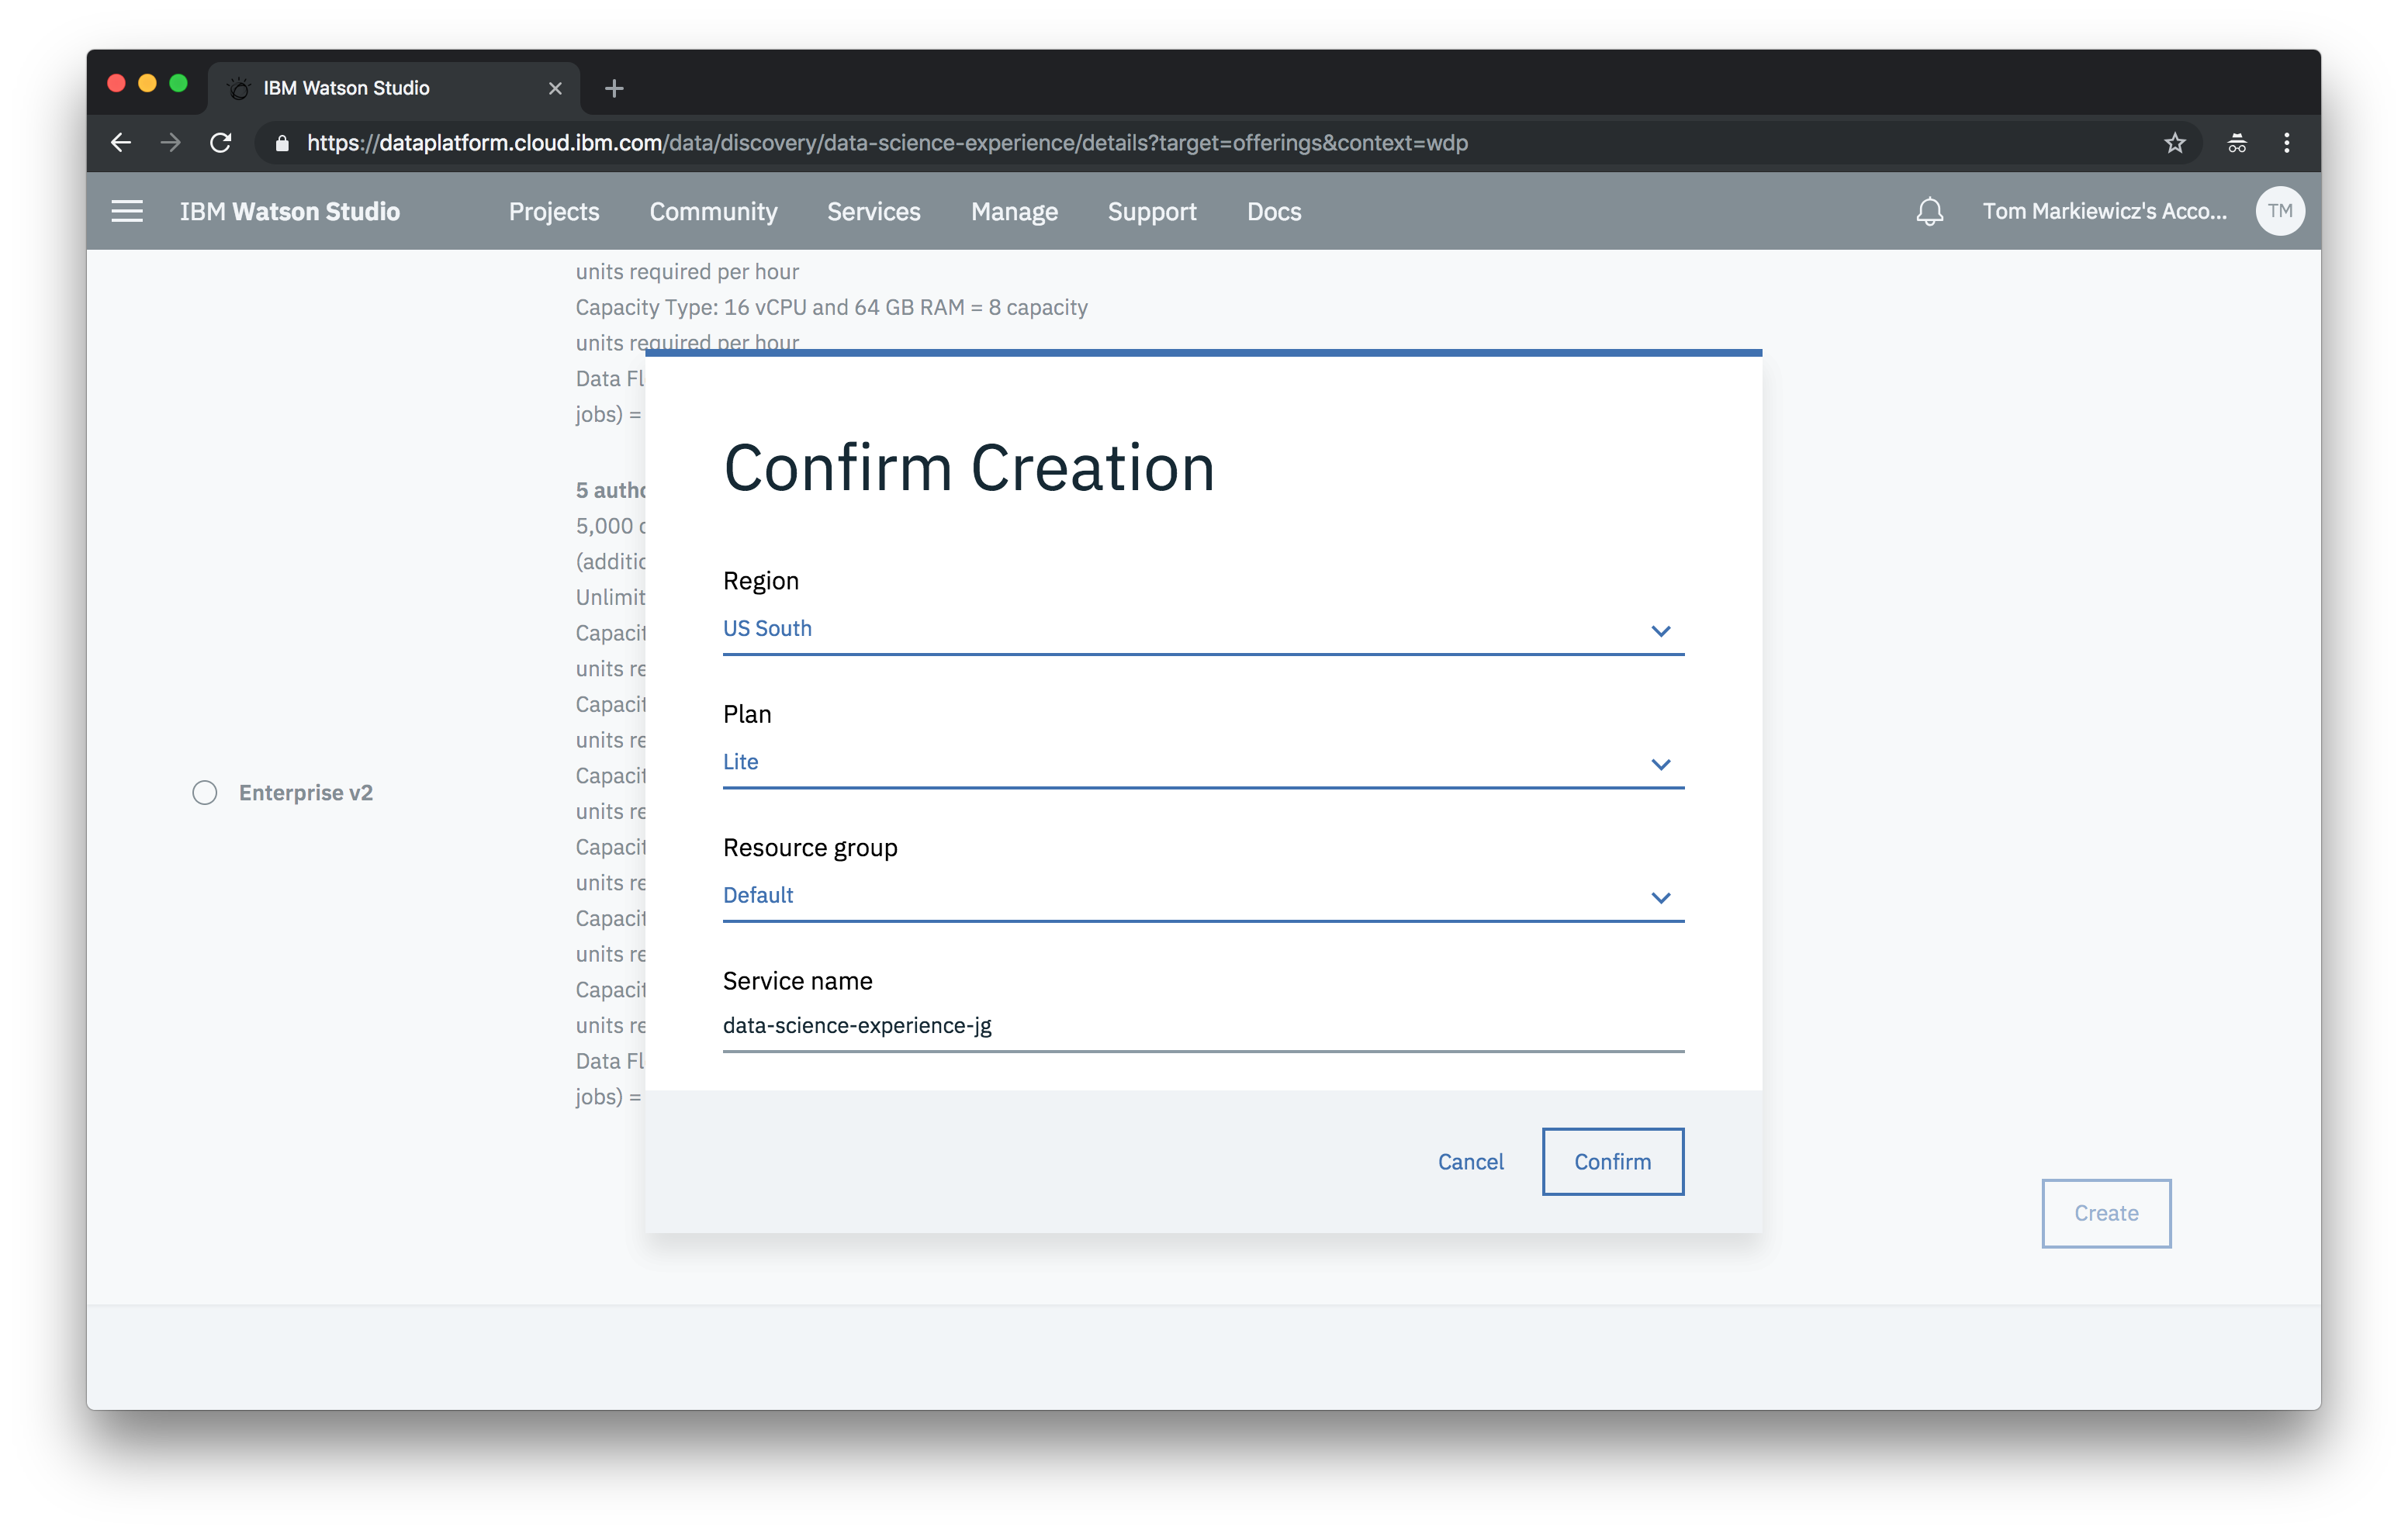
From the pricing plans, select the Lite plan and click Create.
Next, confirm its creation.
You’re now taken to the Watson Studio dashboard.
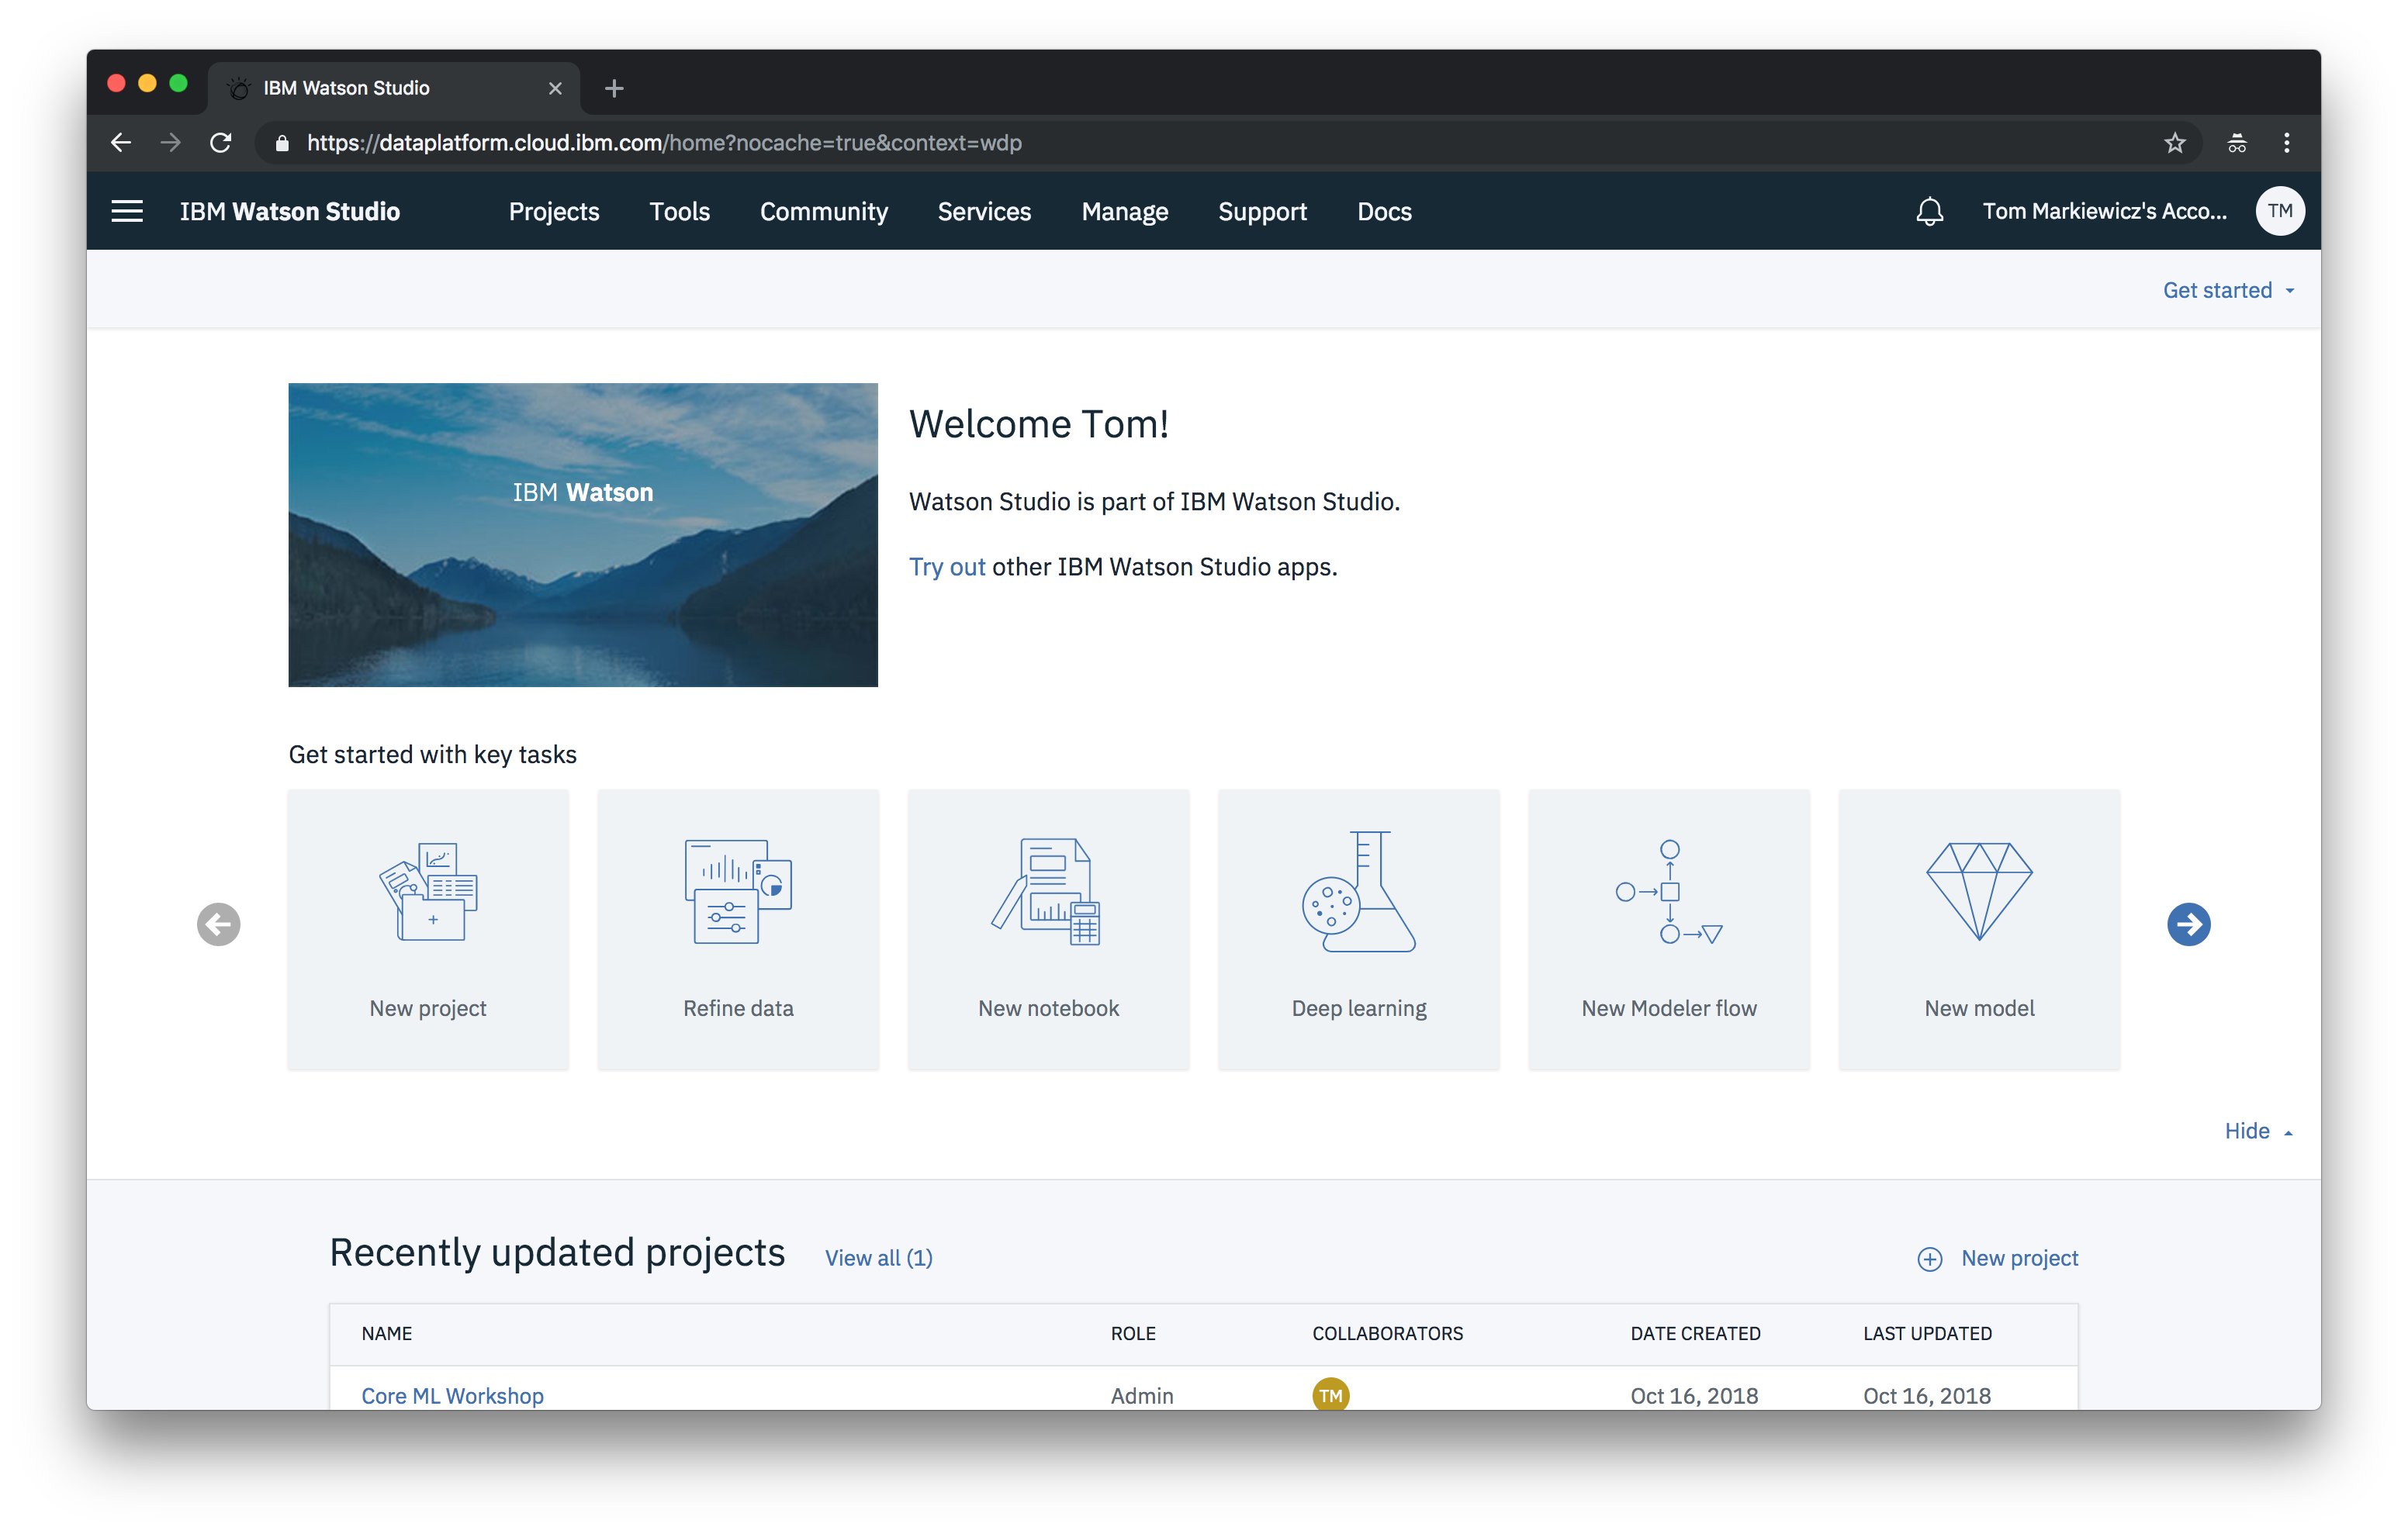
From here, you’ll need to go back to your project. From either the top navigation under Projects or in the Recently updated projects section, click on the link for your project to return.
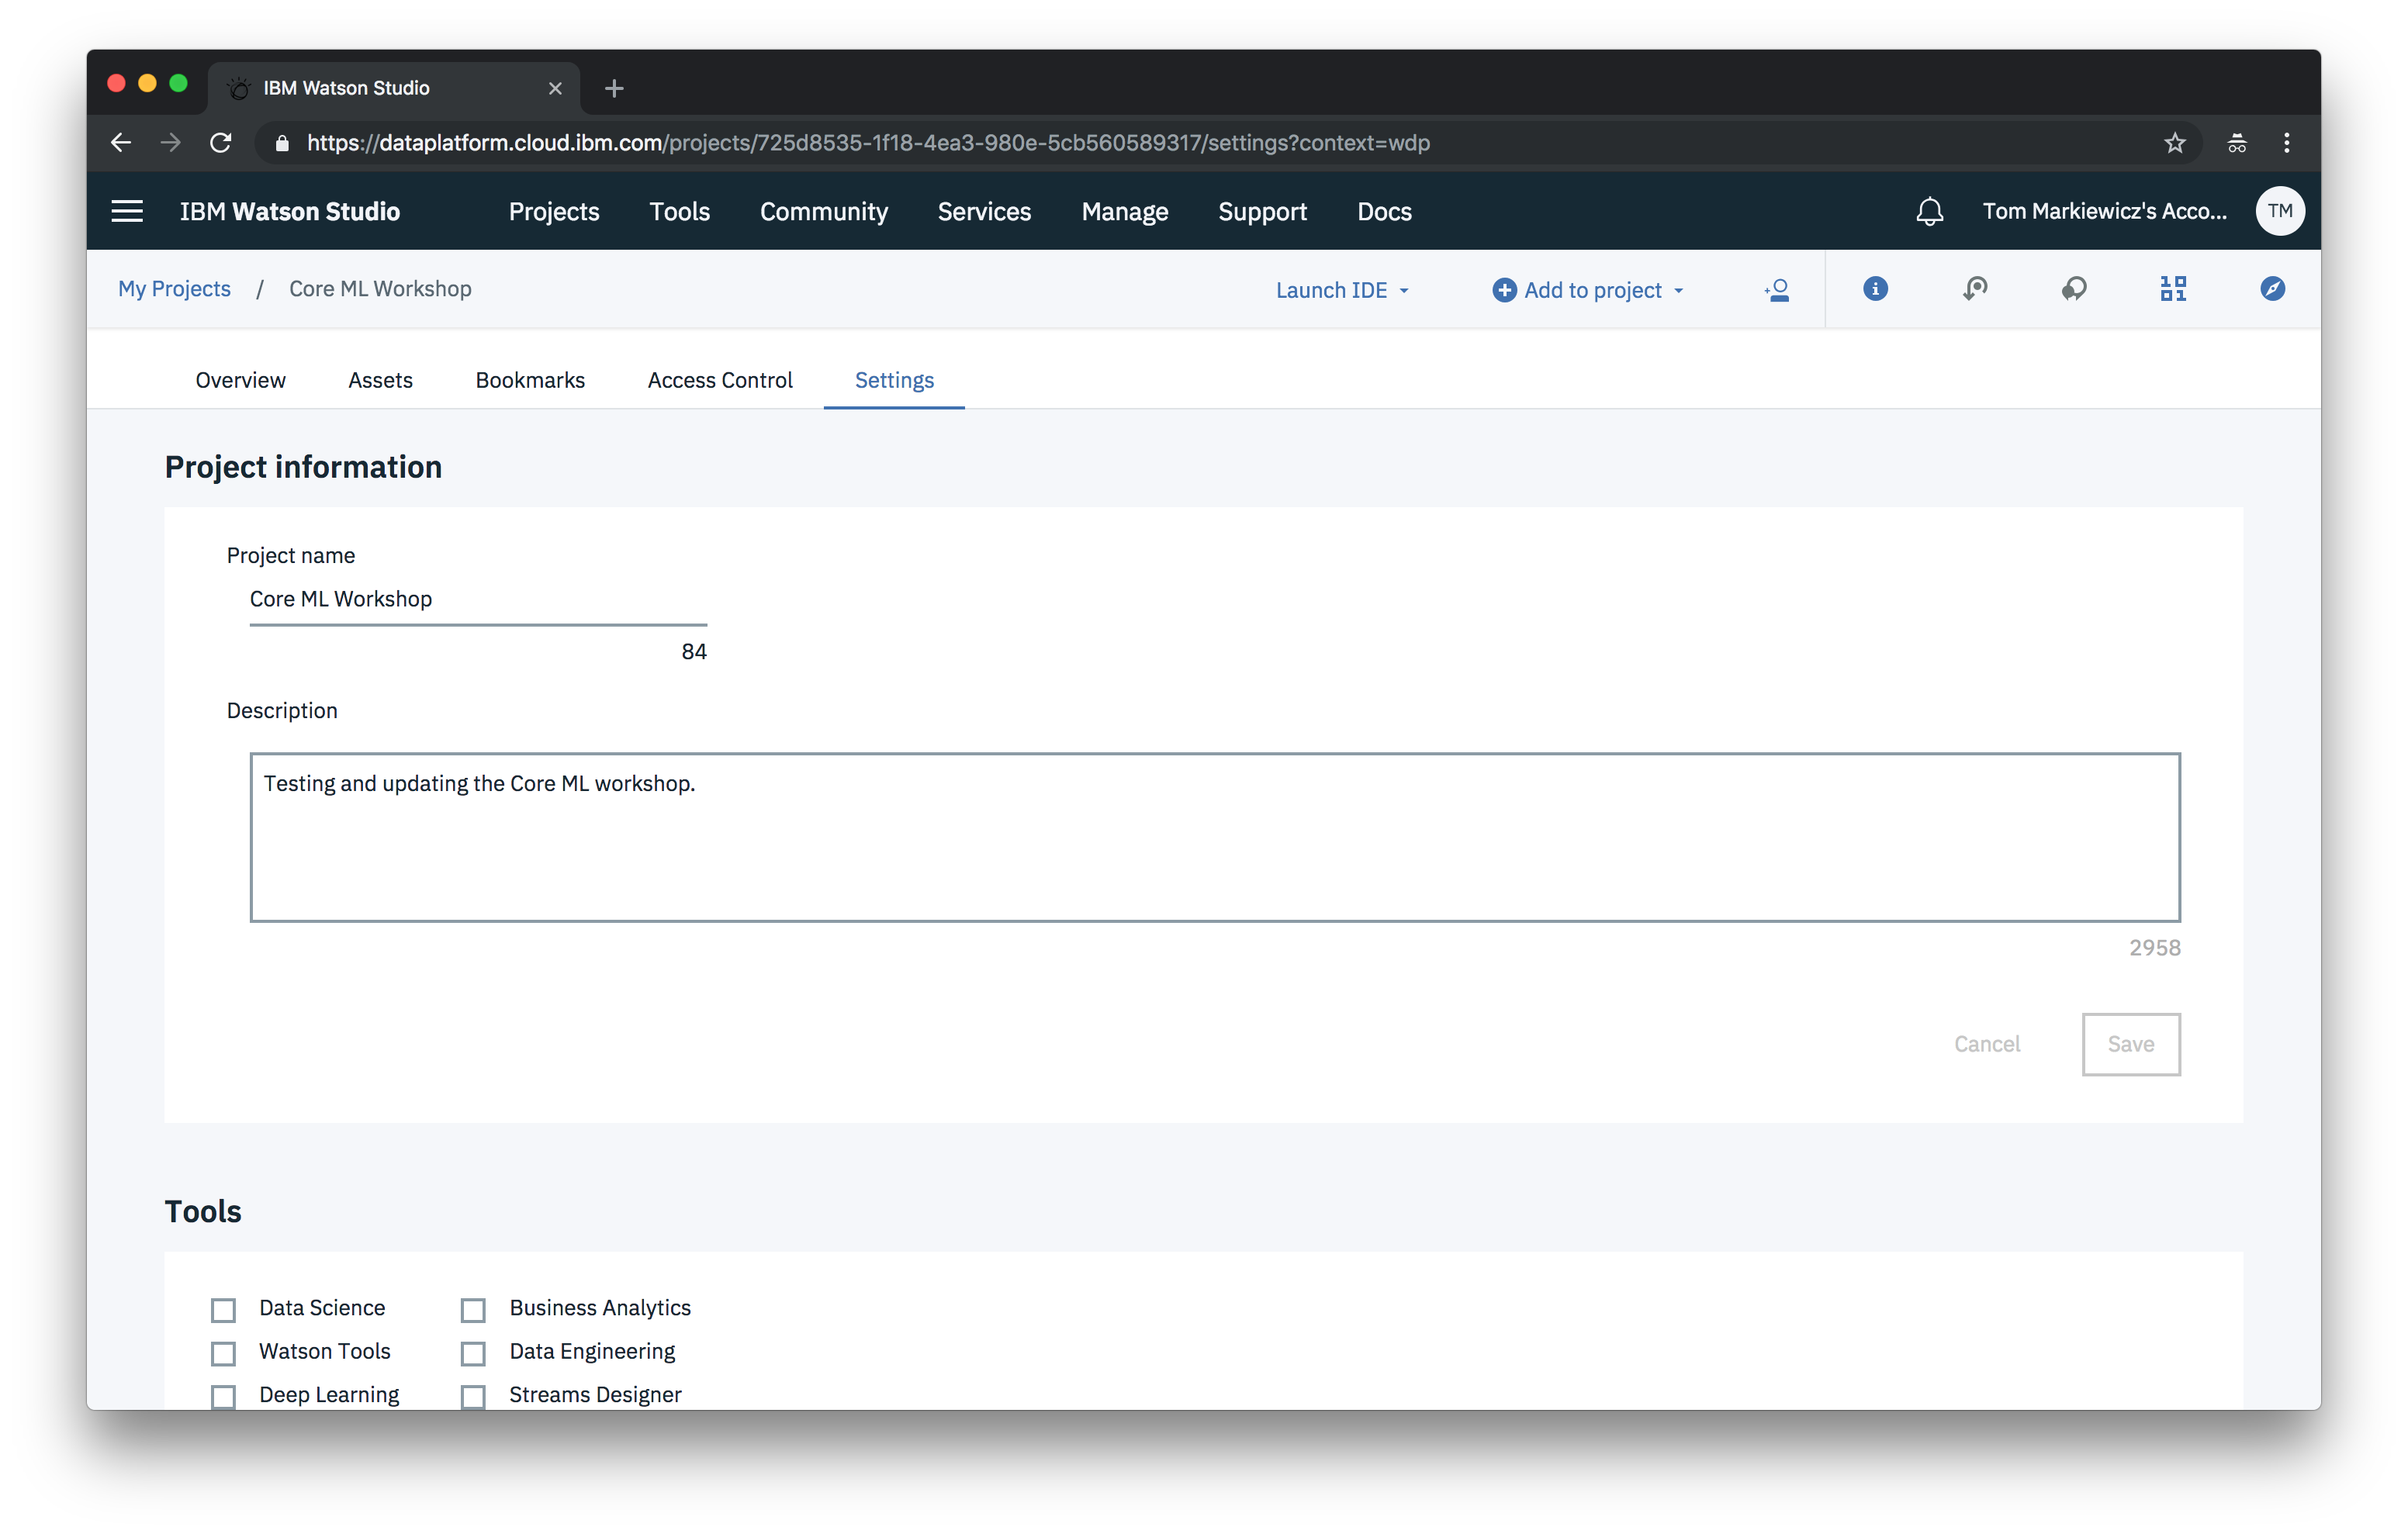
Back in your project, click on Settings and look for the Tools section. Here you should now see Watson Tools as an unchecked option.
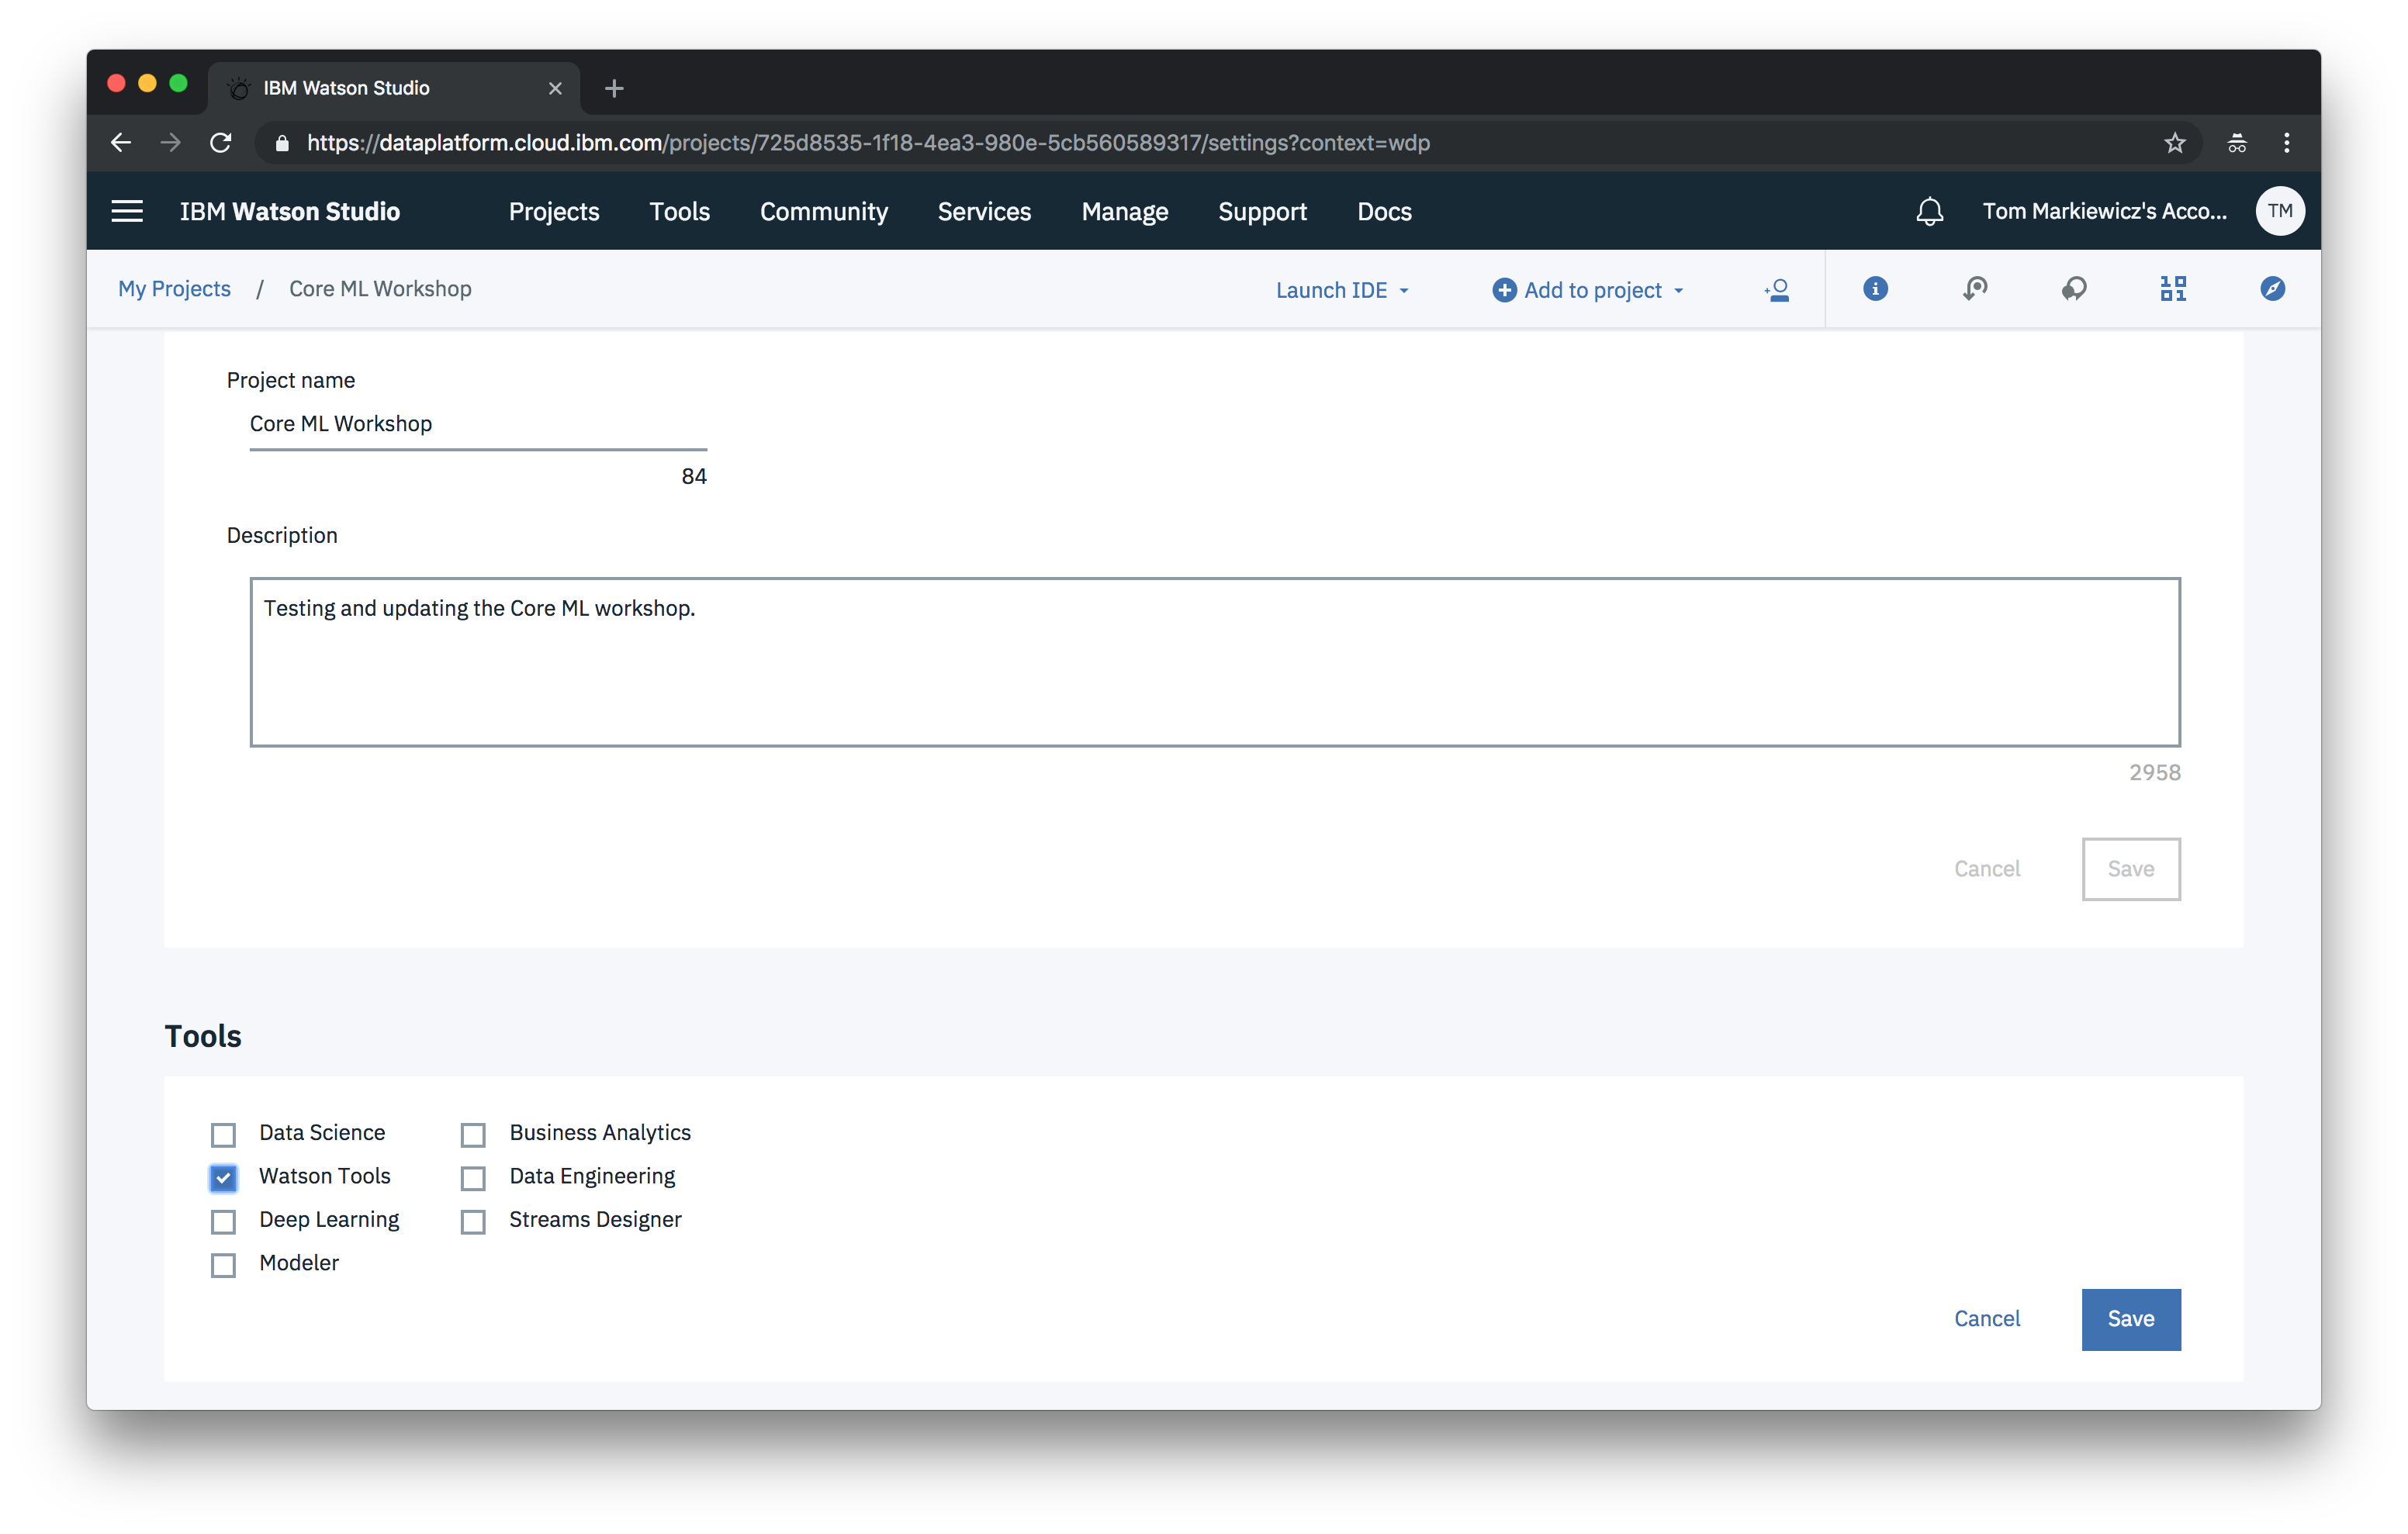
Now that Watson Tools is connected, make sure you save the change.
In order for us to be able to create a model, we need to spin up a Watson service called Visual Recognition. We can do this by clicking the Add service dropdown under Associated services.
Choose Watson.
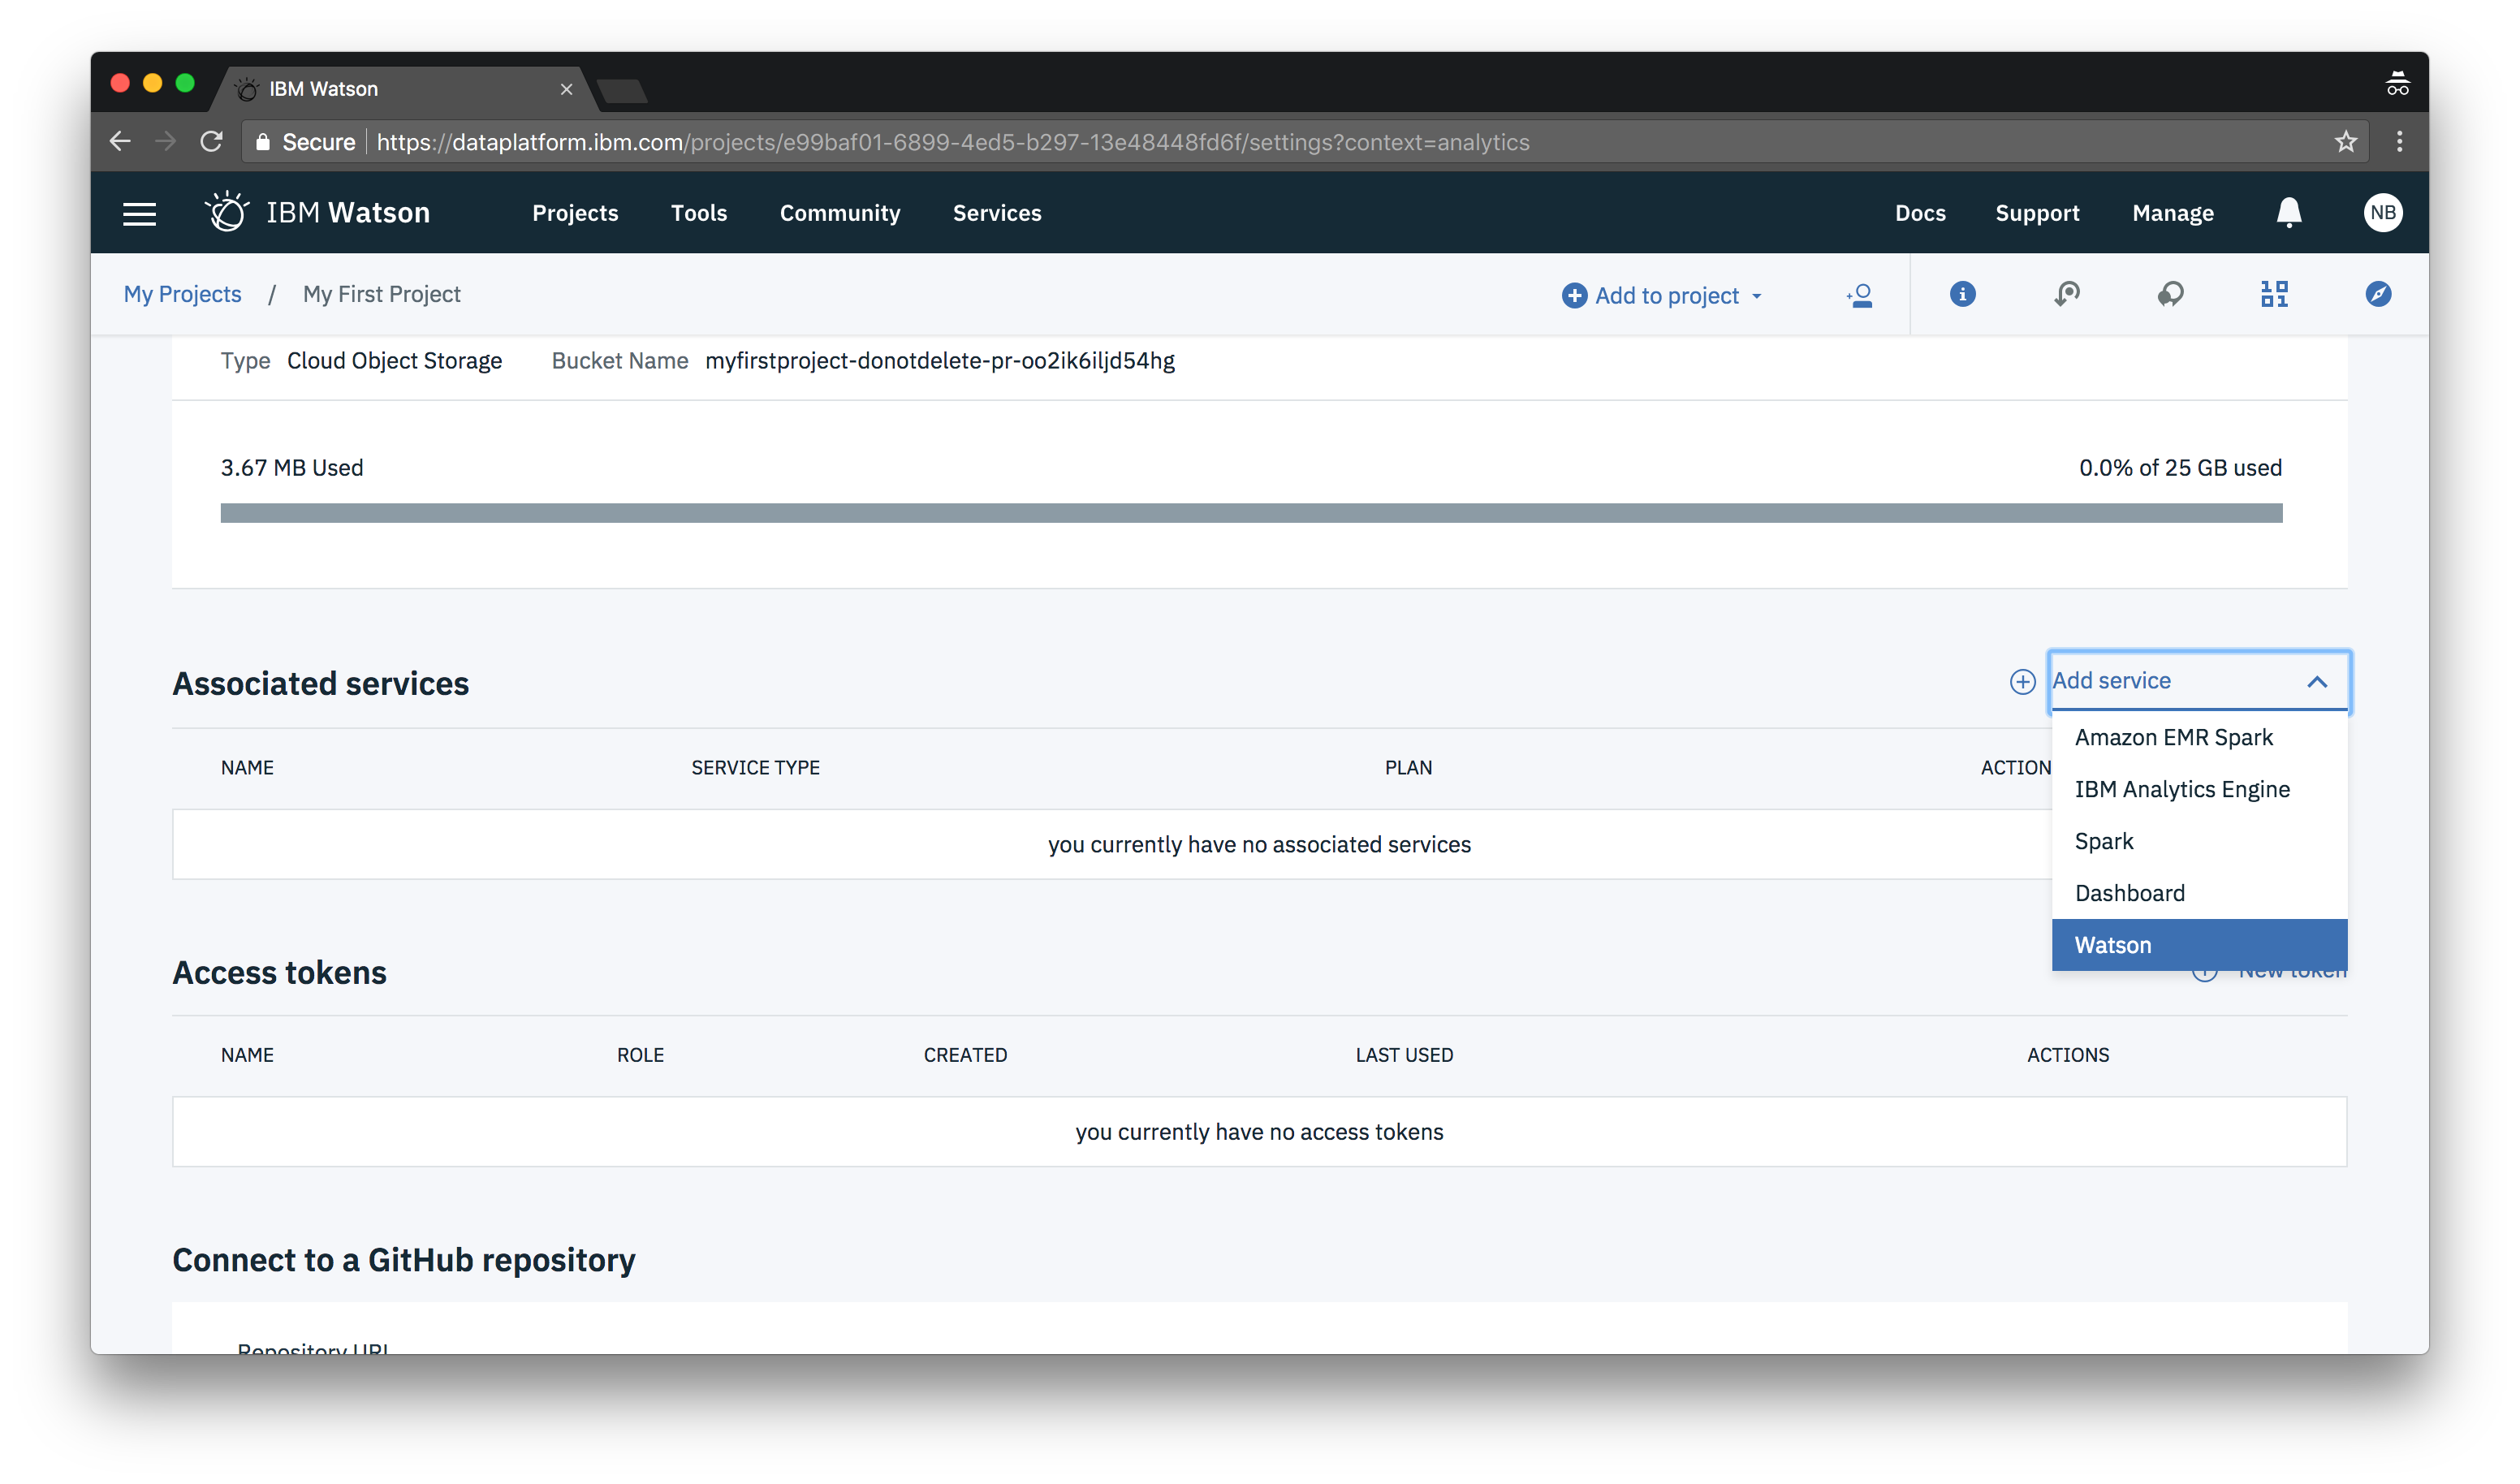
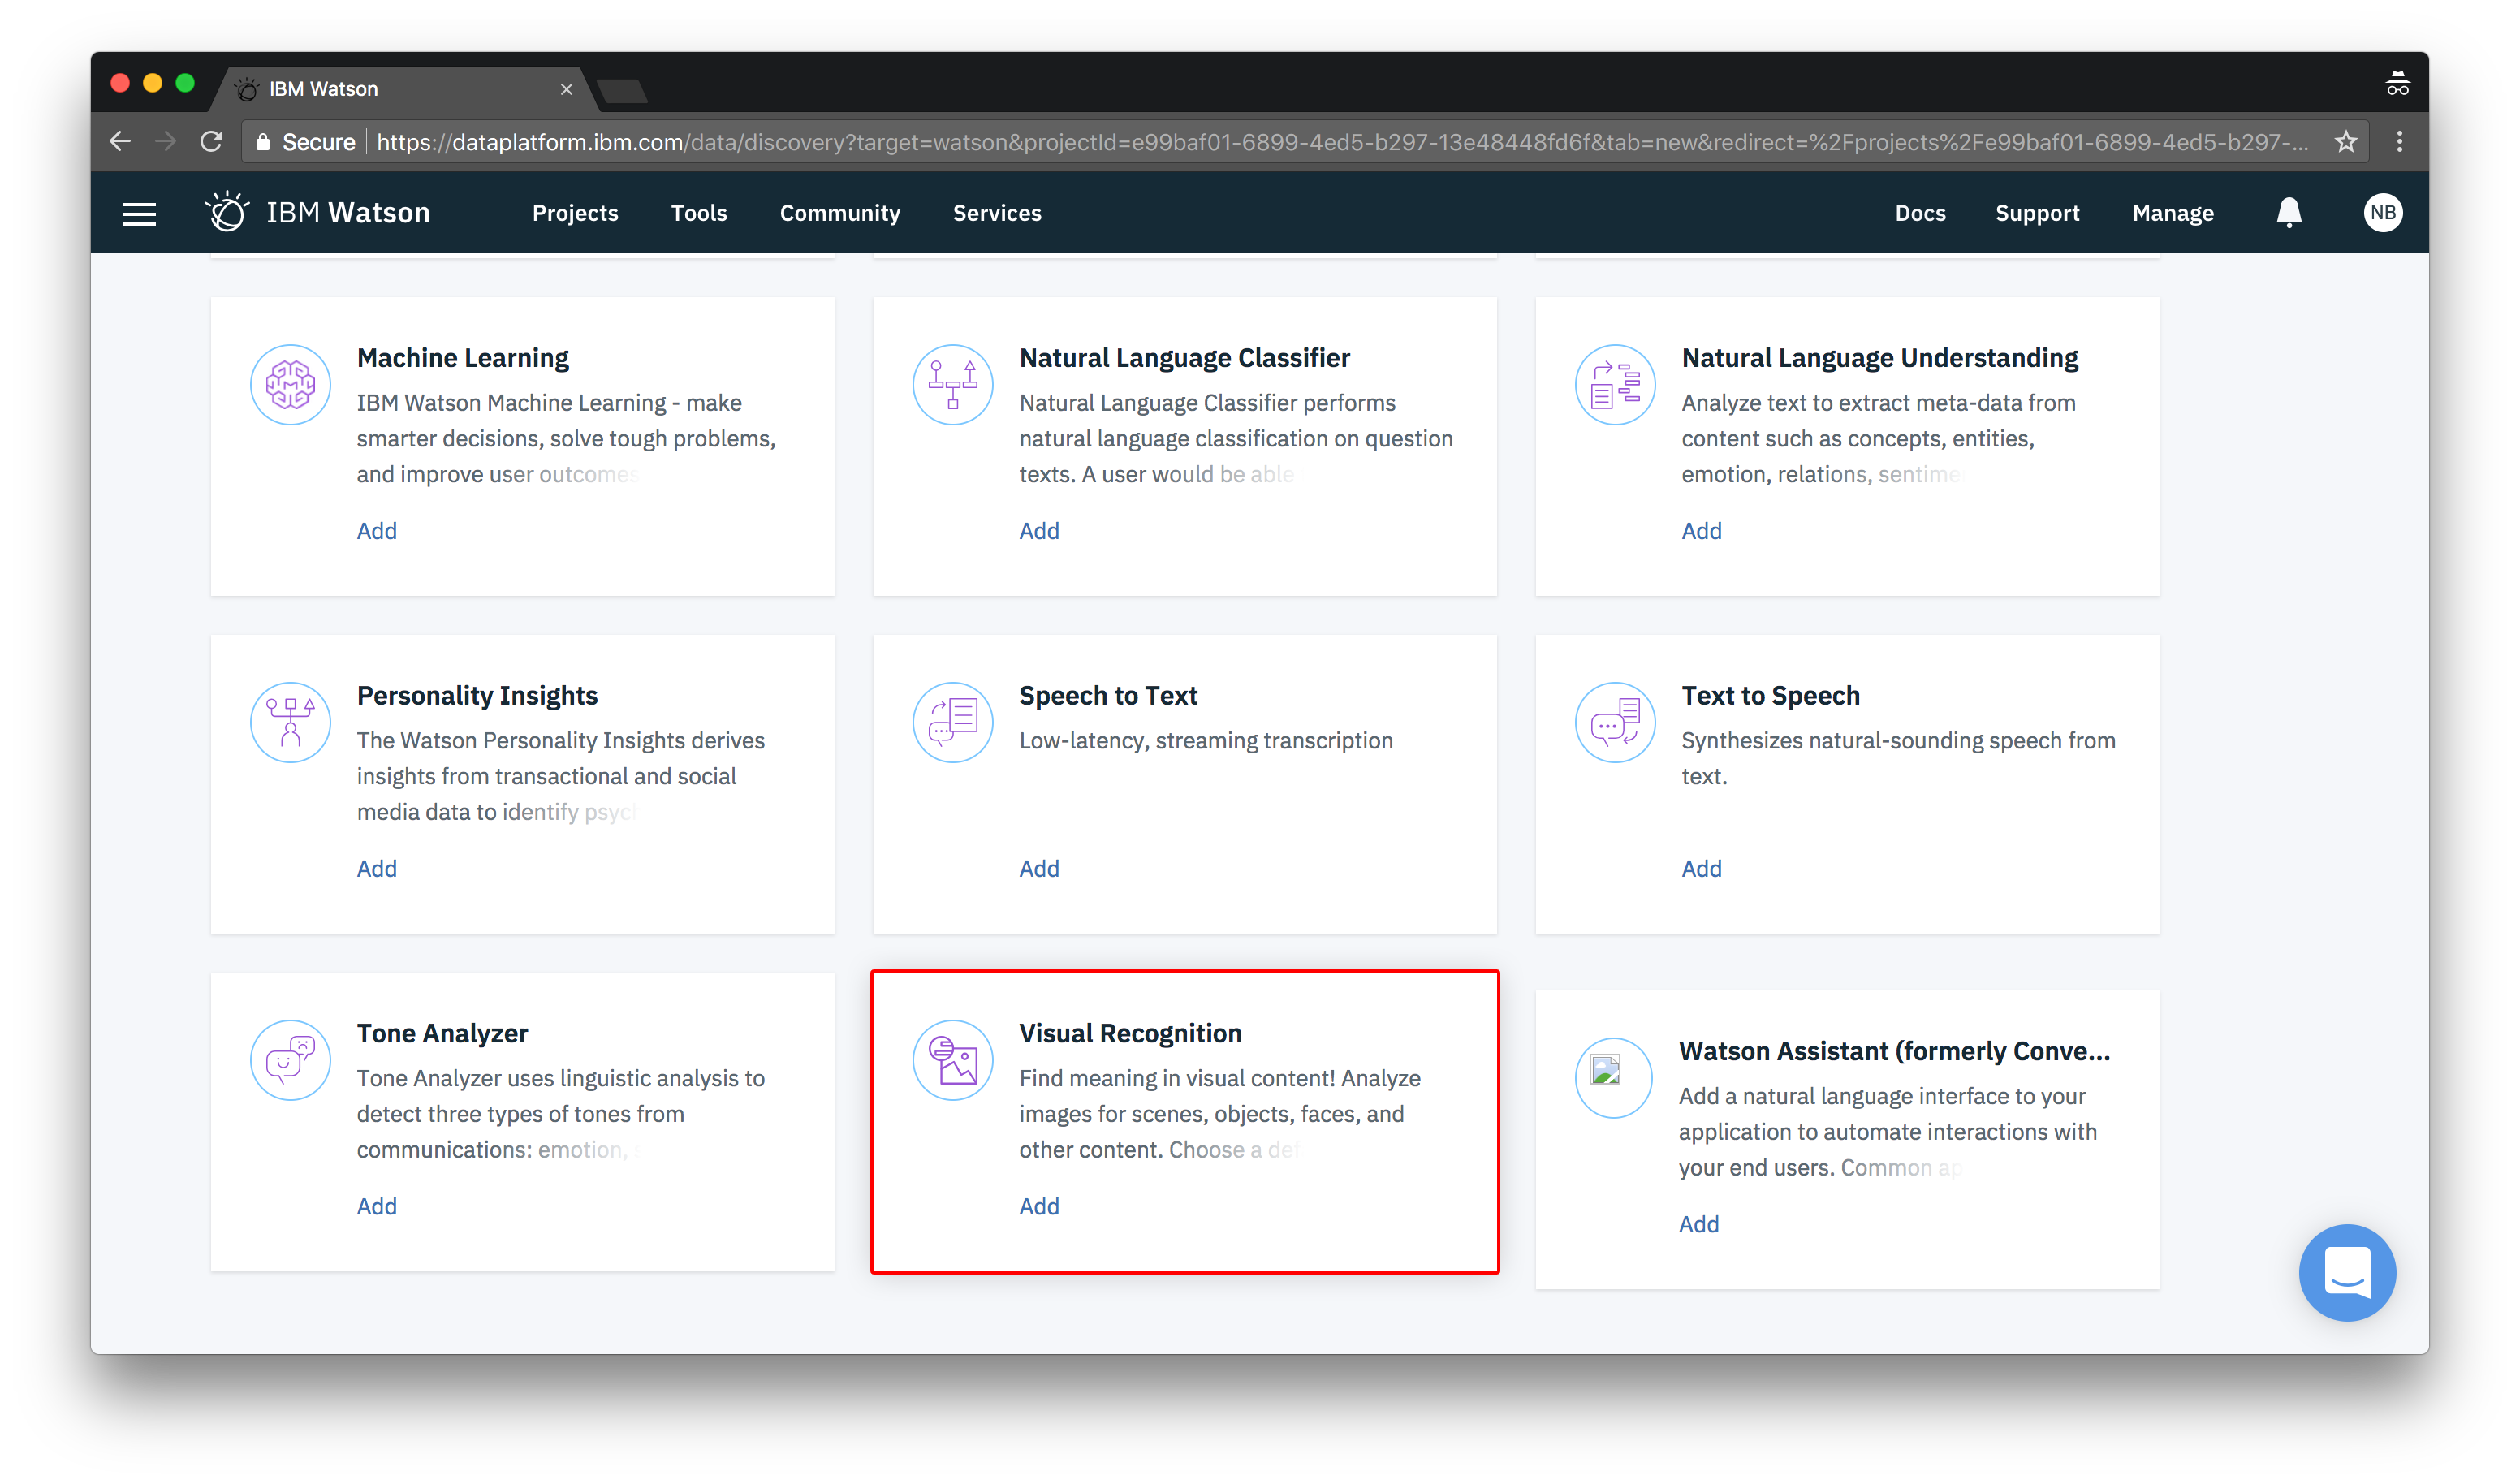
And then add Visual Recognition at the bottom.
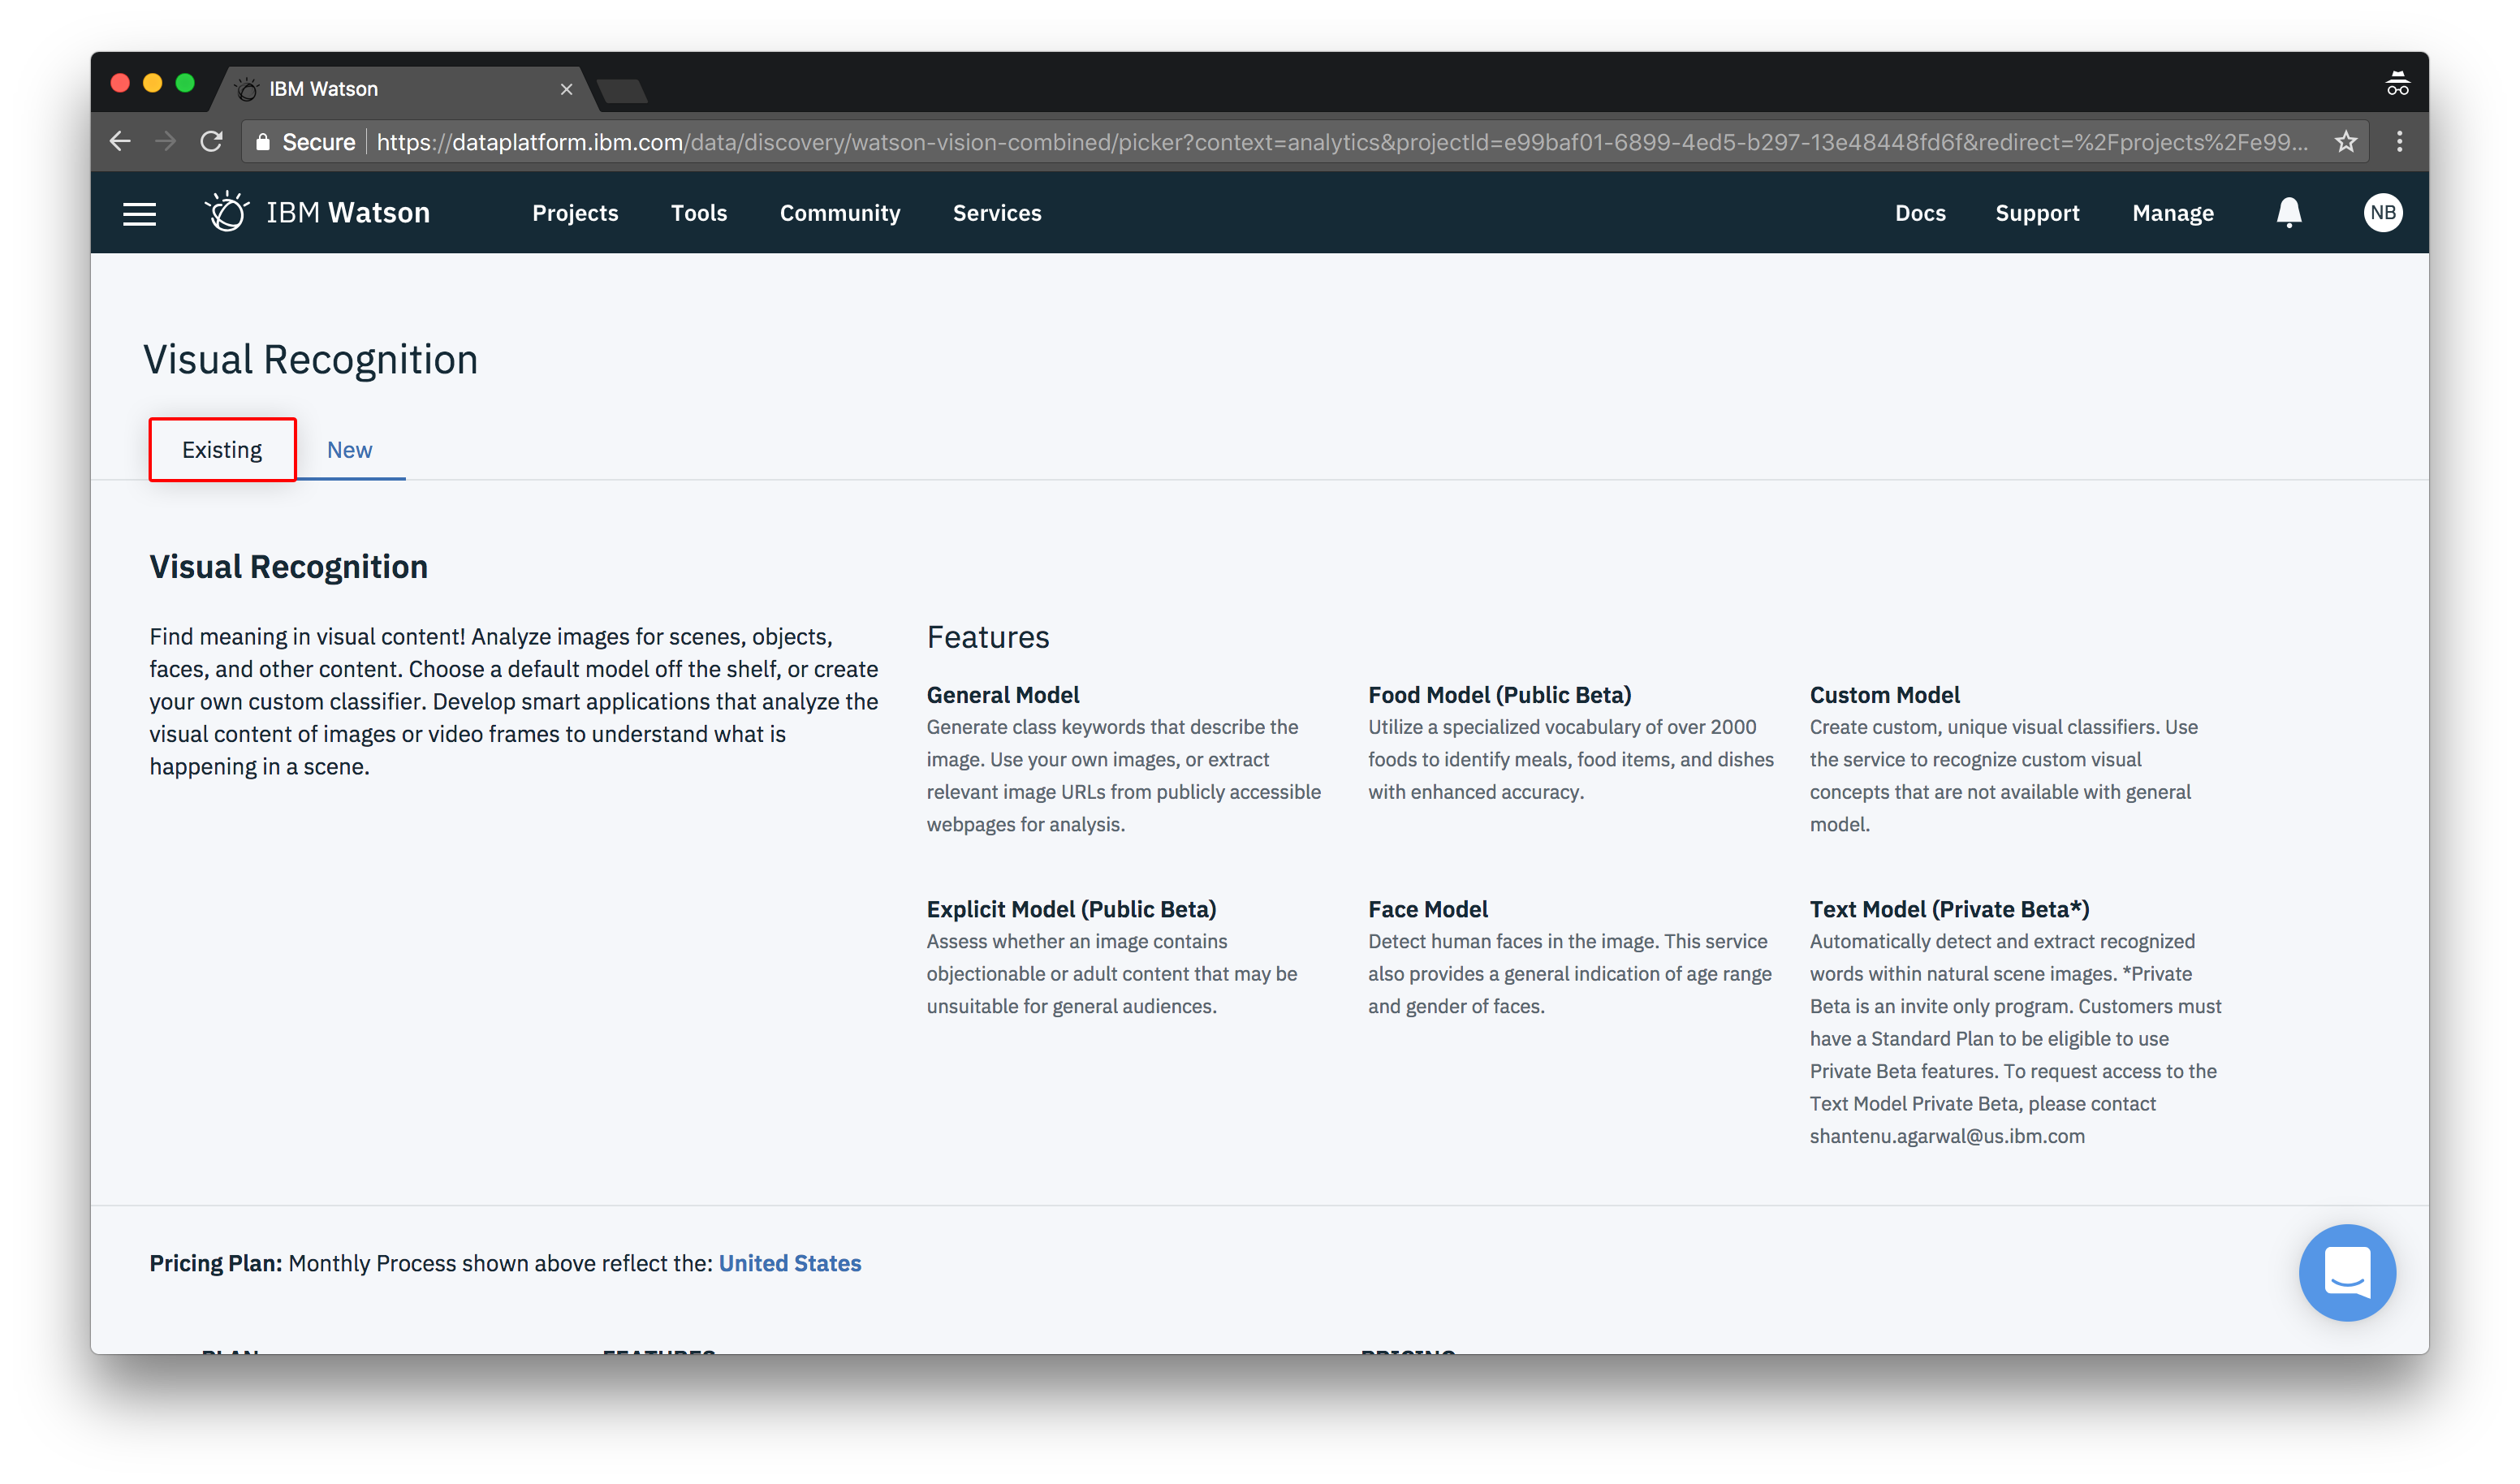
You can then choose a pricing plan like you did for Object Storage. Then click Create and Confirm on the following popup.
Note: If you already have a Watson Visual Recognition service, you can choose it by clicking the Existing tab.
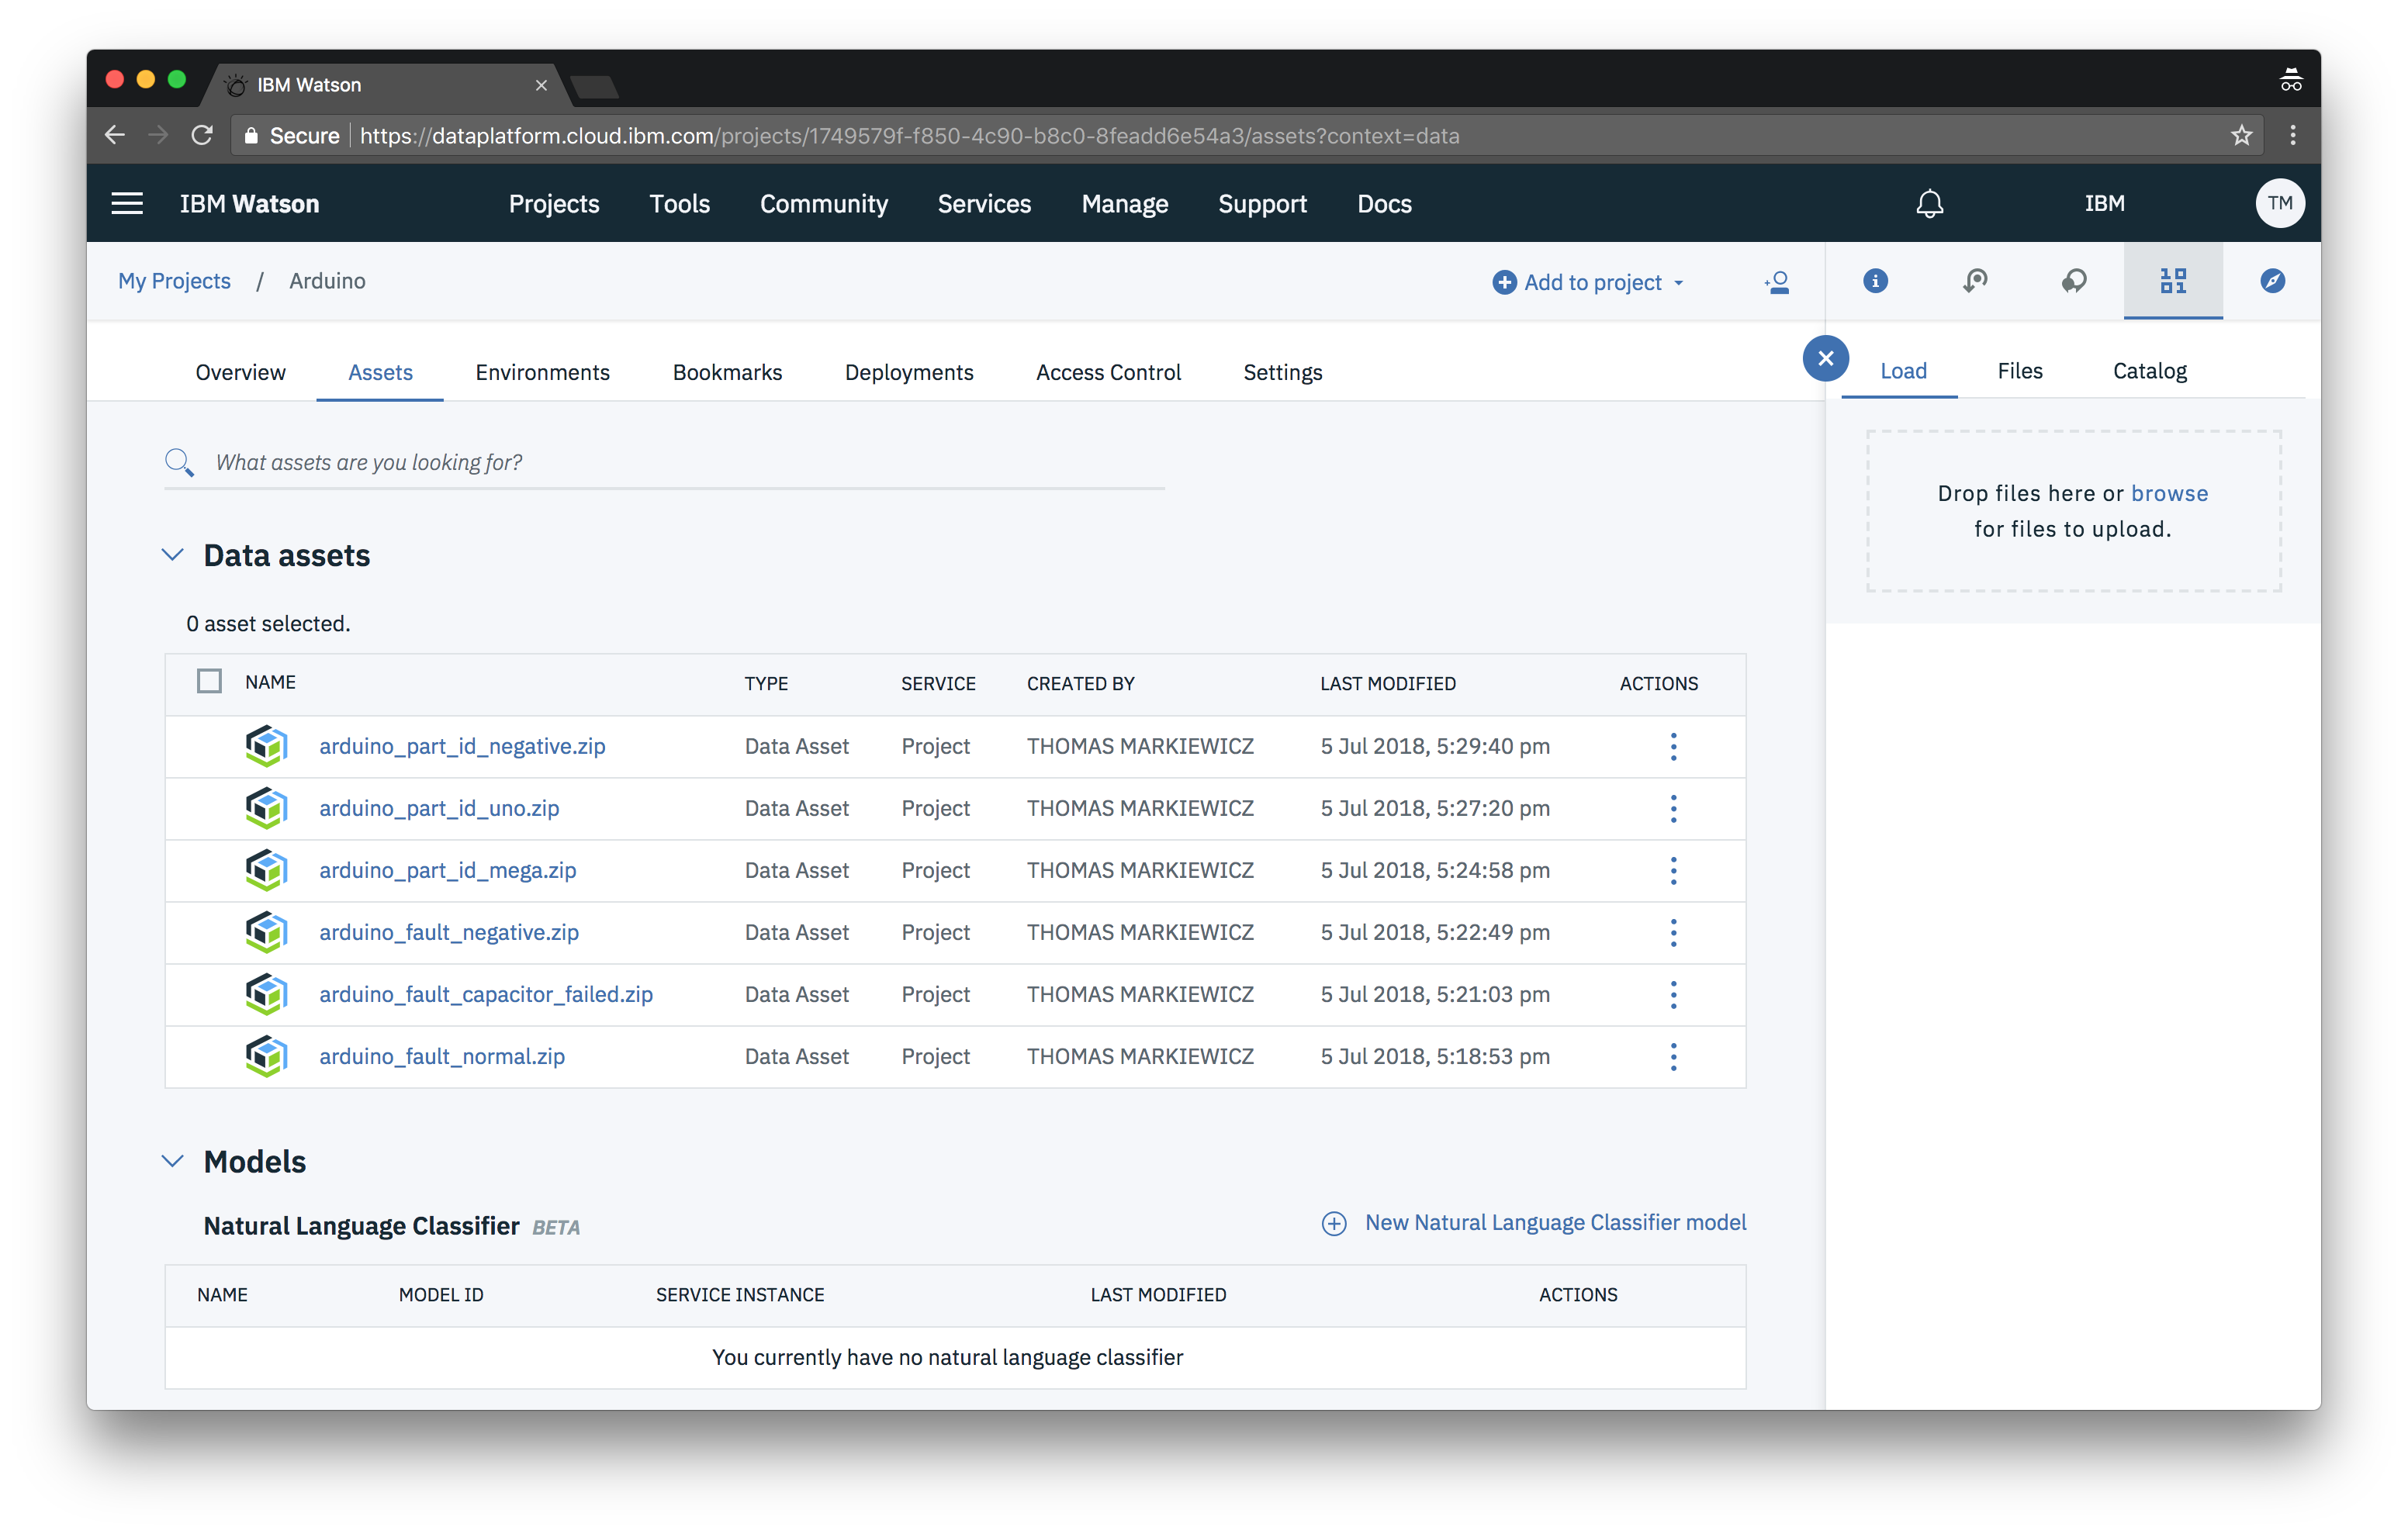
Assets
The assets page is where all of you training data will live (it’s also where your visual recognition models will live).
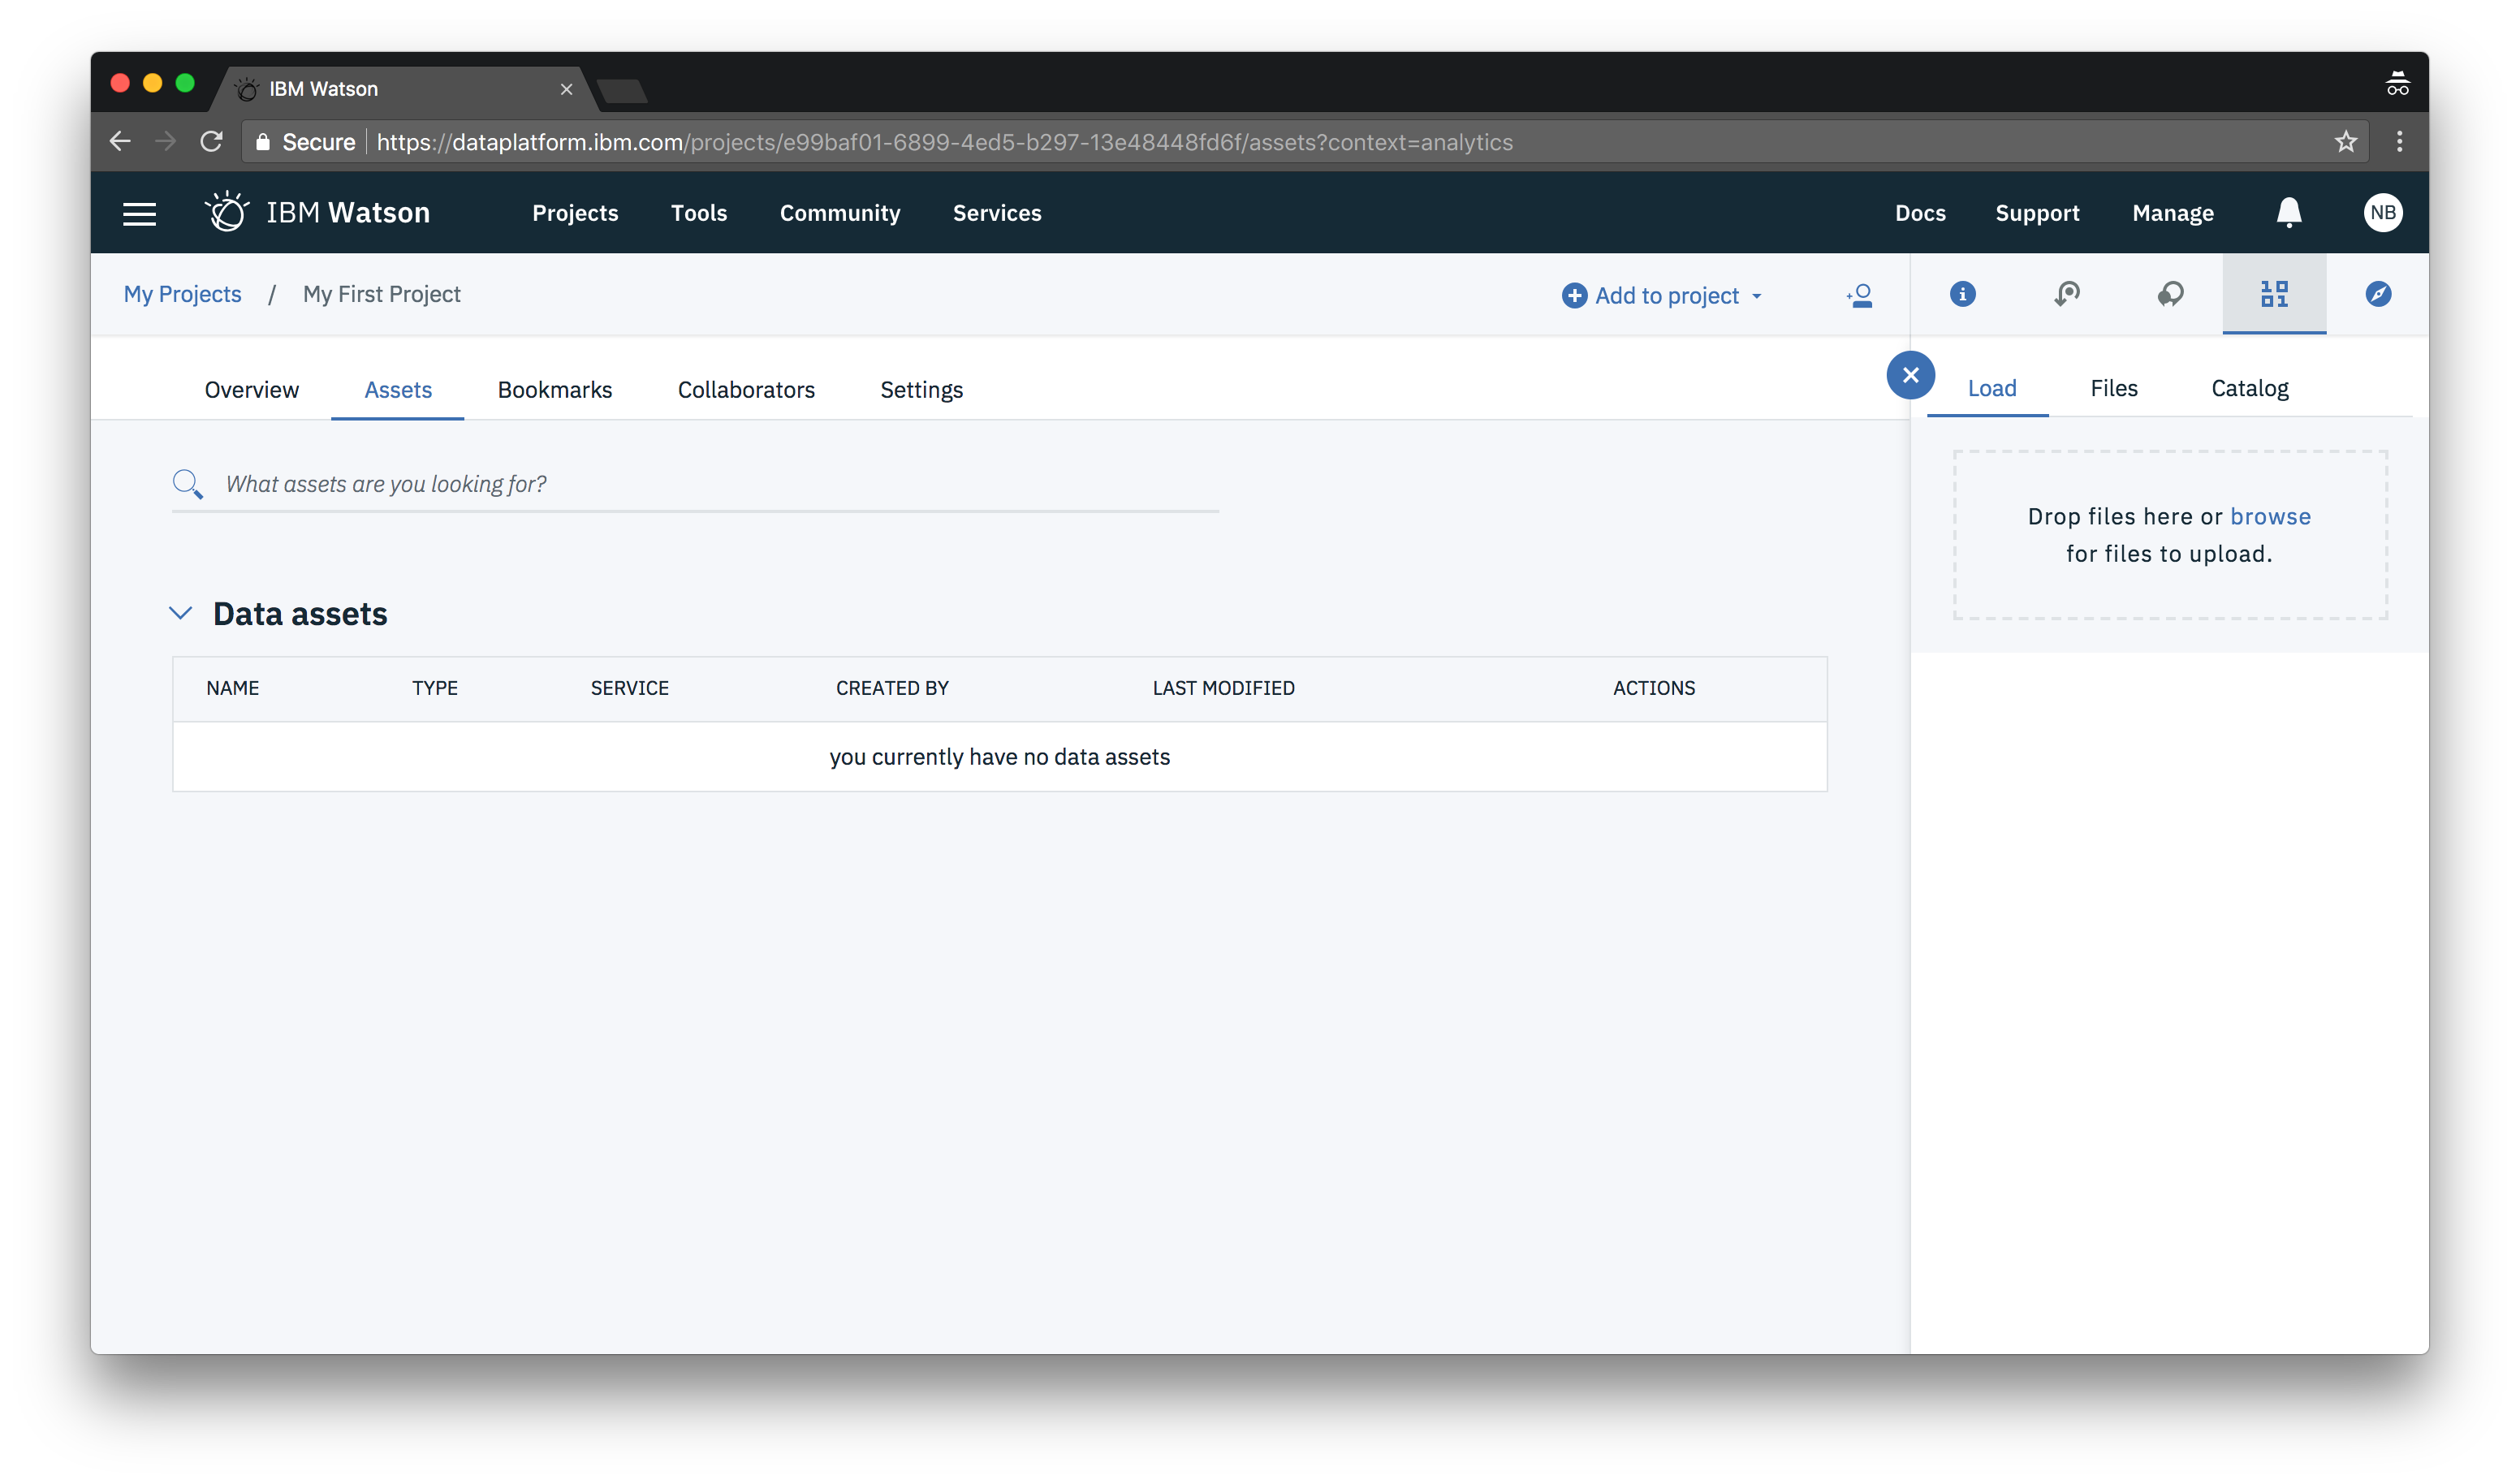
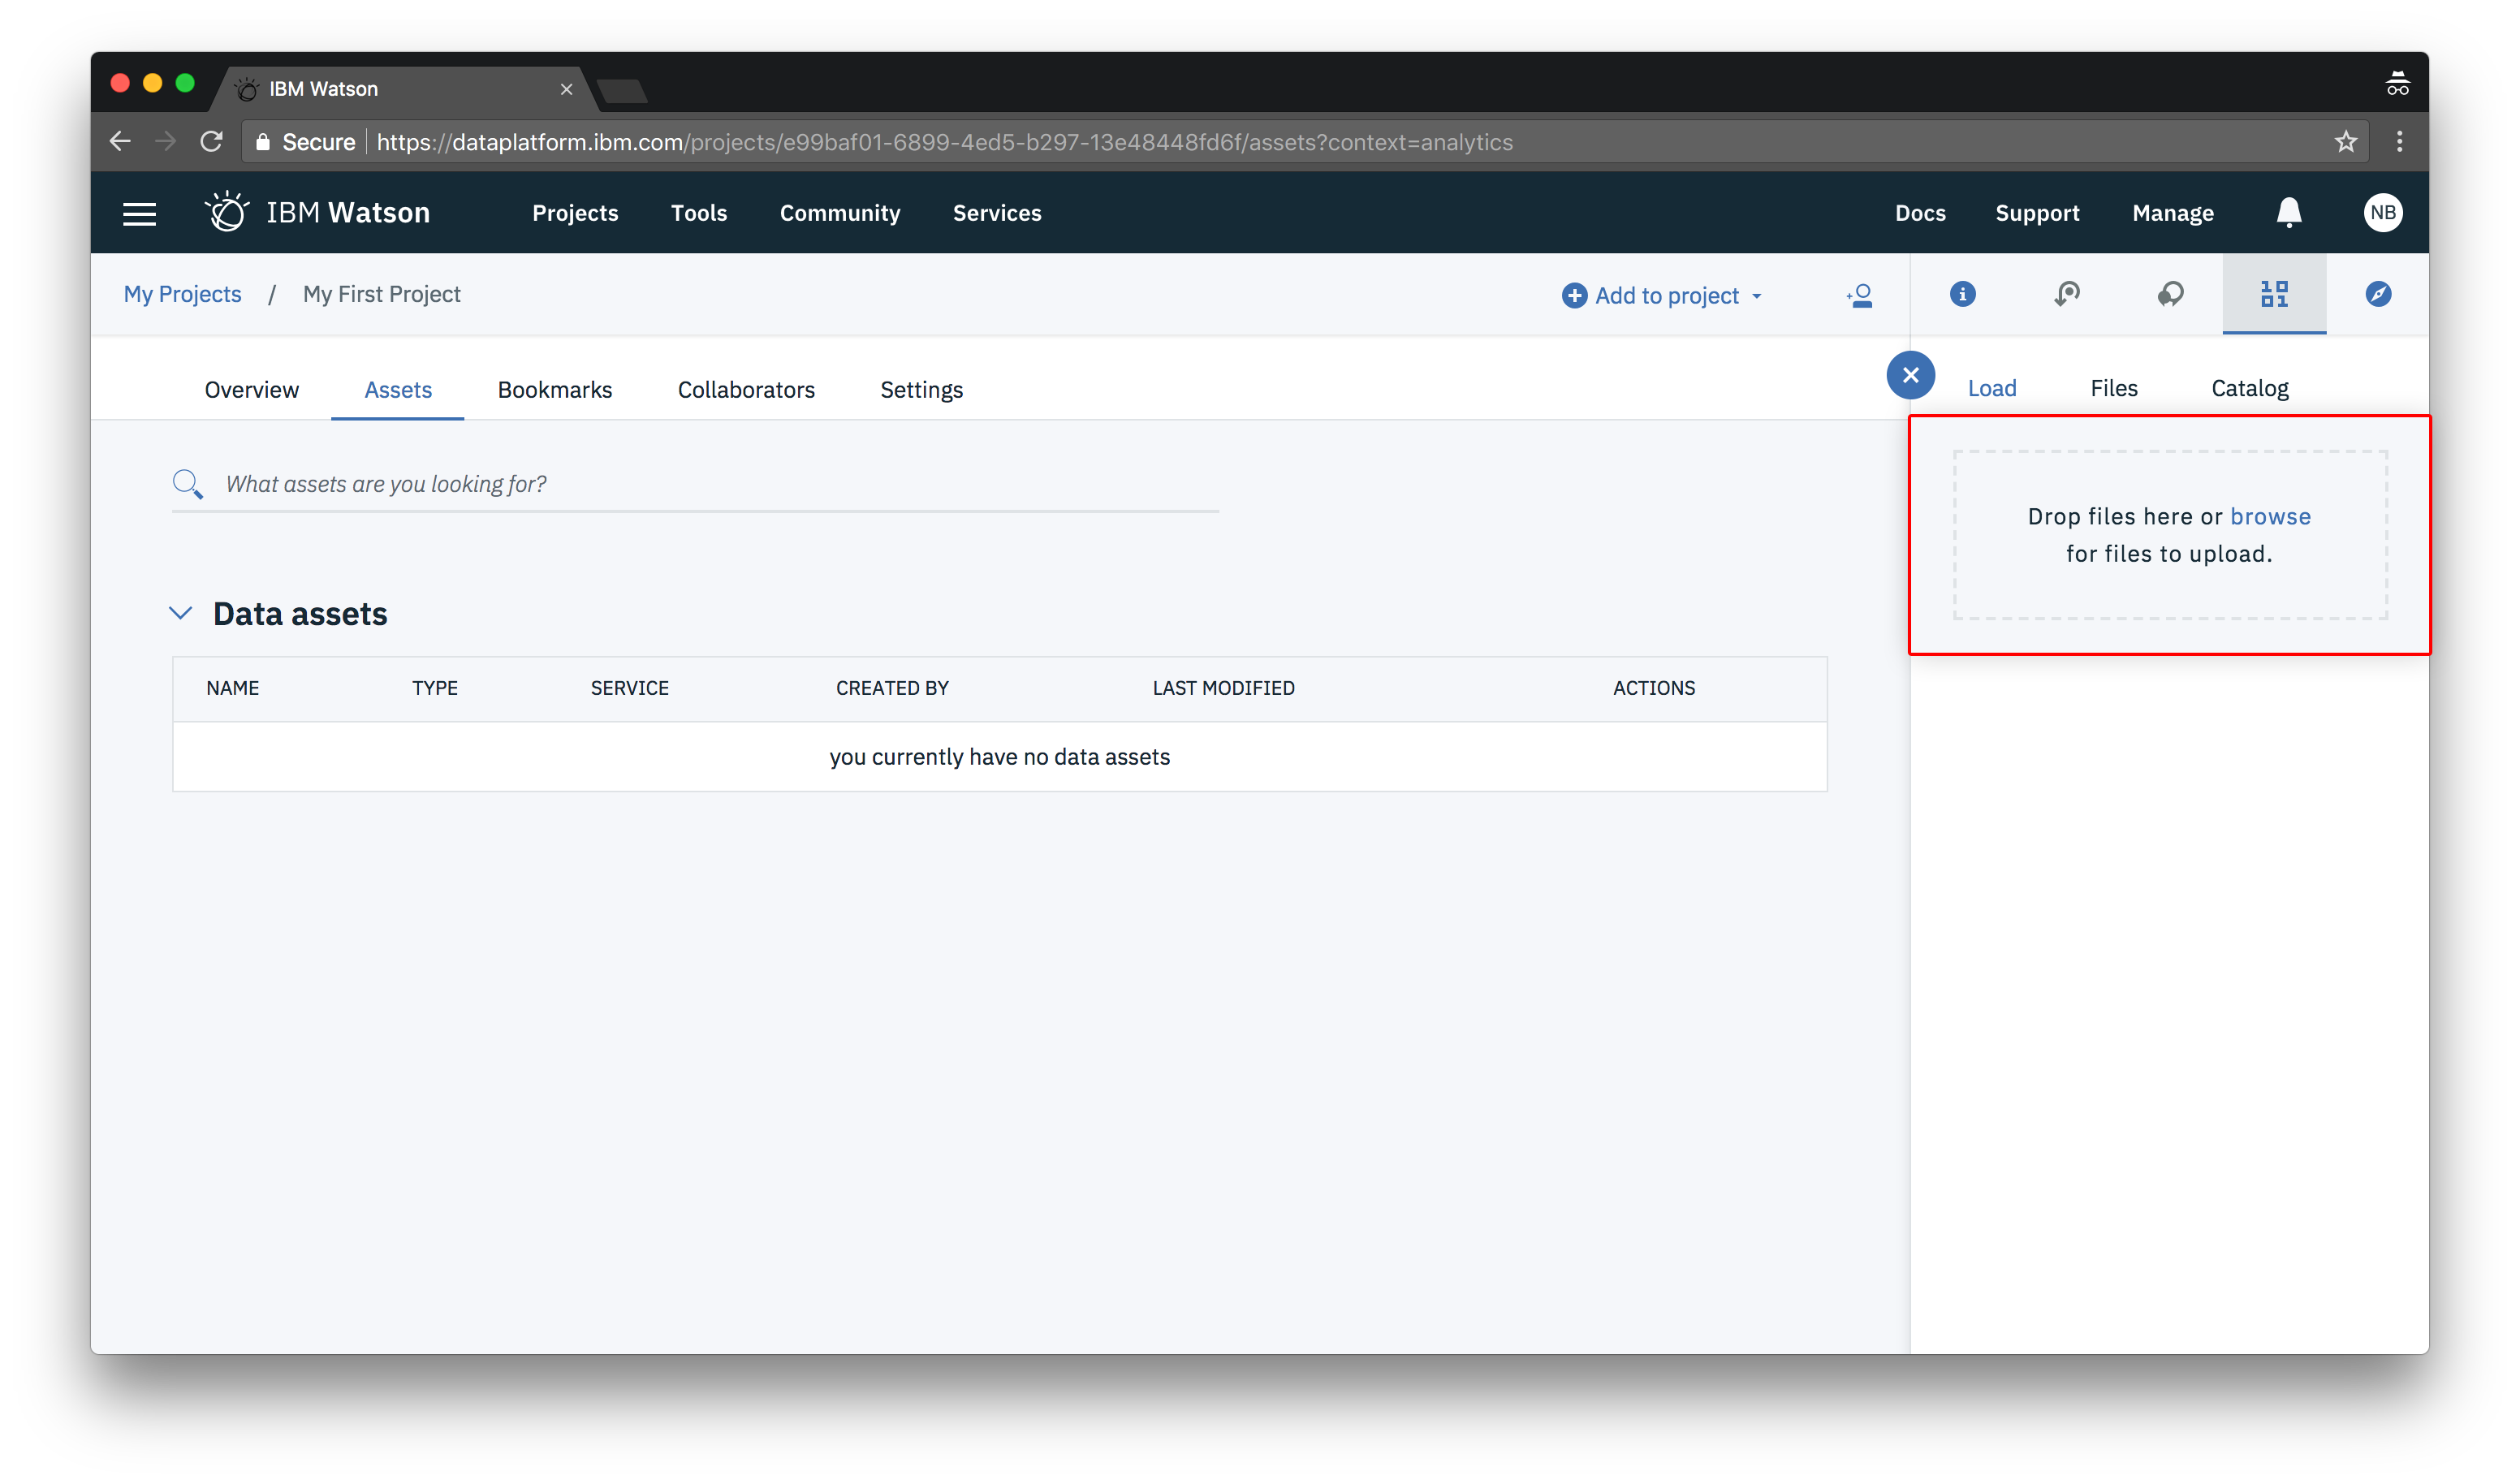
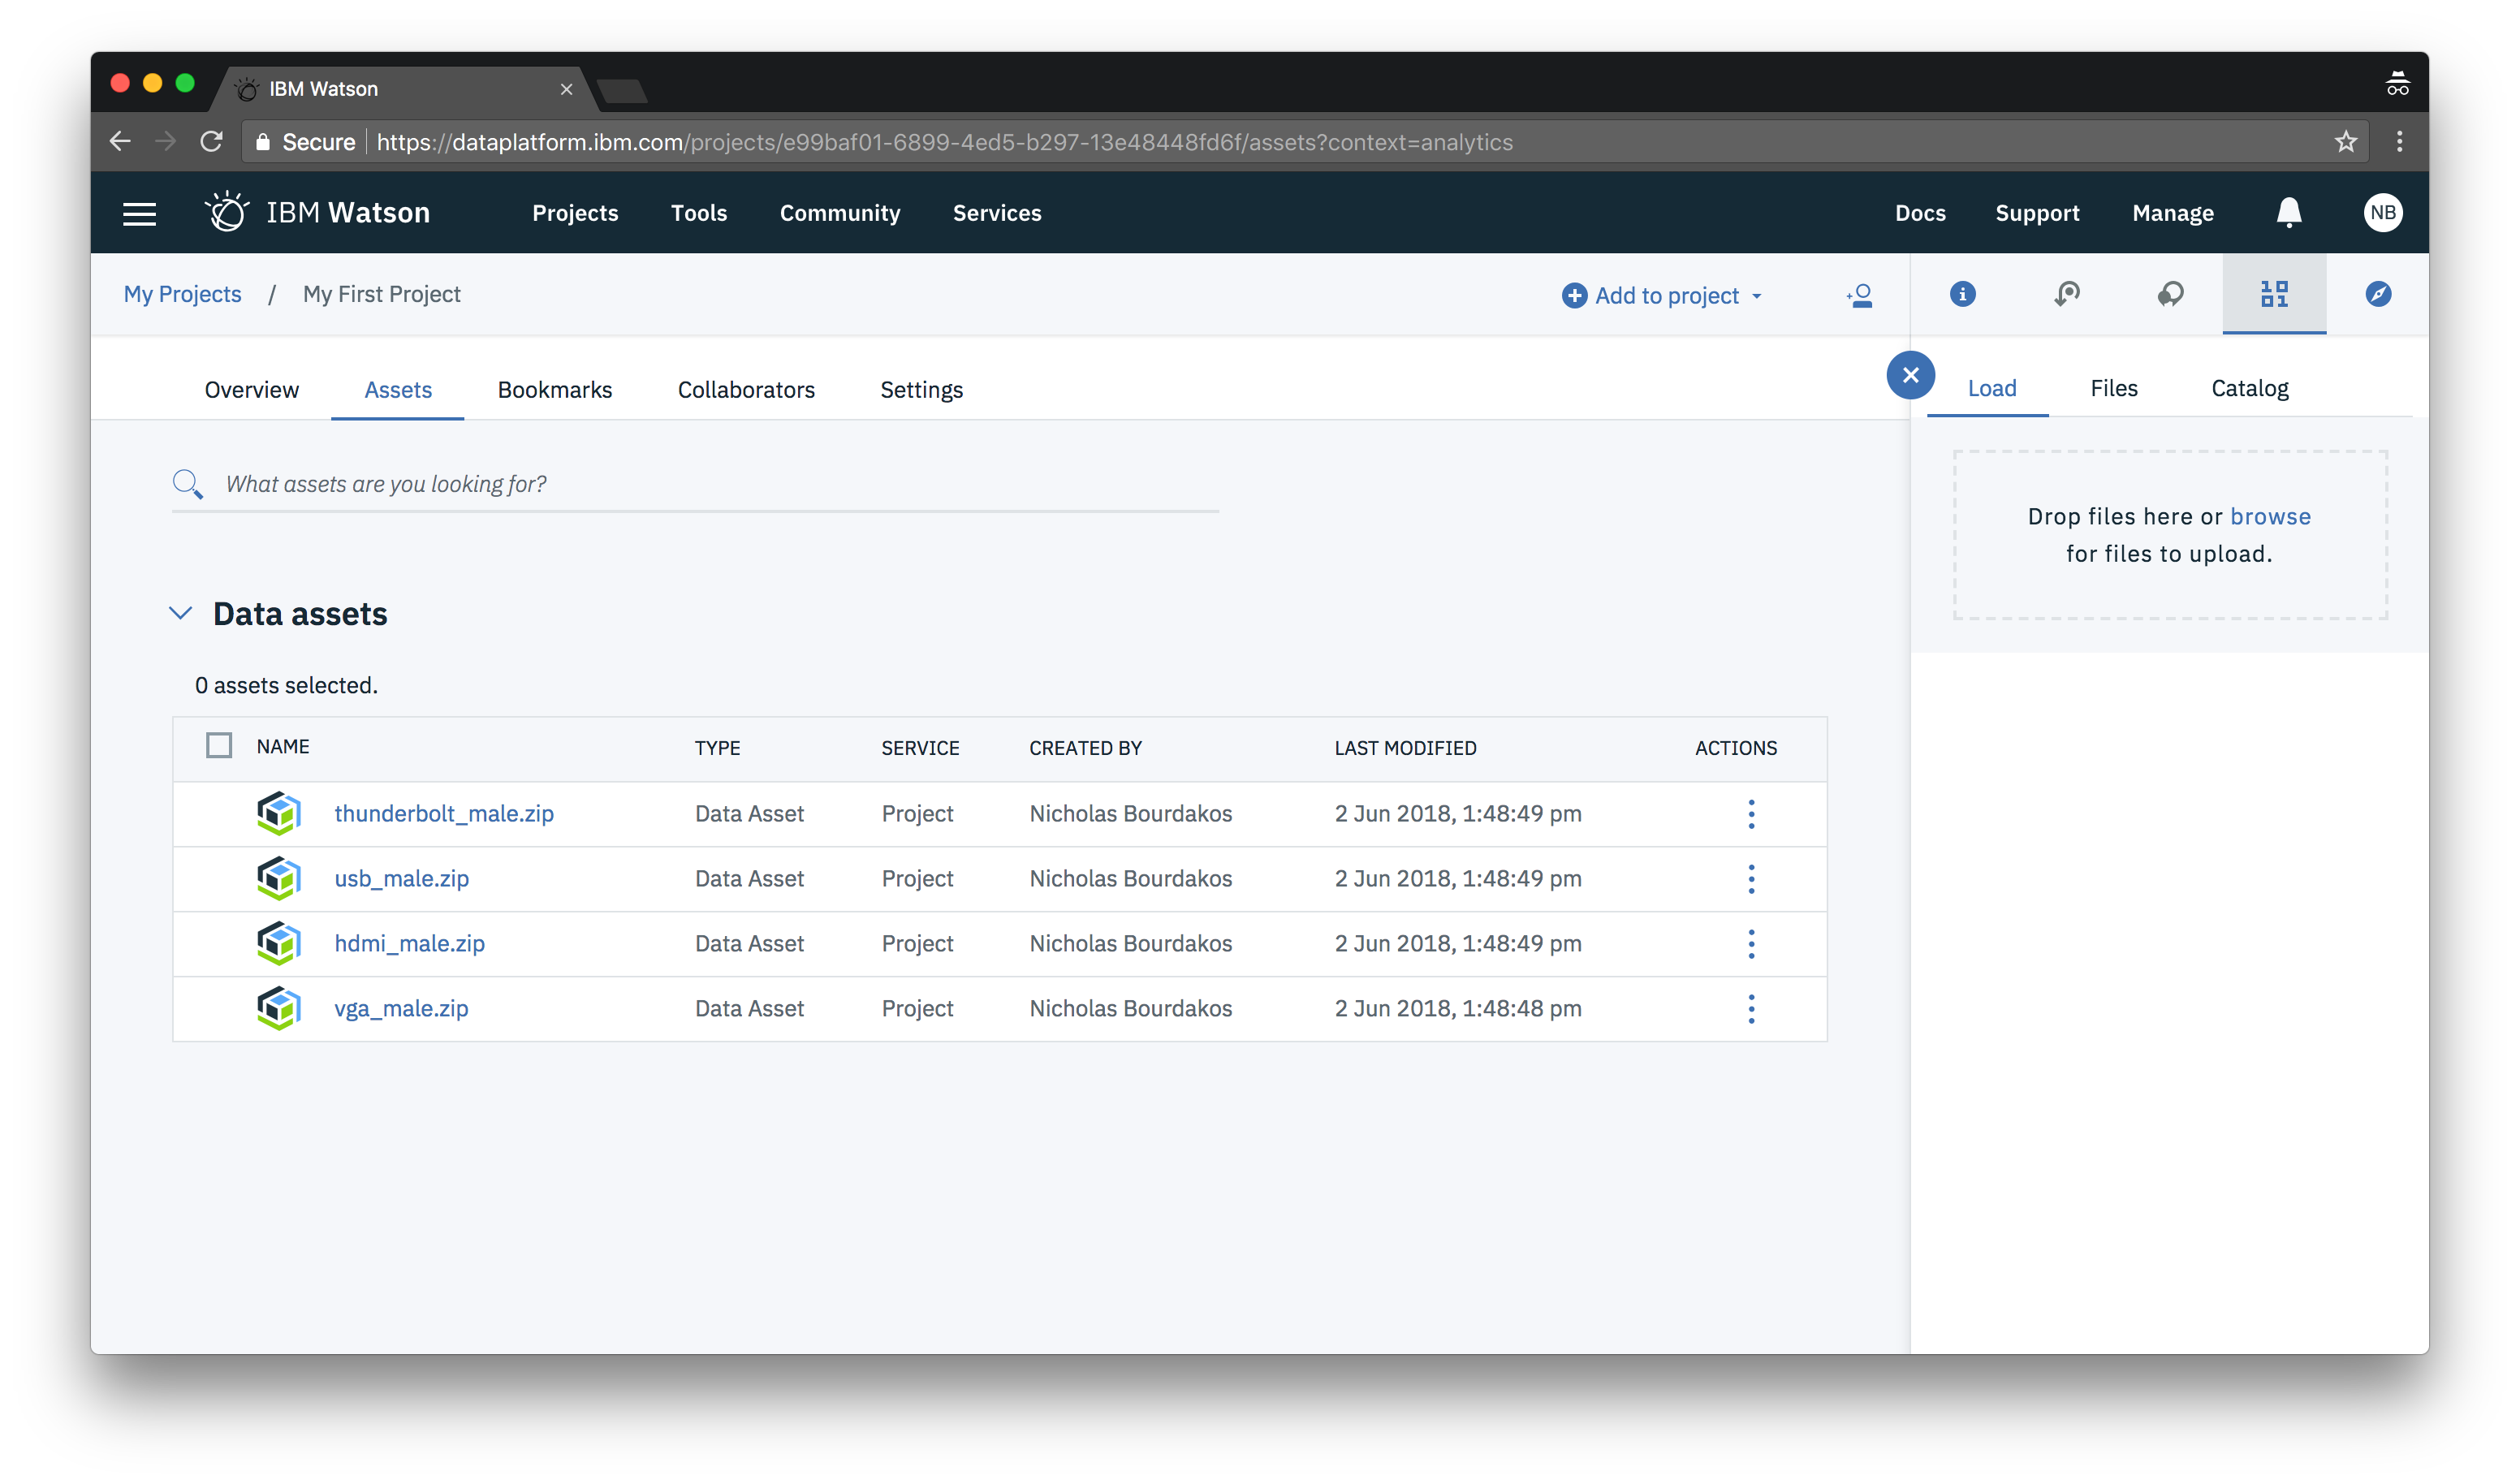
You can upload the training files you created (or downloaded) earlier by clicking browse or dragging them onto the drop zone.
You should then see a list of your training data show up.
or