Create a new project
Once you’ve created an account, navigate to Watson Studio, you should be greeted with with a nice welcome screen, but if not, click on the Get started ▾ dropdown and you should end up seeing something like this:
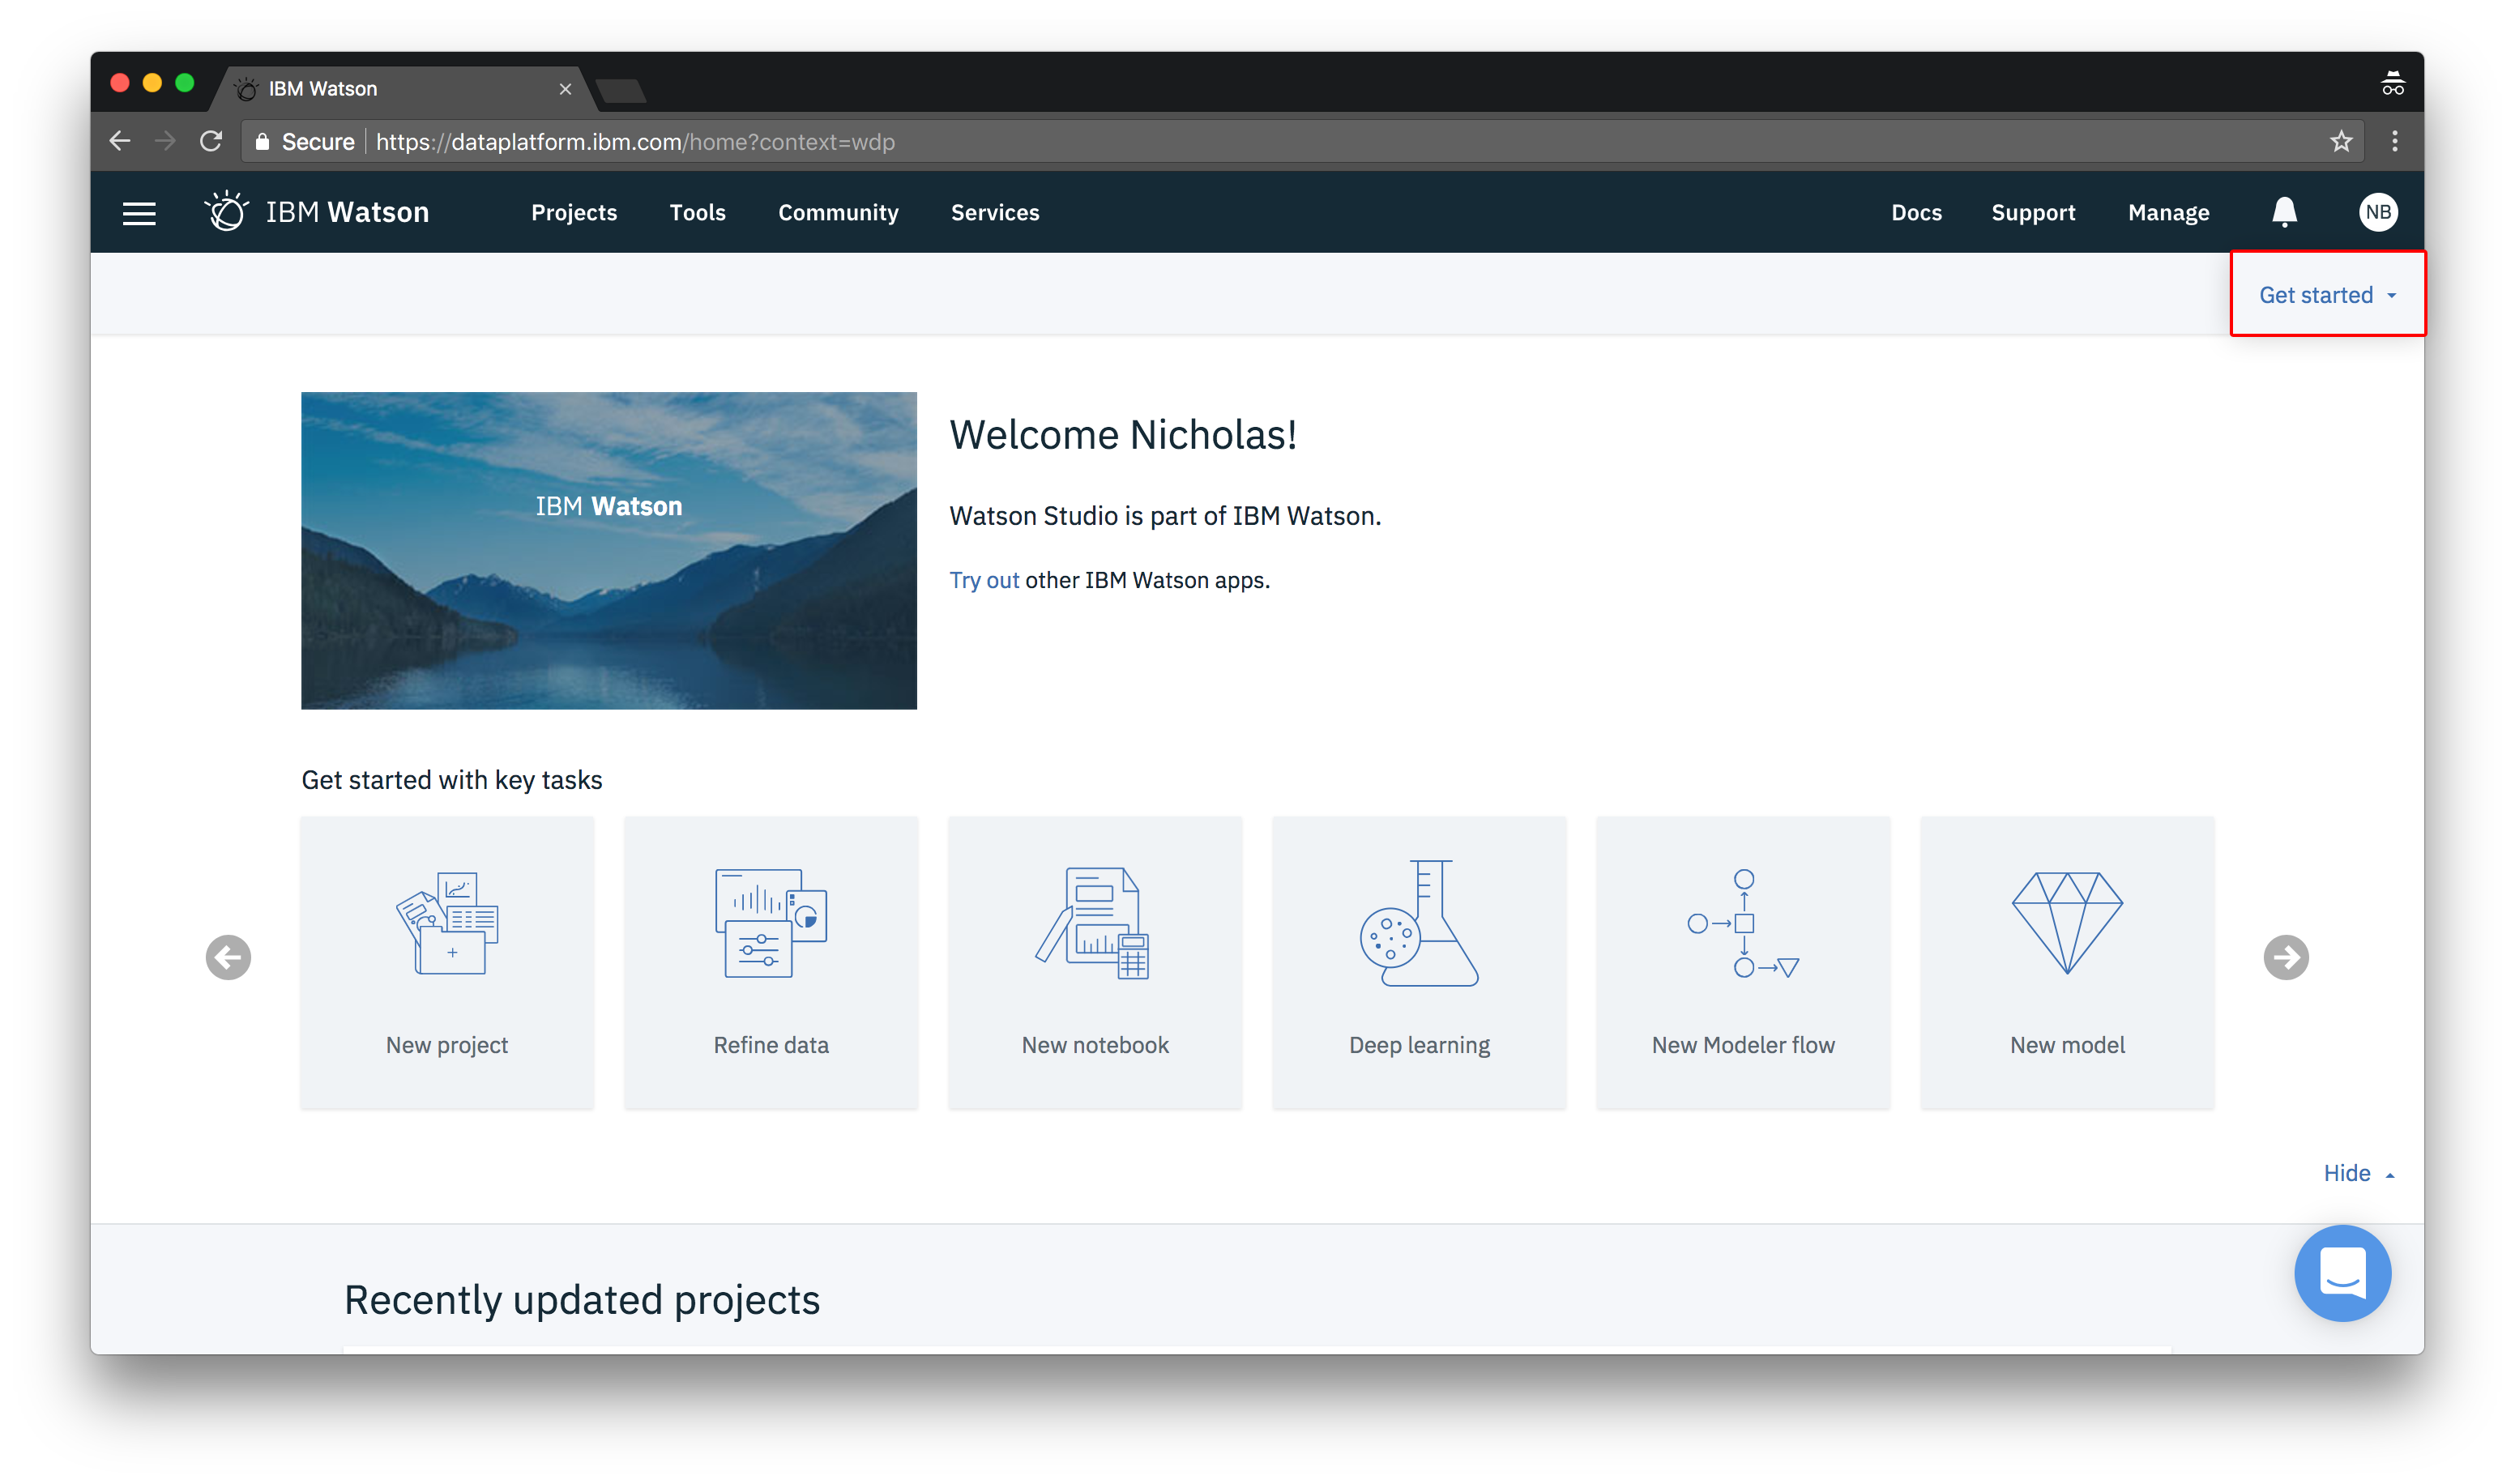
This is the home page of Watson Studio. From here you can create or open new projects. If you ever get lost just click on IBM Watson in the top left corner and it will take you home.
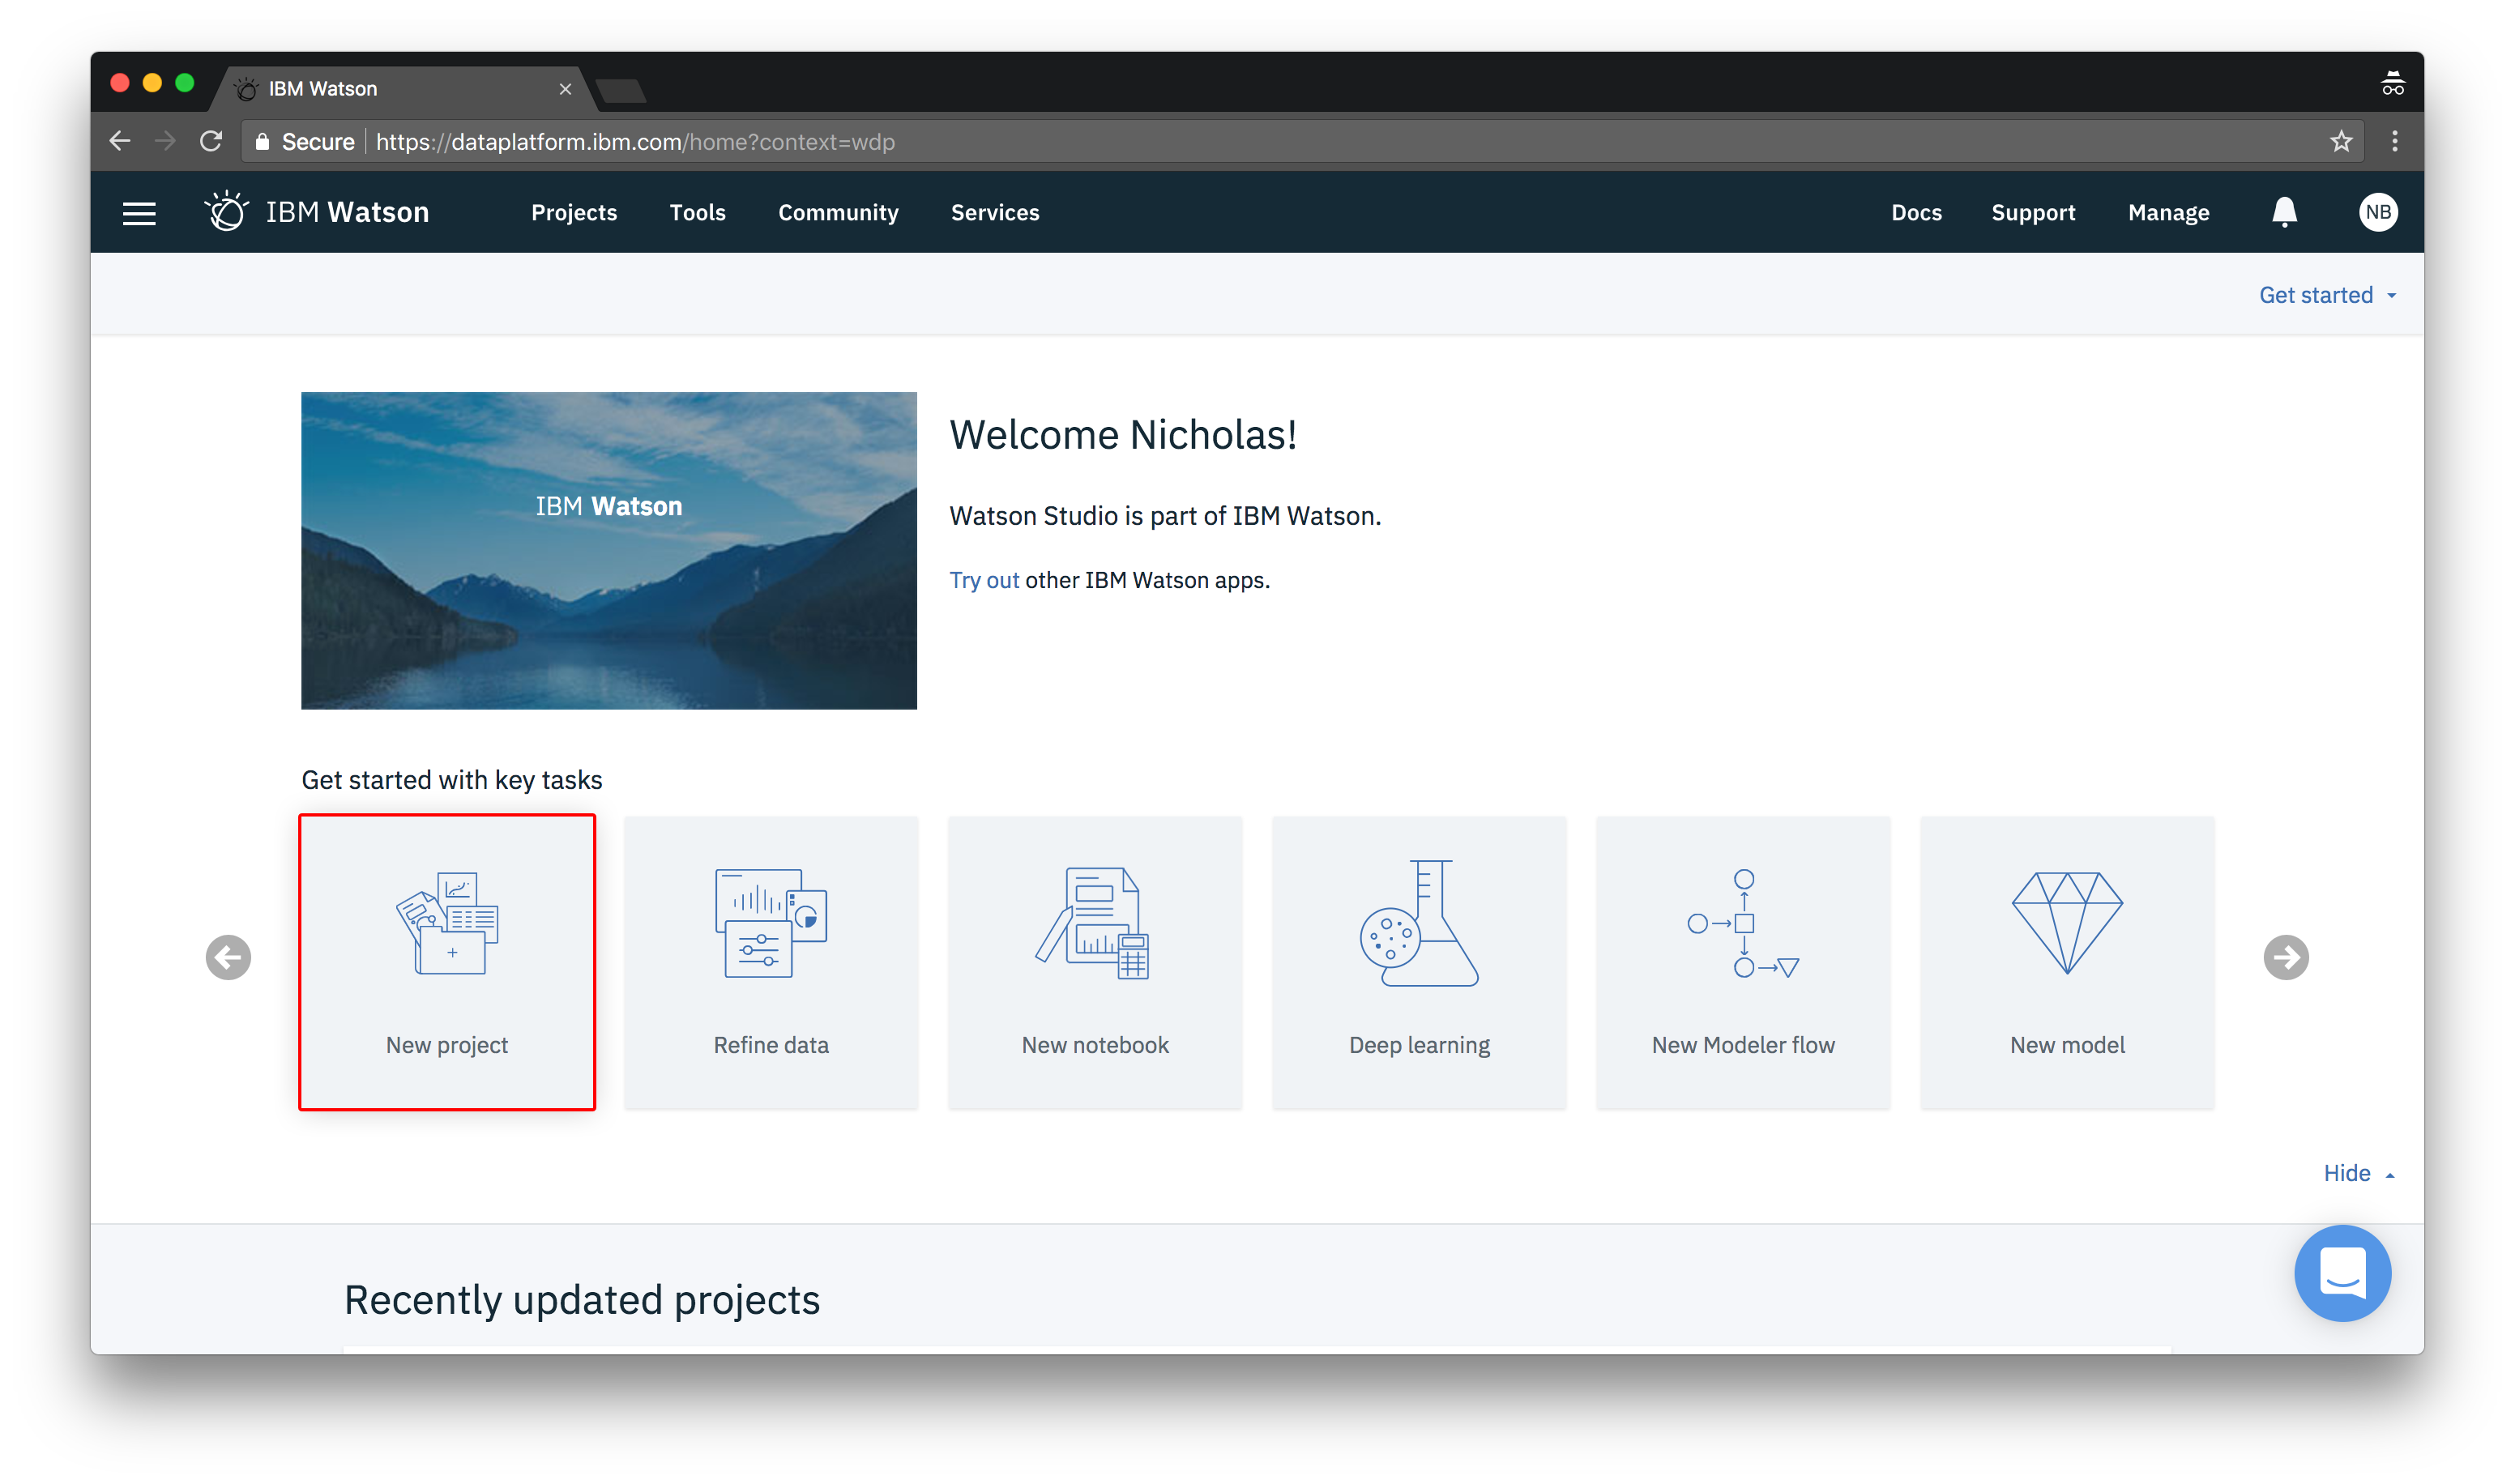
We want to create a new project so click on the New project graphic.
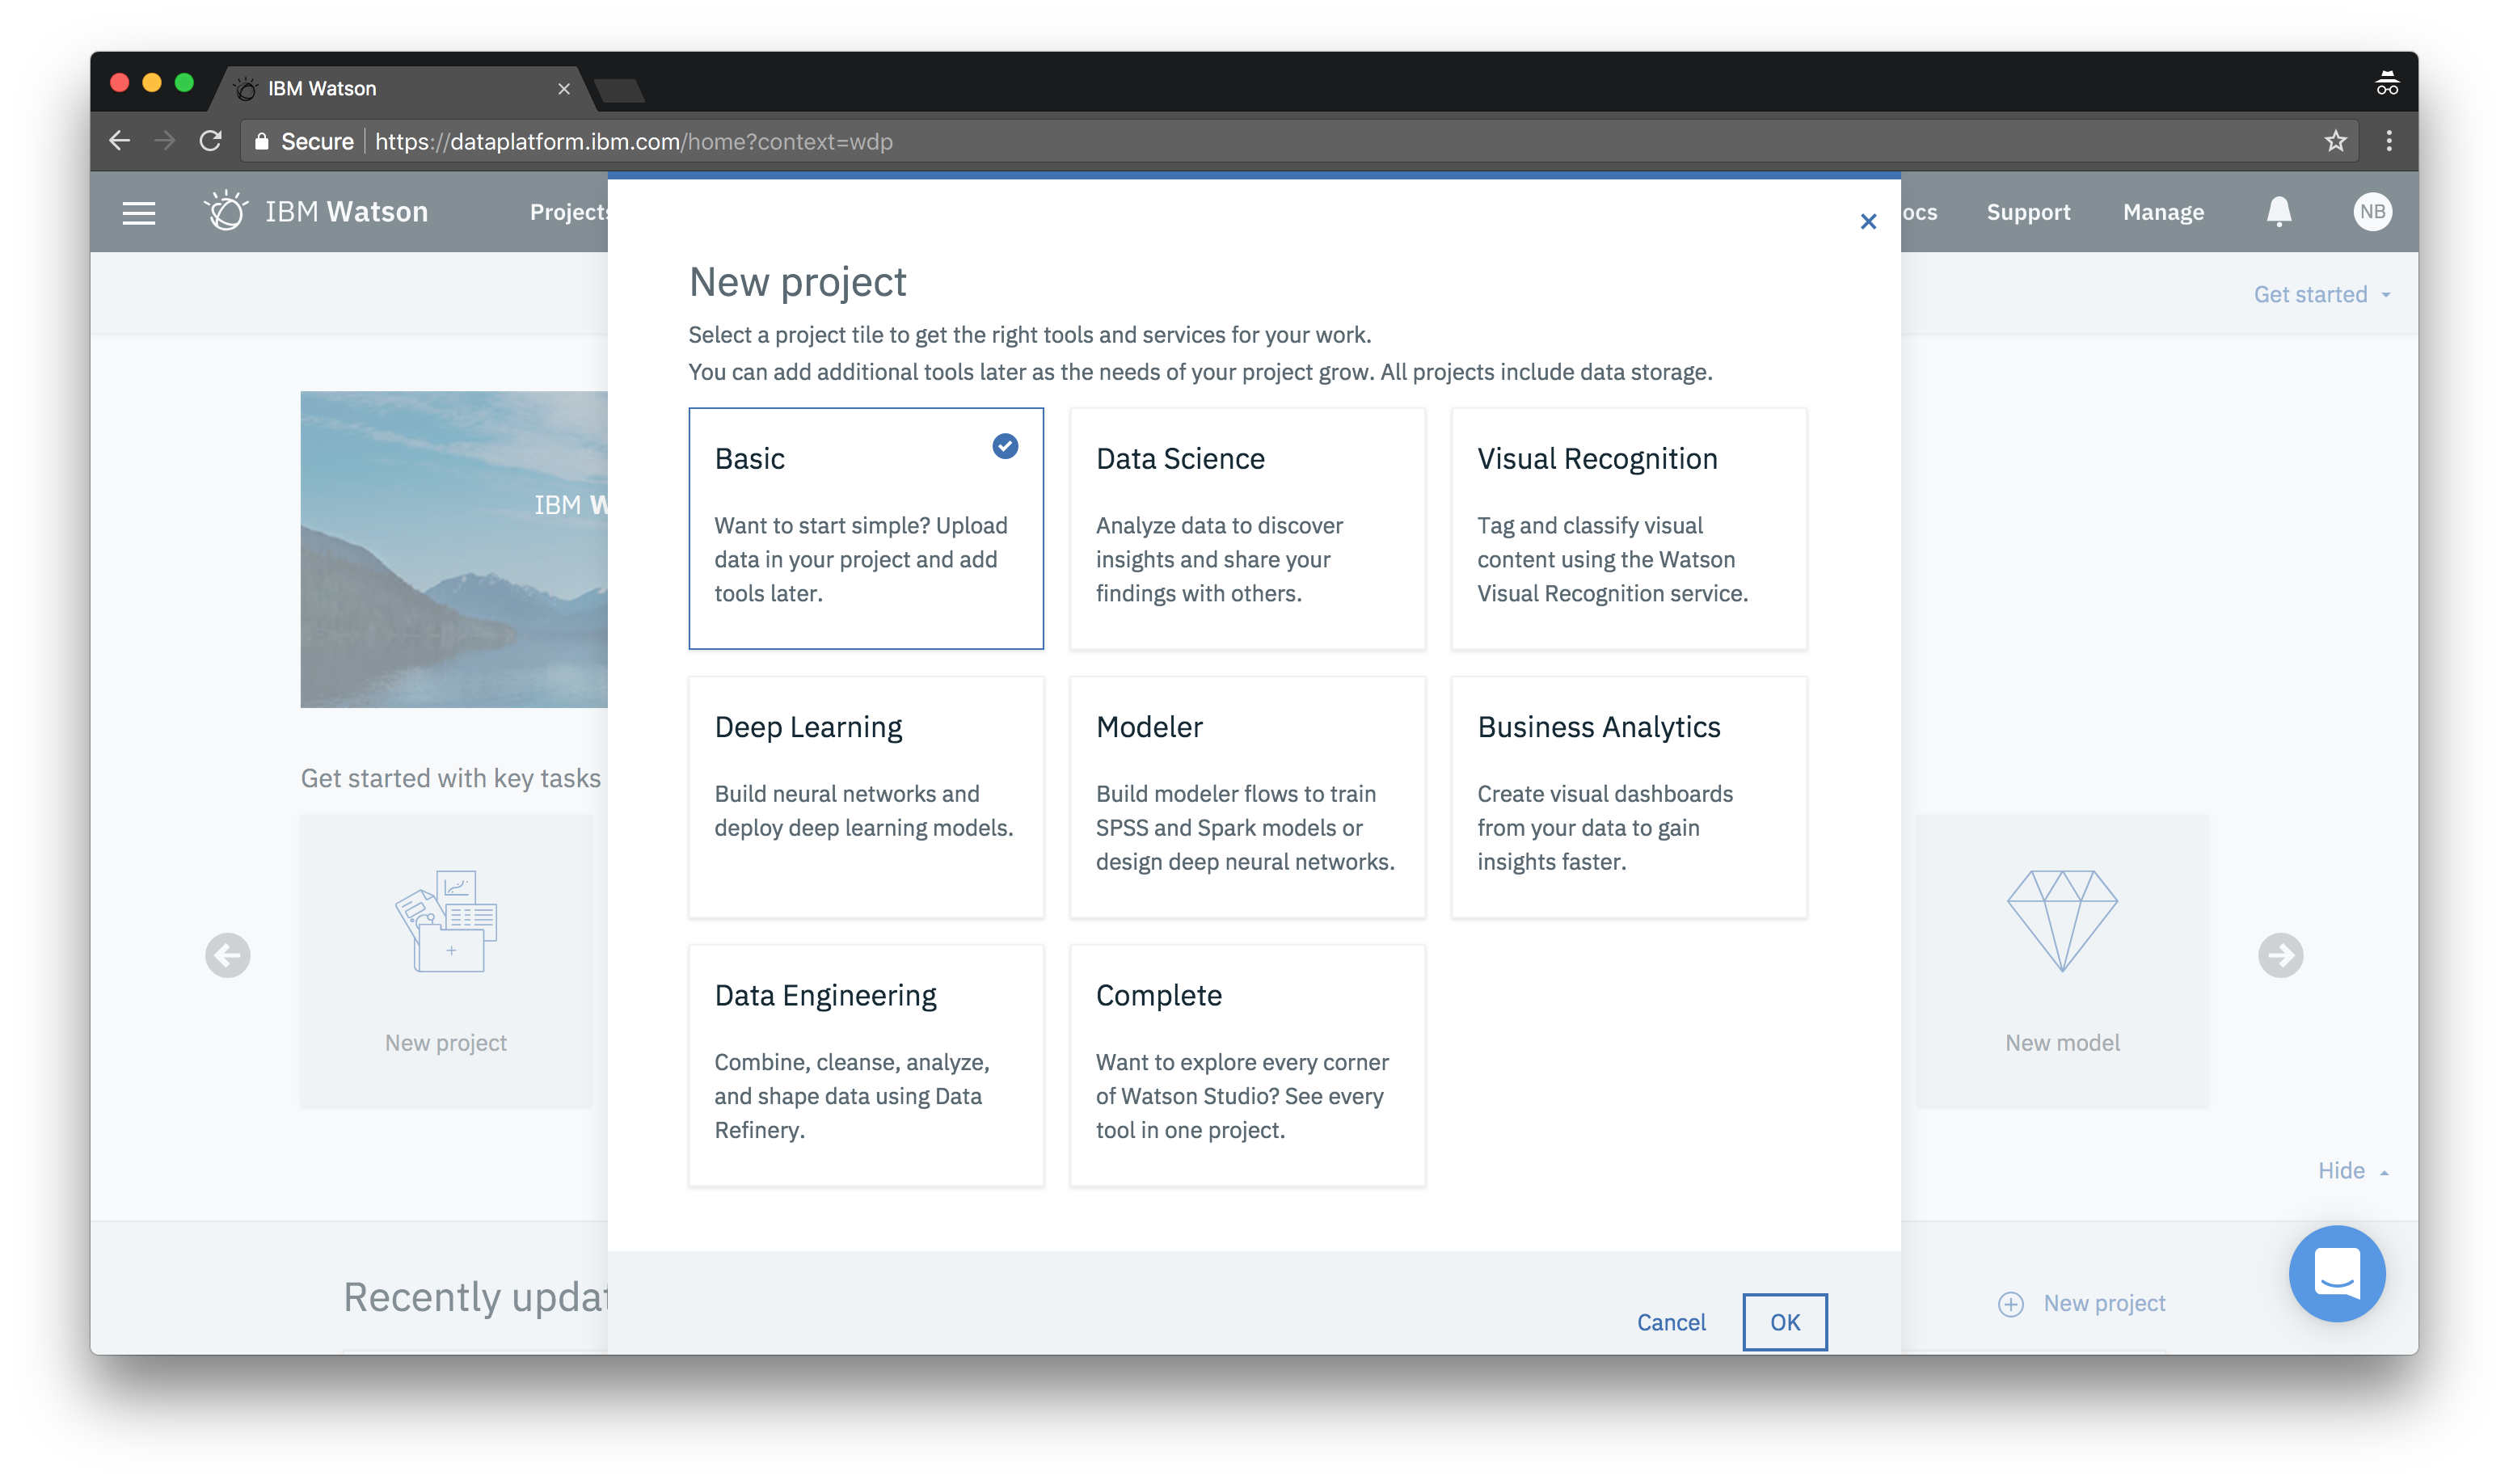
A popup should appear with a grid of choices. Choose Basic and click OK.
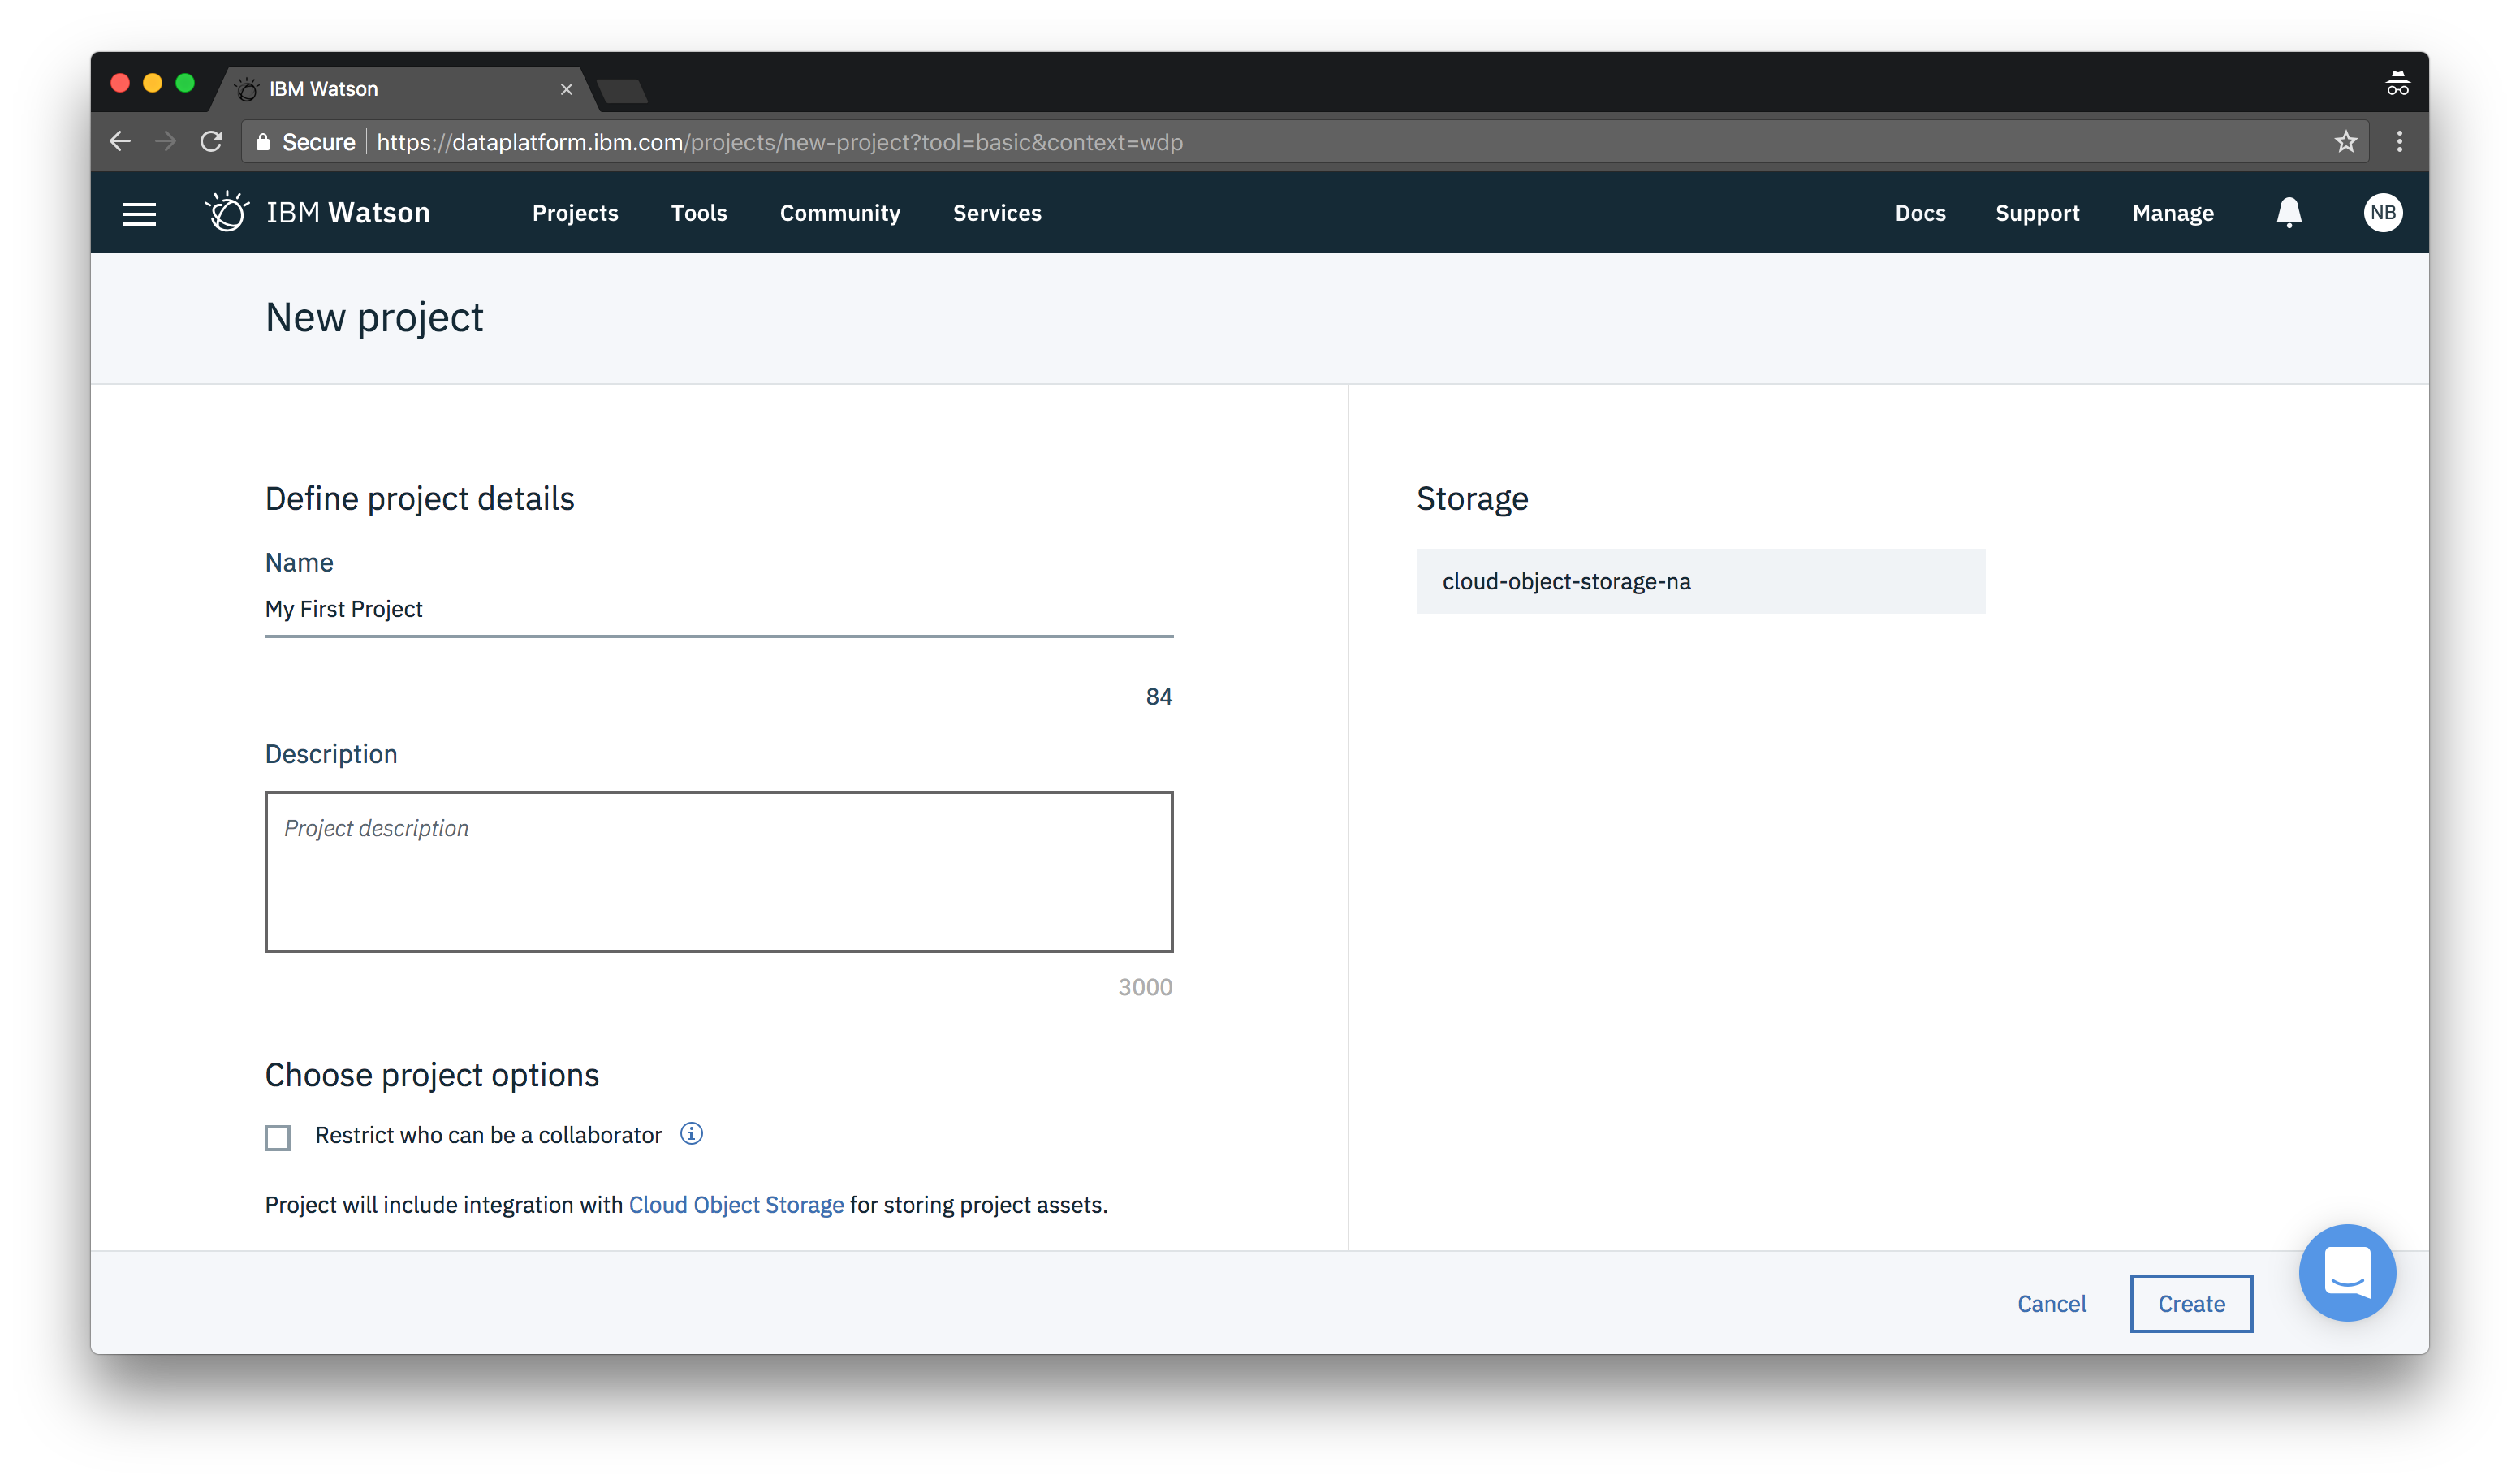
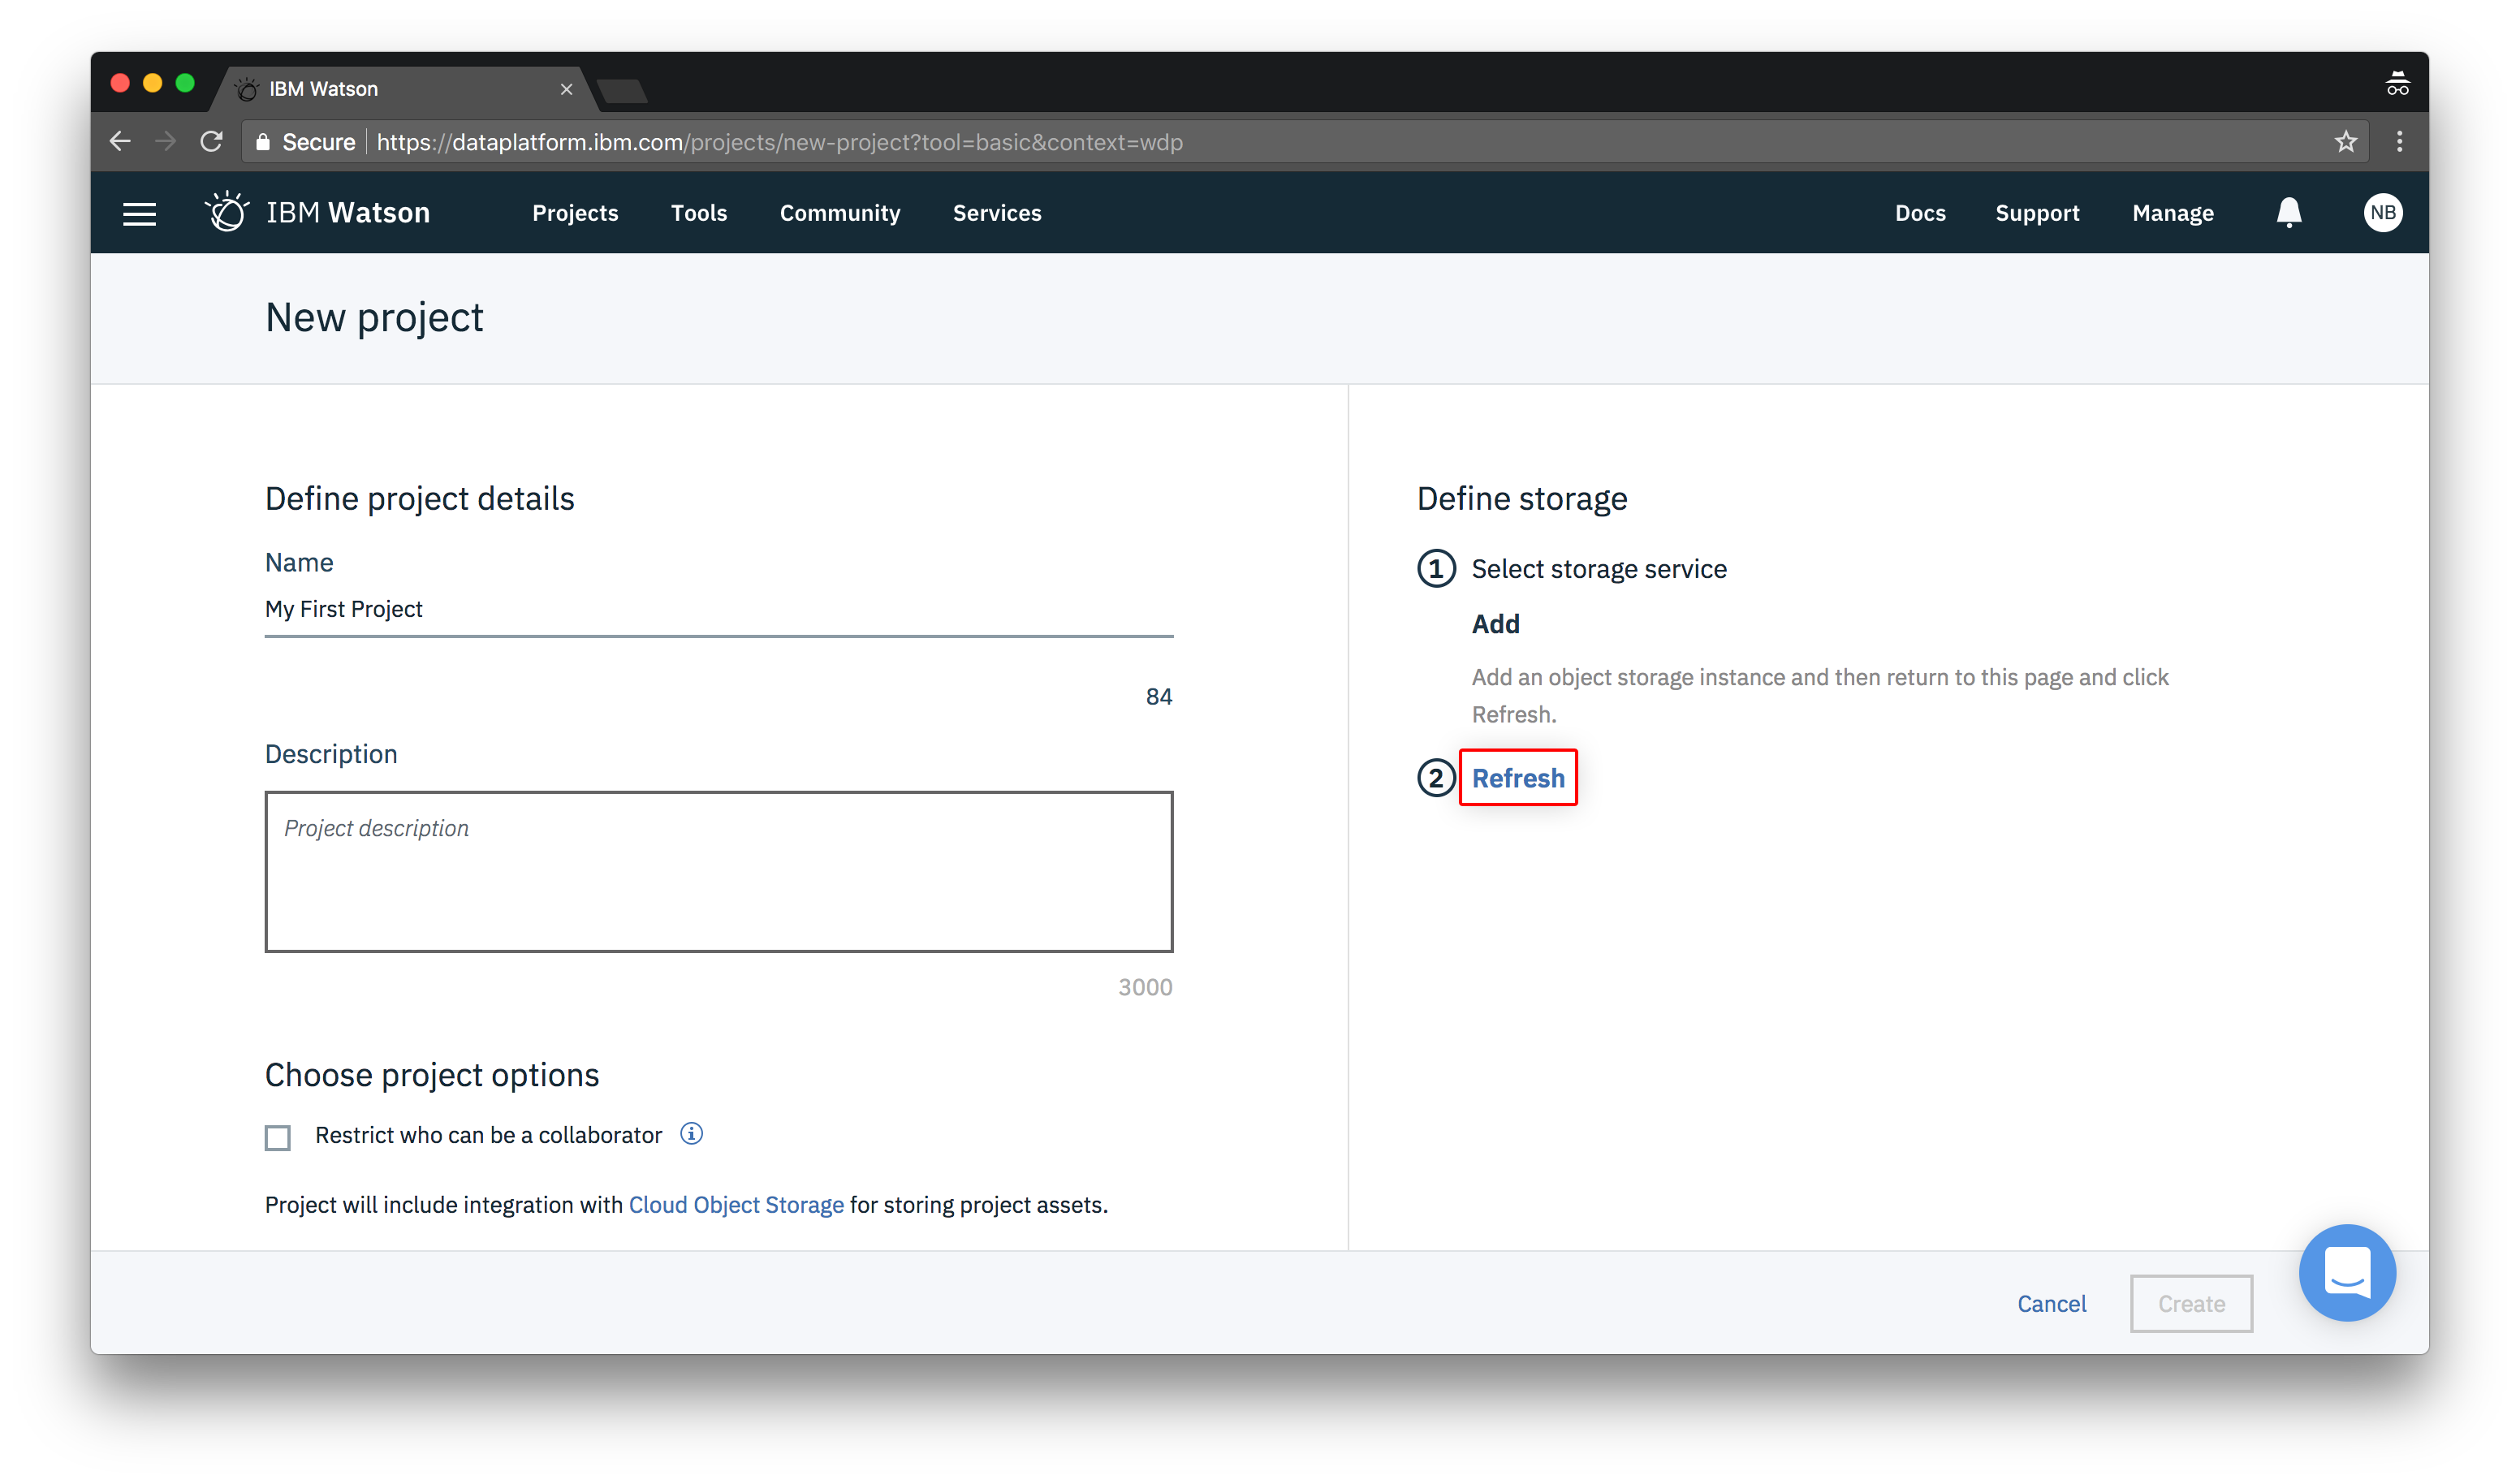
Give your project a descriptive name and then click Add to add a Cloud Object Storage instance to your project.
Object Storage is used to store all your training images
Note: If you already have an object storage instance it will automatically be selected

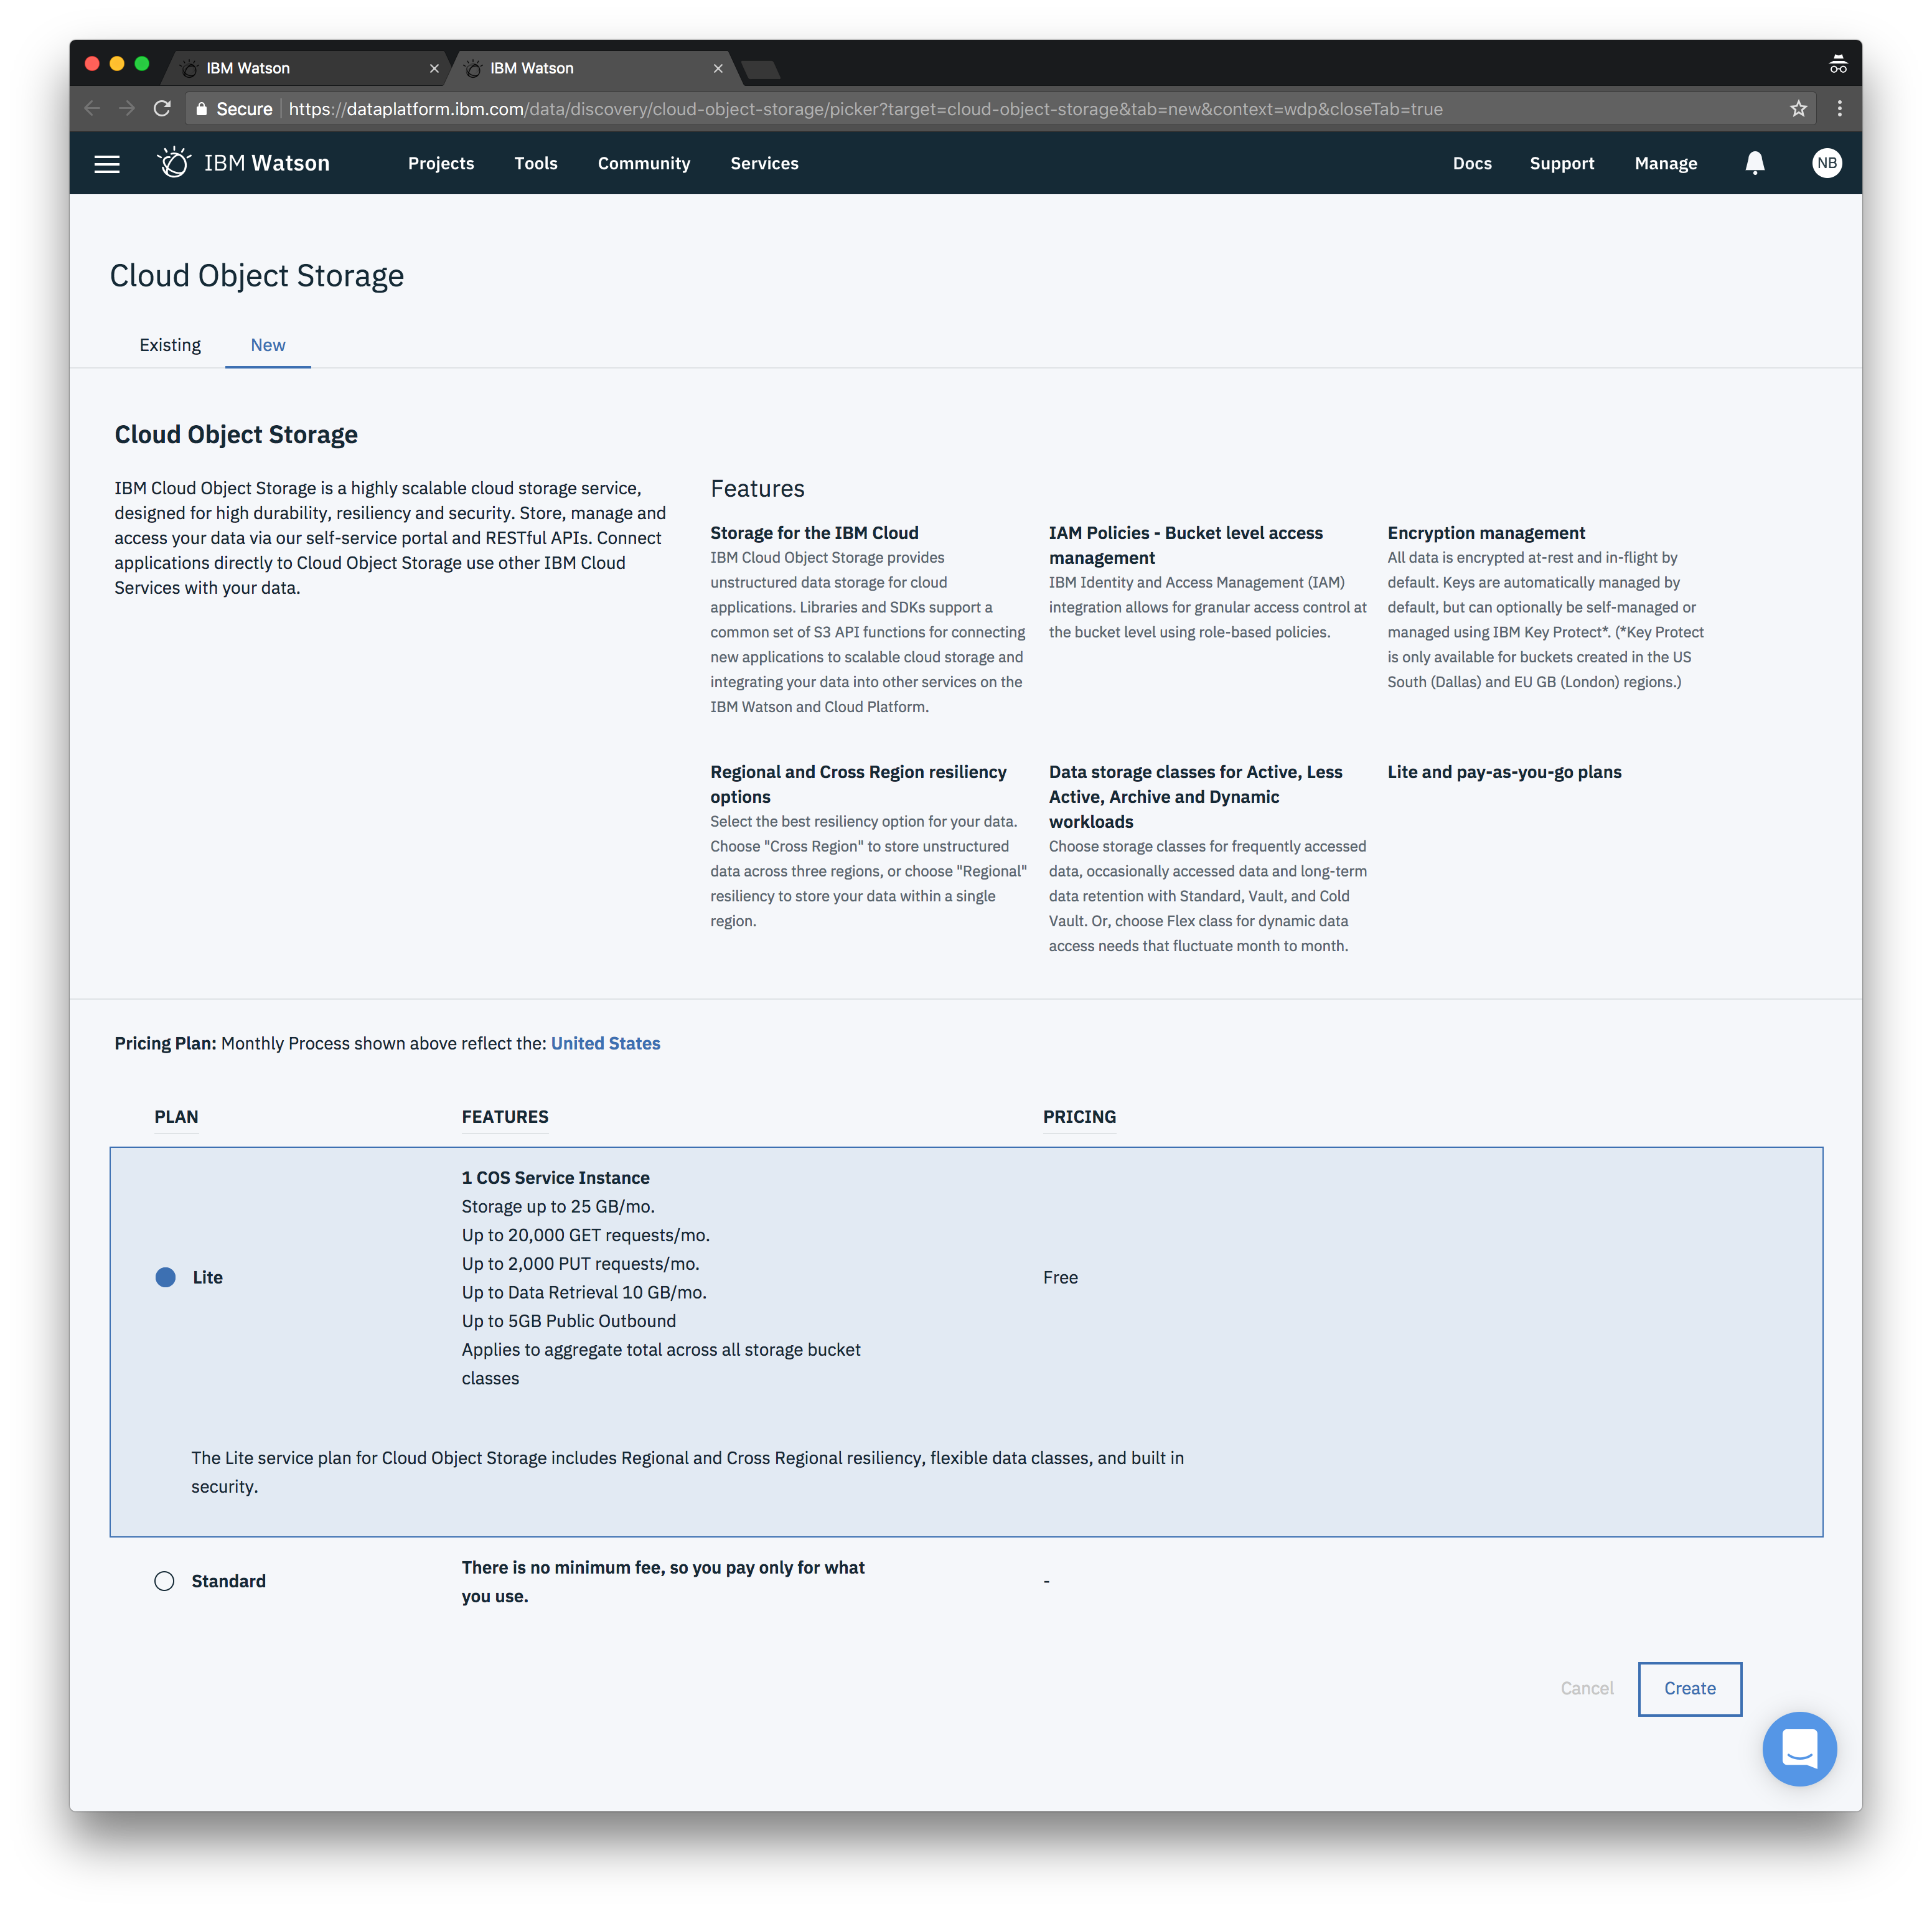
Choose a pricing plan and click Create. Then Confirm on the following popup.
You should be redirected back to your project setup page. Click Refresh and it should find and attach your object storage.
Note: If it doesn’t show up, just keep refreshing the page until it shows up.
Then just click Create.