Deploy app to iOS device
- Select the project editor (The name of the project with a blue icon)
- Under the Signing section, click Add Account

- Login with your Apple ID and password
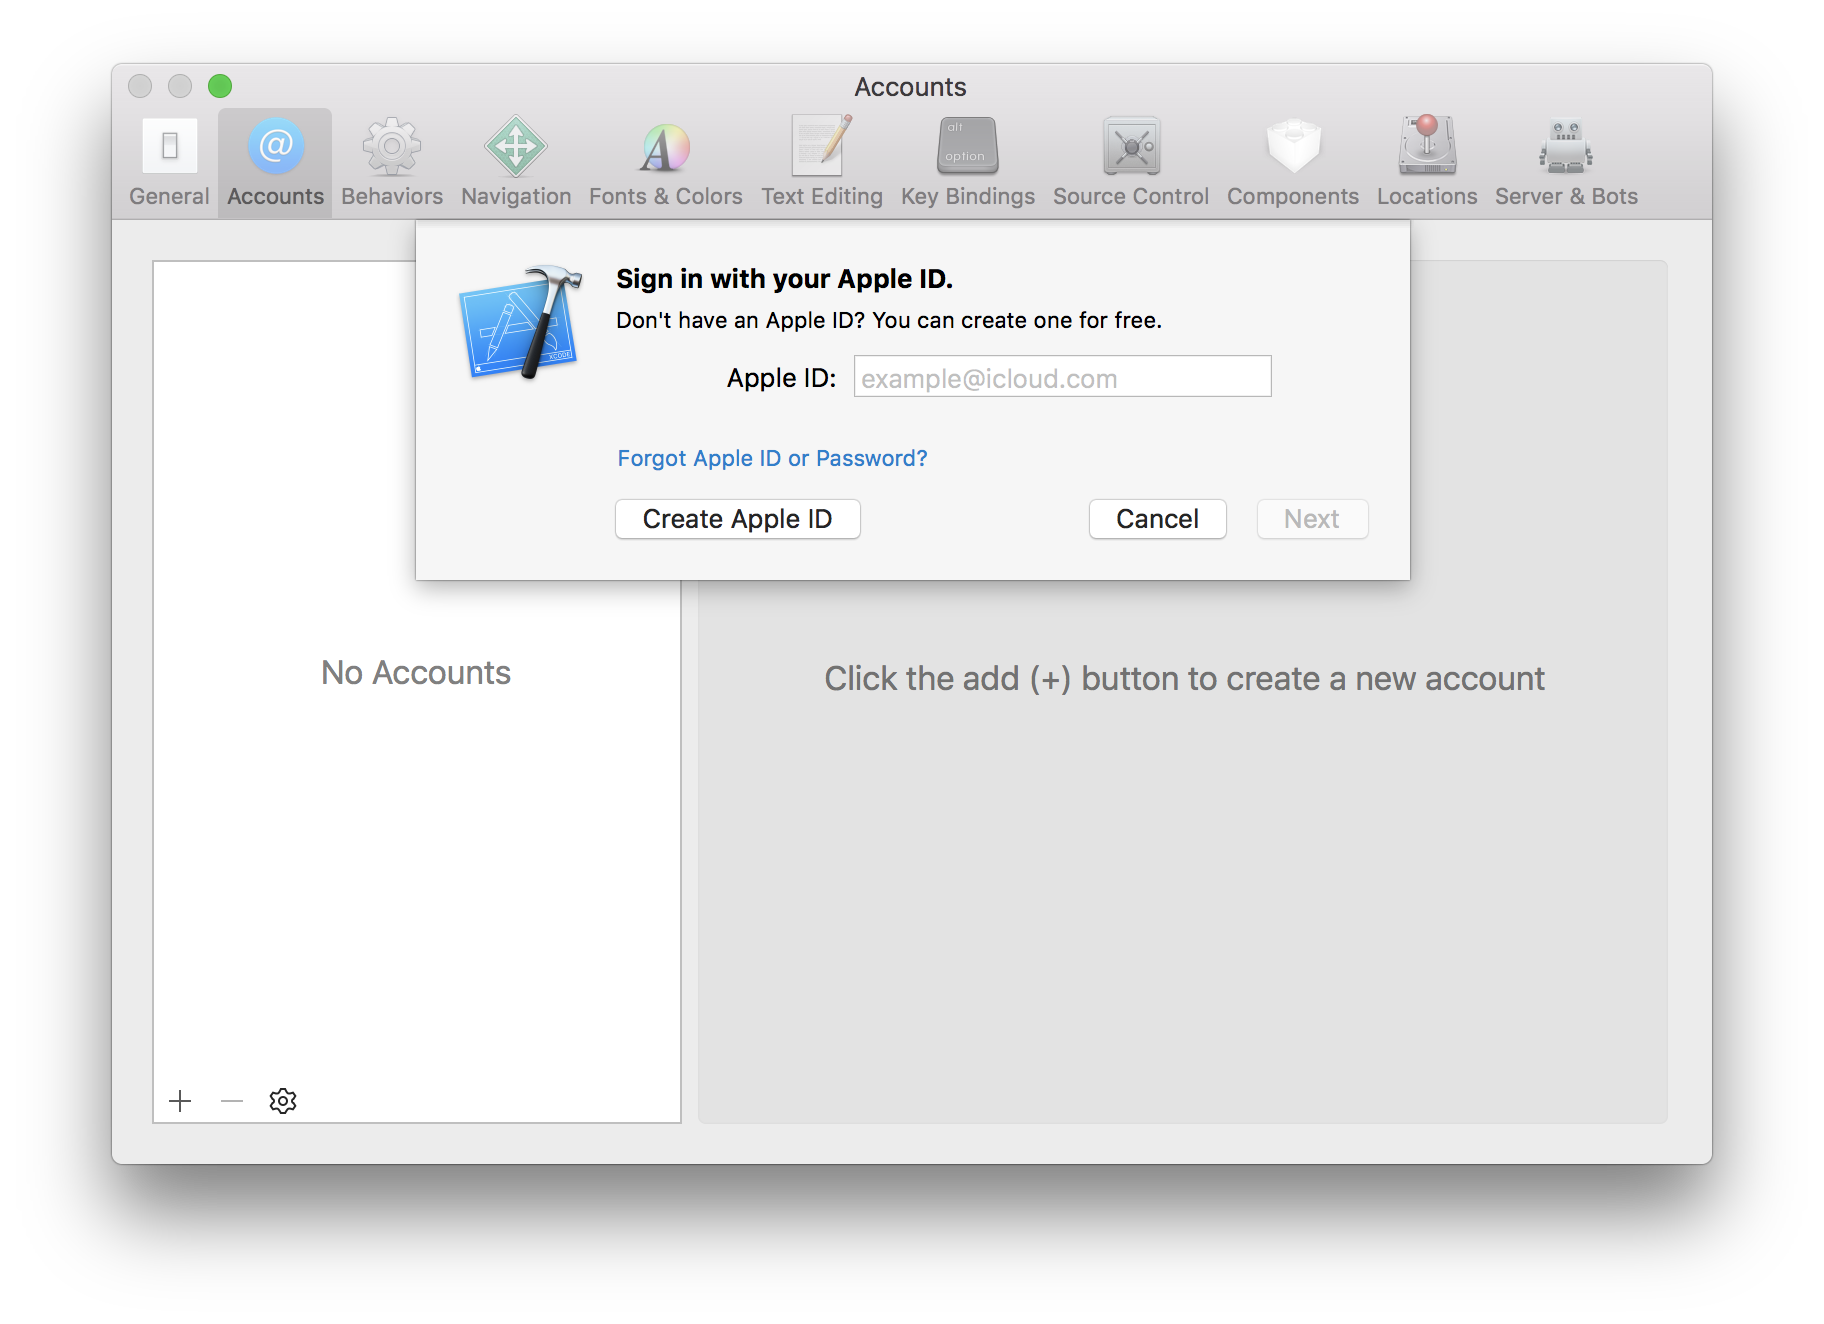
- You should see a new personal team created
- Close the preferences window
Now we have to create a certificate to sign our app with
- Select General
- Change the bundle identifier to
com.ibm.watson.<YOUR_LAST_NAME>.coreML-demo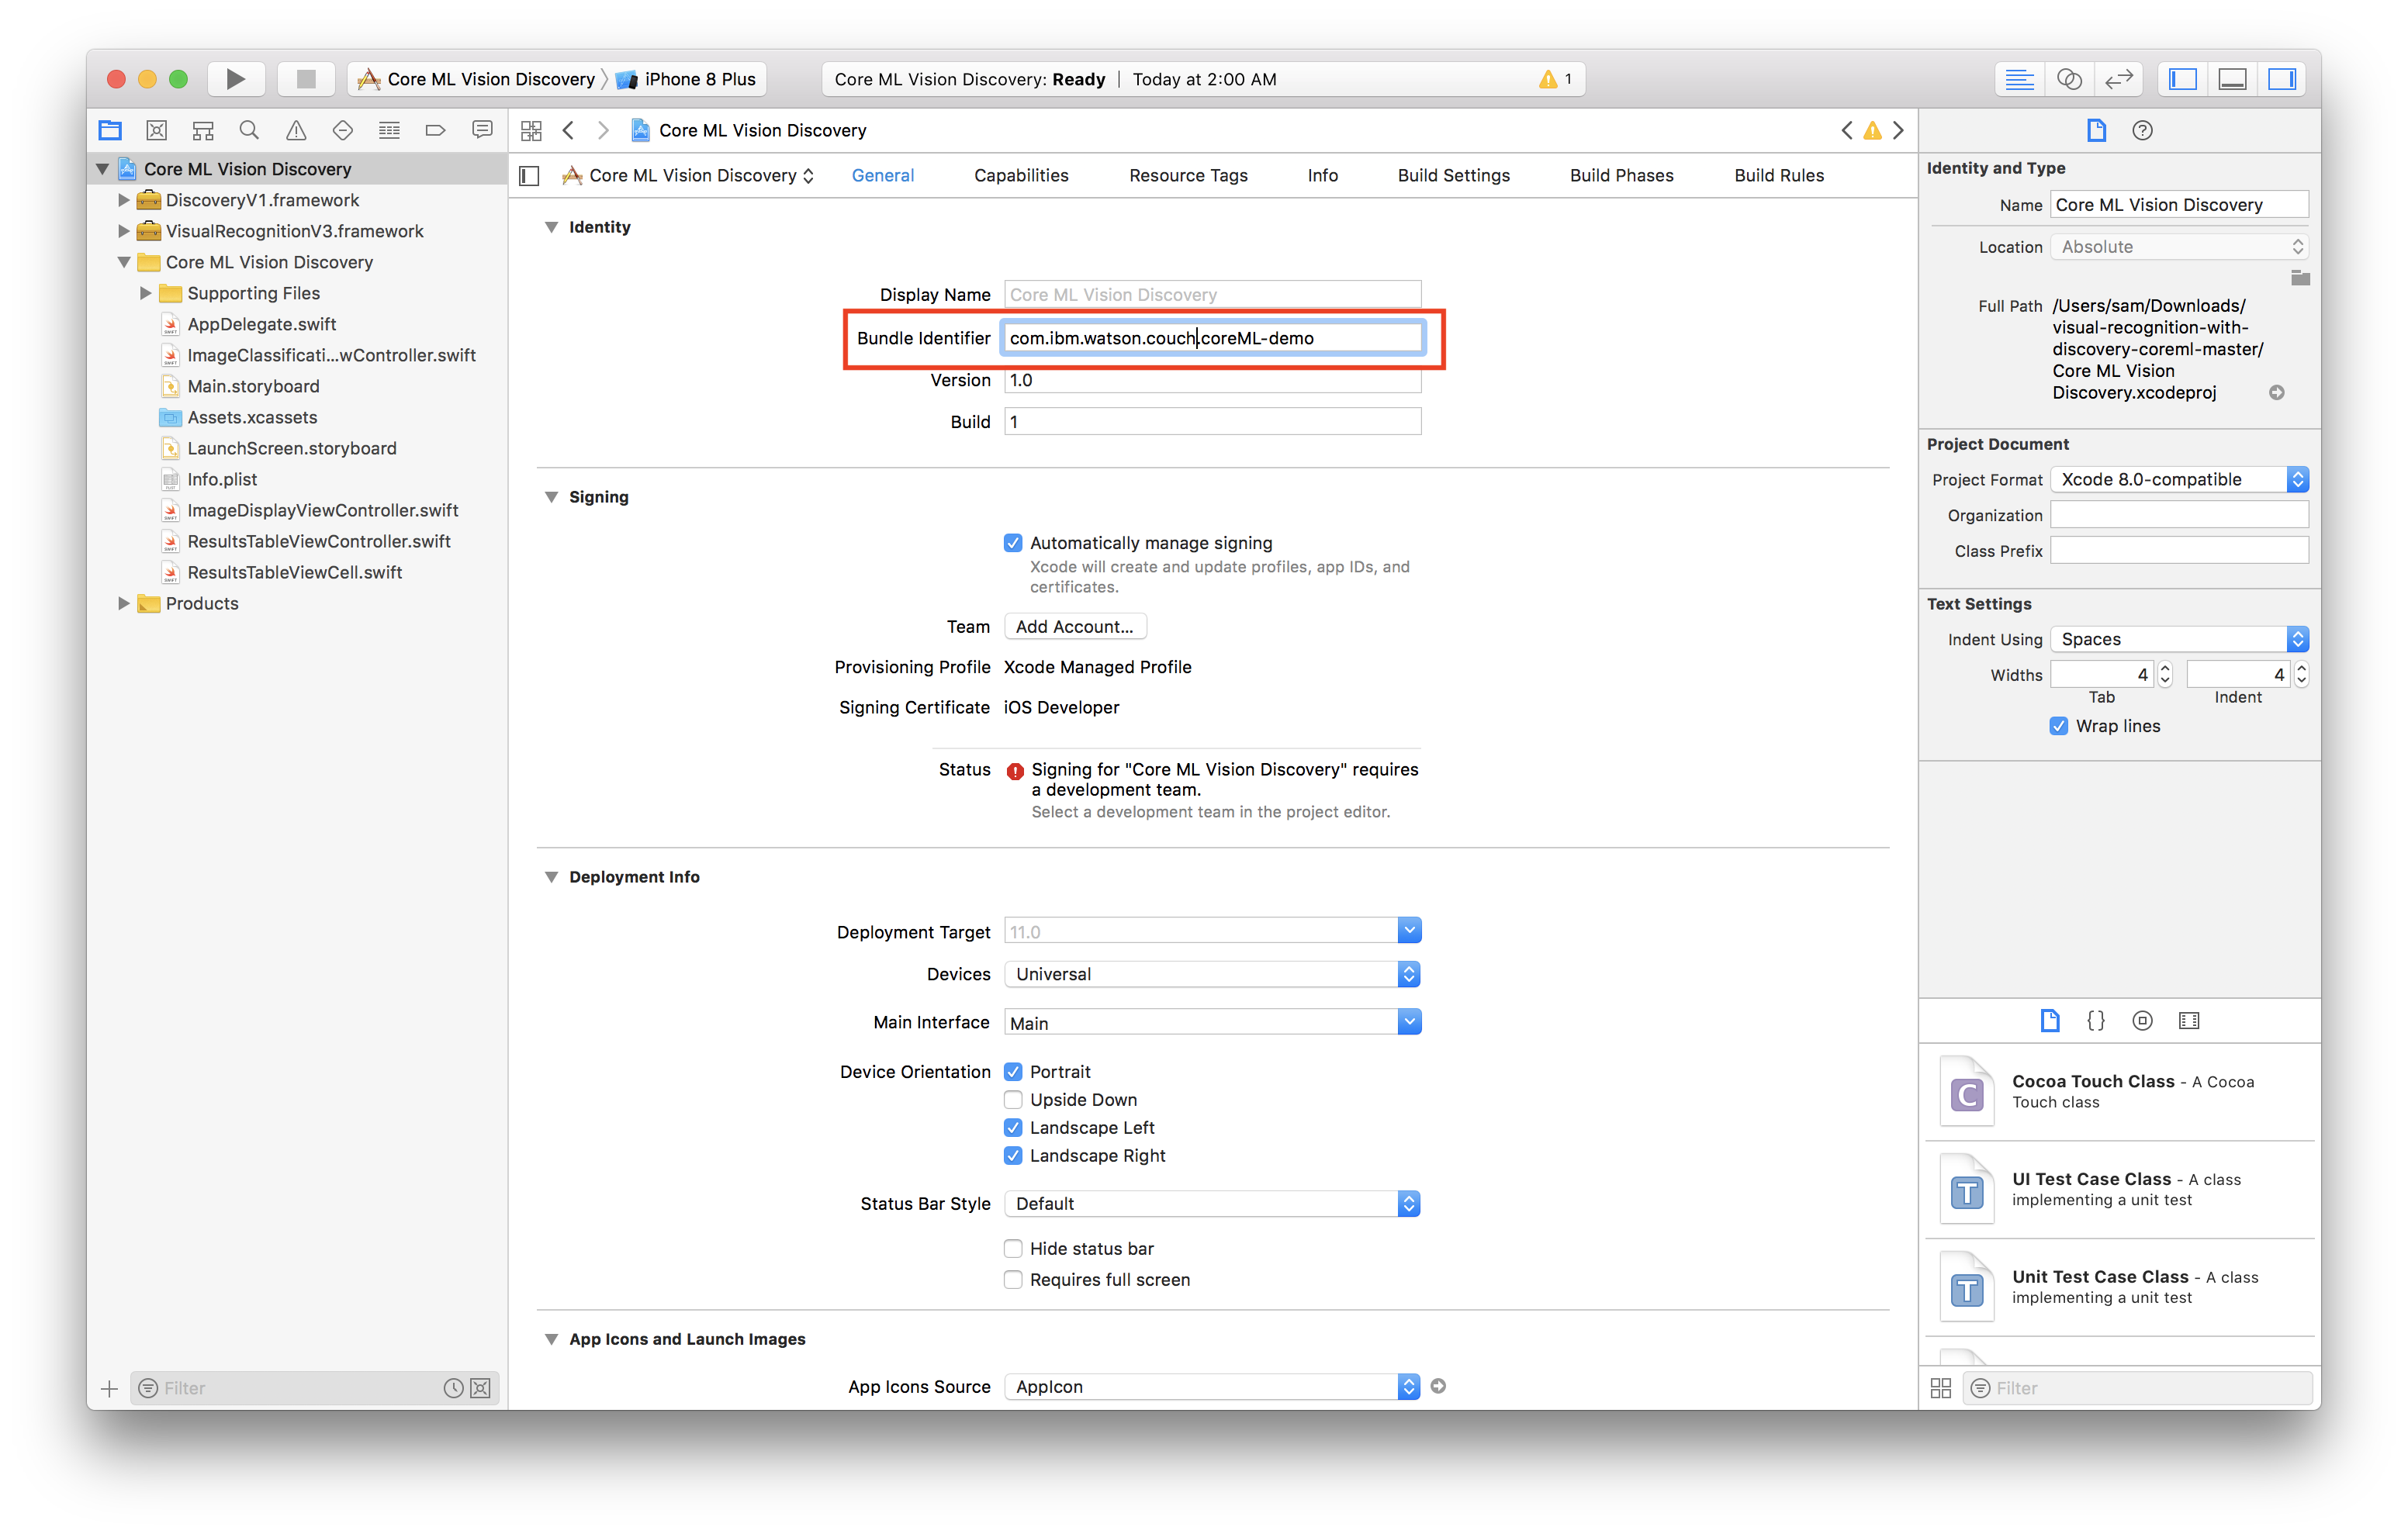
- Select the personal team that was just created from the Team dropdown
- Plug in your iOS device
- Select your device from the device menu to the right of the build and run icon
- Click build and run
- On your device, you should see the app appear as an installed appear
- When you try to run the app the first time, it will prompt you to approve the developer
- In your iOS settings navigate to General > Device Management
- Tap your email, tap trust
Now you’re ready to run the app!